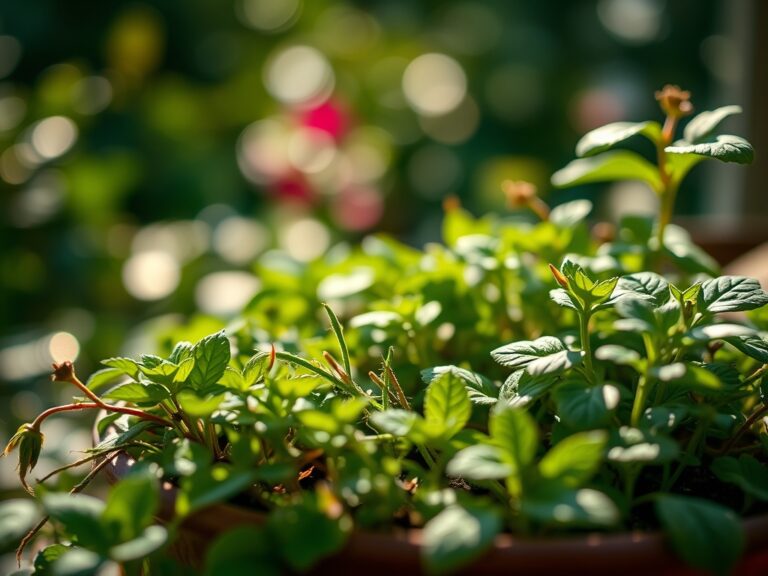
5 Expert Best Rosemary Indoor Bush Tips
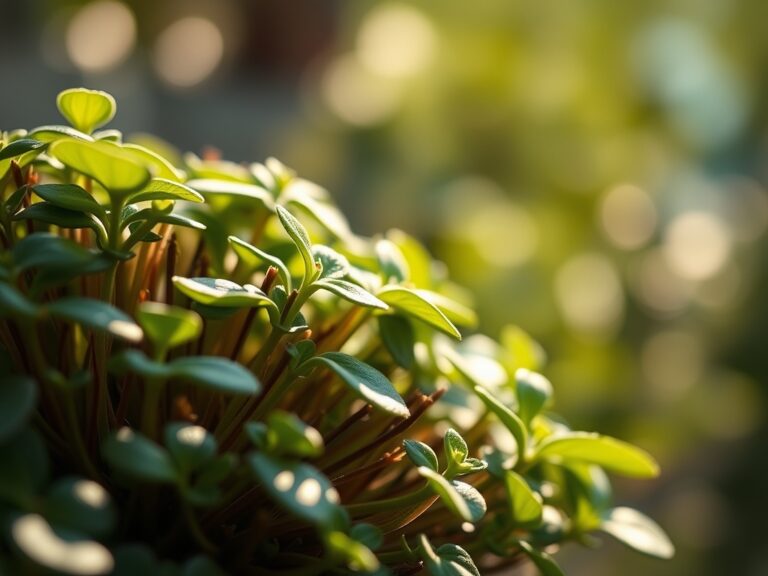
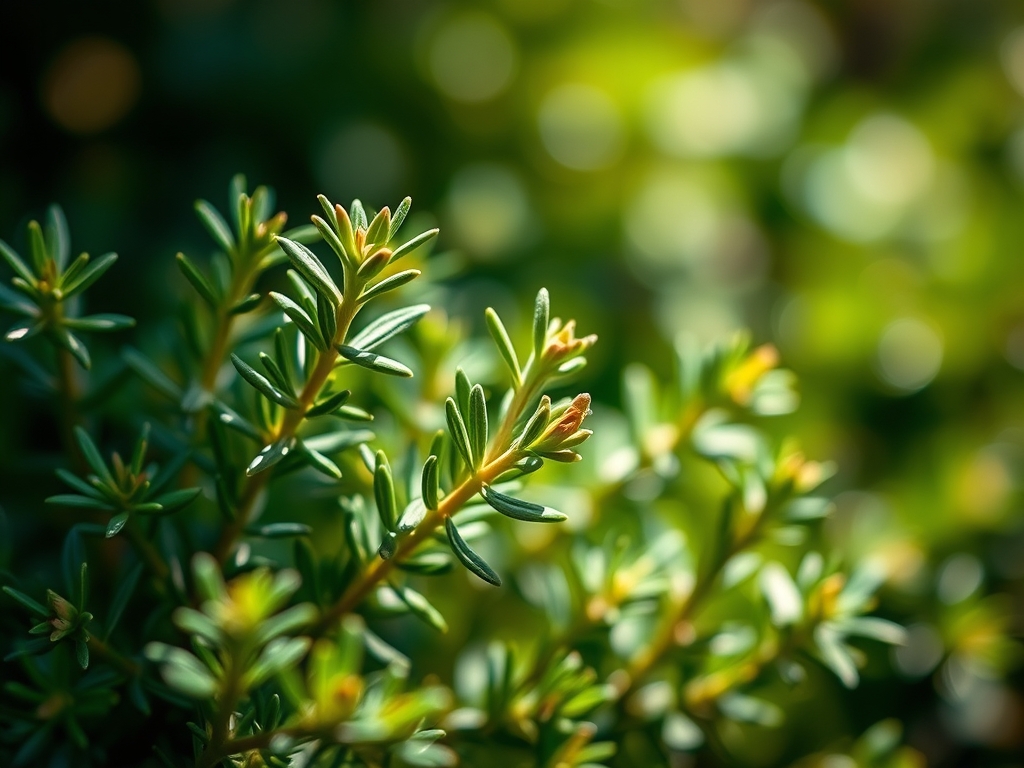
Crushing a needle of Salvia rosmarinus between your thumb and forefinger releases a sharp, resinous blast of cineole and camphor; the sticky residue is a sign of high essential oil content and optimal turgor pressure. Maintaining this vigor inside a residential structure requires more than casual care; it demands a precise replication of Mediterranean maritime conditions. Success with the best rosemary indoor bush tips hinges on managing the high light requirements and low humidity tolerances of a plant designed for rocky, coastal cliffs. You are fighting against stagnant air and low-intensity indoor light cycles. To keep the plant from entering a state of physiological decline, you must treat the indoor environment as a laboratory where light, drainage, and airflow are strictly controlled variables. Most indoor rosemary failures stem from root hypoxia or light starvation. By focusing on the structural integrity of the root system and the chemical composition of the substrate, you can maintain a woody, productive shrub that thrives for years rather than months.
Materials:
The foundation of a healthy indoor rosemary bush is a substrate with a high Cation Exchange Capacity (CEC) but excellent macropore space for drainage. Aim for a soil pH between 6.0 and 7.0. A friable loam mixed with 30 percent perlite or horticultural grit is necessary to prevent waterlogging. Avoid standard peat-based potting mixes that retain too much moisture; instead, use a gritty, mineral-heavy medium.
For nutrition, use a slow-release organic fertilizer with an NPK ratio of 5-10-5 or 4-4-4. Rosemary is not a heavy feeder; excess nitrogen (the first number) will lead to rapid, succulent growth that lacks the essential oils and structural strength needed to resist indoor pests. The container must be unglazed terracotta to allow for lateral evaporation through the pot walls, which helps regulate the moisture levels within the rhizosphere.
Timing:
Rosemary is generally hardy in Zones 7 through 10, but for indoor cultivation, the biological clock is governed by the photoperiod. Transitioning a plant from outdoors to indoors must happen before the first frost, typically when outdoor night temperatures consistently drop below 55 degrees Fahrenheit (13 degrees Celsius).
The plant undergoes a transition from active vegetative growth to a slower metabolic state during the winter months. During this period, the "Biological Clock" slows down; the plant requires fewer nutrients and significantly less water. Forcing growth with high heat or heavy fertilizers during the low-light months of December and January will result in "leggy" stems and a weakened immune system. Monitor the plant for the shift back to vegetative vigor in late February as daylight hours increase.
Phases:

Sowing and Propagation
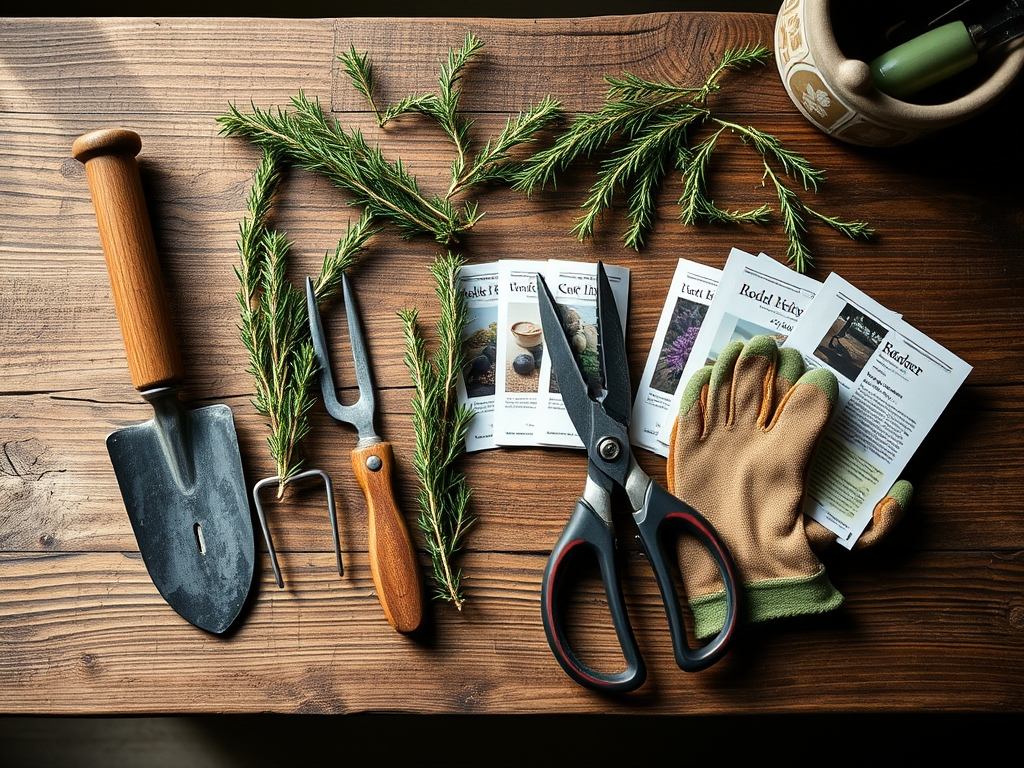
Starting from seed is notoriously difficult due to low germination rates, often hovering around 15 to 30 percent. Instead, take 4-inch softwood cuttings in early spring. Remove the lower leaves and dip the stem in a rooting hormone containing Indole-3-butyric acid.
Pro-Tip: Maintain a consistent substrate temperature of 70 degrees Fahrenheit to encourage rapid root initiation. This utilizes the biological principle of auxin accumulation at the base of the cutting, which triggers the formation of adventitious roots.
Transplanting
When the root system has filled a 2-inch starter cell, move the plant to its permanent terracotta home. Ensure the crown of the plant sits exactly at the soil line. Planting too deep causes stem rot, while planting too shallow leads to root desiccation.
Pro-Tip: Incorporate a handful of mycorrhizal fungi into the transplant hole. This symbiotic relationship expands the surface area of the root system, allowing for better phosphorus uptake and increased drought resistance.
Establishing the Bush
During the first six months, focus on structural pruning. Use bypass pruners to nip the terminal buds of the main branches. This forces the plant to redirect energy to lateral buds.
Pro-Tip: This technique exploits apical dominance. By removing the primary growing tip, you suppress the flow of auxins that prevent side branching, resulting in a denser, bushier habit rather than a single tall stalk.
The Clinic:
Indoor rosemary is susceptible to several physiological disorders that mimic nutrient deficiencies.
- Symptom: White, powdery coating on leaves.
Solution: This is Powdery Mildew, caused by stagnant air. Increase airflow with a small oscillating fan and ensure humidity stays below 40 percent. - Symptom: Yellowing of lower leaves (Chlorosis) while veins remain green.
Solution: This indicates a Magnesium deficiency. Apply a solution of one tablespoon of Epsom salts per gallon of water to the soil. - Symptom: Sudden drooping of the entire plant despite wet soil.
Solution: This is Root Rot (Phytophthora). The roots have become hypoxic. Stop watering immediately and repot into a drier, grittier substrate. - Fix-It: For general Nitrogen chlorosis (all-over pale green leaves), apply a diluted liquid seaweed extract. This provides a quick boost of bioavailable nitrogen without the risk of salt buildup in the pot.
Maintenance:
Precision is the difference between a surviving plant and a thriving one. Use a soil moisture meter to ensure the root ball is dry at least two inches below the surface before adding water. On average, an indoor rosemary bush requires approximately 1.5 inches of water per week, delivered directly to the soil to avoid wetting the foliage.
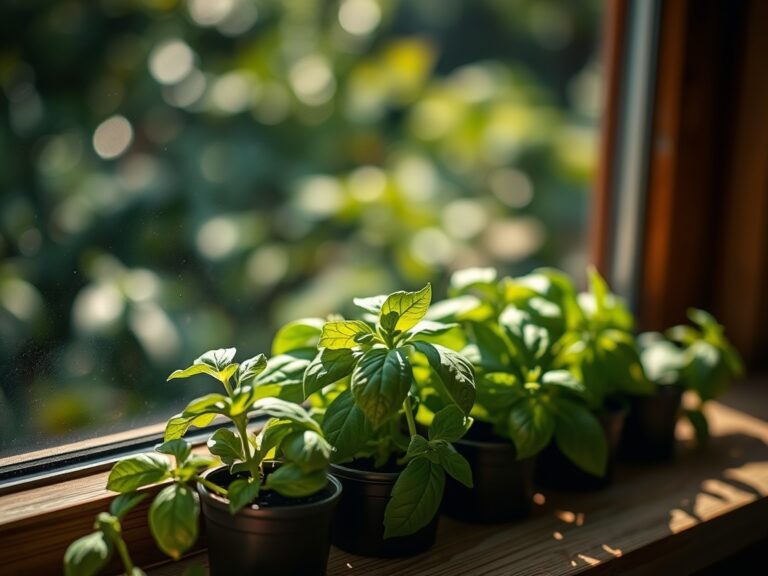
Light is the most critical maintenance factor. Rosemary requires 6 to 8 hours of direct solar radiation. If your windows do not provide this, supplement with a full-spectrum LED grow light positioned 6 to 12 inches above the canopy. Use a hori-hori knife once a year to gently probe the edges of the pot; if you feel significant resistance from thick, circling roots, the plant is root-bound and requires a pot one size larger. Always use sharp bypass pruners for maintenance cuts to ensure clean wounds that heal quickly without inviting pathogens.
The Yield:
Harvesting can occur year-round once the bush has reached a height of 12 inches. Never remove more than 30 percent of the plant at one time, as this can trigger a shock response and stall growth. For the highest concentration of aromatic oils, harvest in the morning after the dew has evaporated but before the heat of the day.
To maintain "day-one" freshness, do not wash the sprigs until immediately before use. If storing, place the cut ends in a glass of water, similar to a bouquet of flowers, and cover the top loosely with a plastic bag. This maintains the turgor pressure in the needles, preventing them from becoming brittle and losing their volatile oils.
FAQ:
How much light does indoor rosemary need?
Rosemary requires a minimum of 6 to 8 hours of direct sunlight daily. In low-light homes, use full-spectrum LED grow lights for 12 to 14 hours to compensate for lower intensity and maintain metabolic functions.
Why are the tips of my rosemary turning brown?
This usually indicates overwatering or poor drainage leading to root stress. Ensure the soil is a gritty, well-draining mix and that the top two inches of substrate are completely dry before you provide more water.
What is the best fertilizer for indoor rosemary?
Use a balanced, slow-release organic fertilizer with an NPK ratio like 5-10-5. Apply at half-strength during the spring and summer. Avoid high-nitrogen formulas, which produce weak growth and reduce the concentration of aromatic essential oils.
Can I grow rosemary in a plastic pot?
It is not recommended. Unglazed terracotta is superior because it is porous, allowing the soil to breathe and moisture to evaporate through the sides. This prevents the root hypoxia that frequently occurs in non-porous plastic or glazed ceramic containers.
How do I make my rosemary plant bushier?
Regularly pinch back the leading tips of the branches using bypass pruners. This removes apical dominance and forces the plant to develop lateral buds, resulting in a denser, more compact growth habit suitable for indoor spaces.