9 Simple Ways How to Grow Thyme as an Indoor Herb
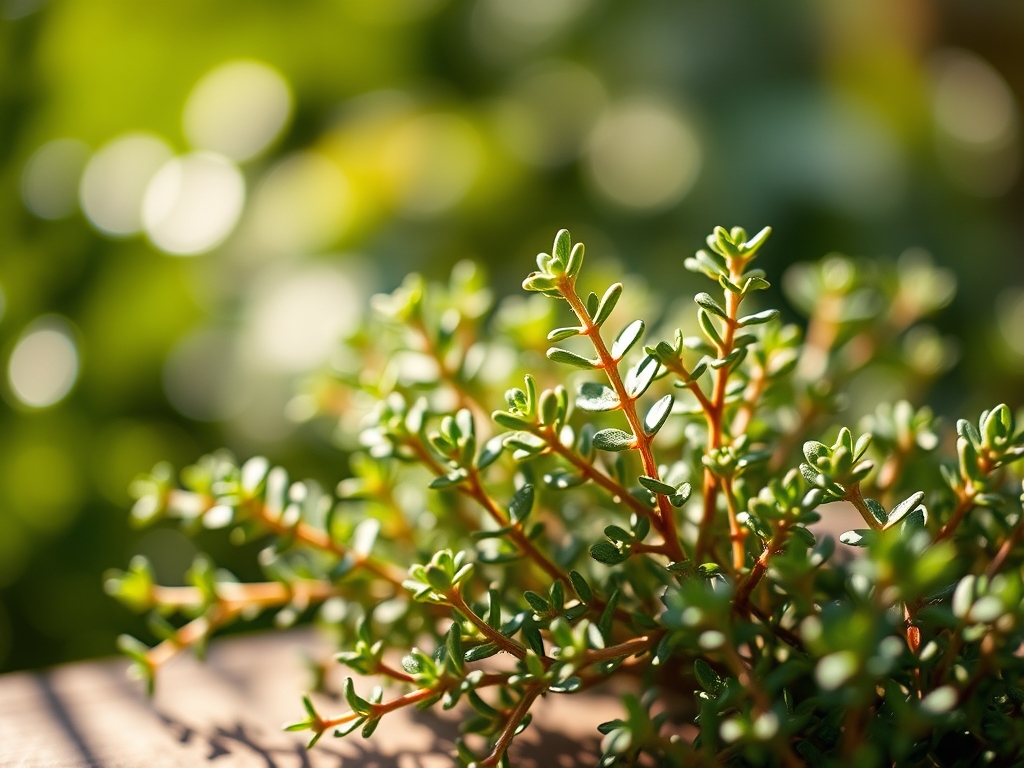
Crushing a single leaf of Thymus vulgaris between your fingers releases a sharp, camphoraceous aroma that signals high essential oil concentration. A healthy indoor specimen exhibits high turgor pressure, with stiff, woody stems and small, lanceolate leaves that feel turgid rather than flaccid. Mastering how to grow thyme as an indoor herb requires a shift from casual gardening to precise environmental control. You are replicating a Mediterranean microclimate within a confined interior space. This involves managing light intensity, substrate drainage, and atmospheric humidity to prevent the root rot that often plagues indoor herbs. Success depends on maintaining a strict balance between cellular hydration and the necessary drought stress that concentrates the plant's volatile oils.
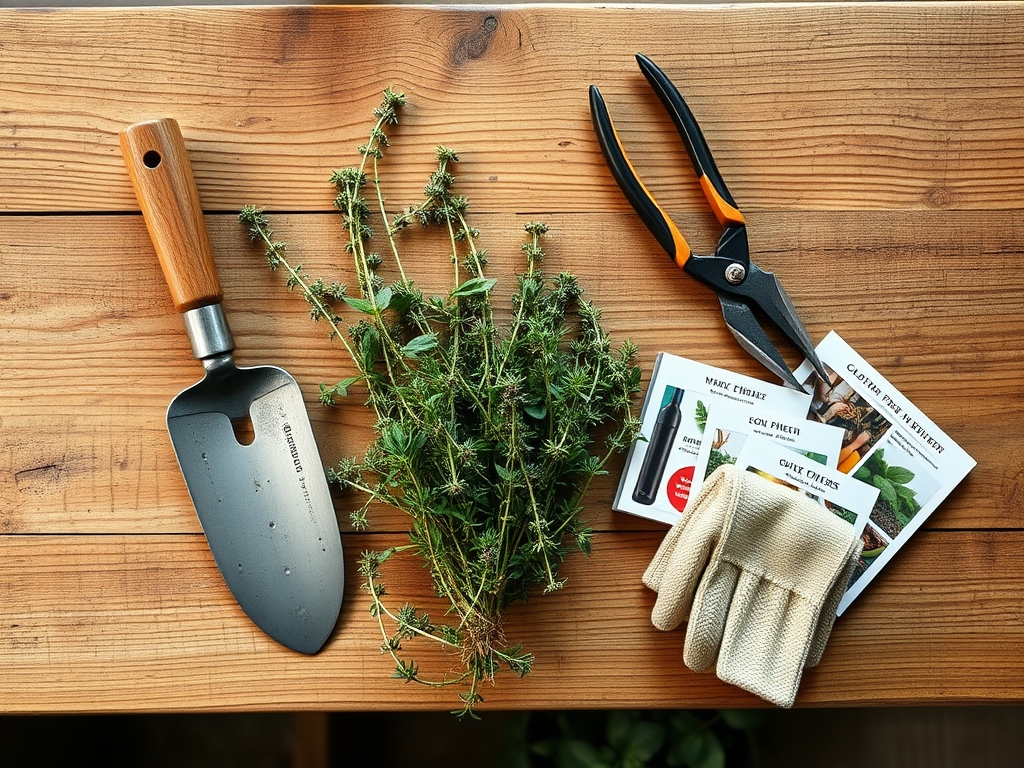
Materials:
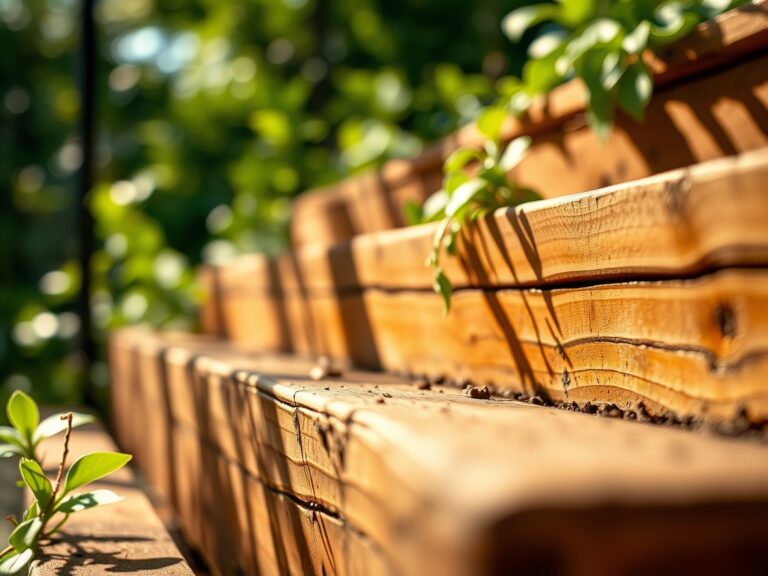
The foundation of a successful indoor thyme crop is the substrate. Thyme requires a soil pH between 6.0 and 8.0, with a preference for slightly alkaline conditions. Use a friable loam mixed with inorganic aggregates to ensure rapid drainage. A standard mix should consist of 70 percent high quality potting soil and 30 percent perlite or horticultural grit.
Regarding nutrition, thyme is not a heavy feeder. Use a fertilizer with an NPK ratio of 5-10-5 or 10-10-10 diluted to half strength. High nitrogen levels (the first number) will promote rapid vegetative growth but will dilute the concentration of essential oils, resulting in a less aromatic plant. The Cation Exchange Capacity (CEC) of your mix should be moderate; enough to hold essential nutrients like magnesium and calcium without becoming waterlogged. Ensure your container has at least three drainage holes to prevent anaerobic conditions in the rhizosphere.
Timing:
While thyme is hardy in USDA Zones 5 through 9, indoor cultivation bypasses traditional frost dates. However, the plant's biological clock remains sensitive to the photoperiod. Indoor thyme requires 12 to 16 hours of light daily to maintain active vegetative growth. If you are starting from seed, begin the process 6 to 10 weeks before the last expected spring frost if you plan to move the plant outdoors eventually.
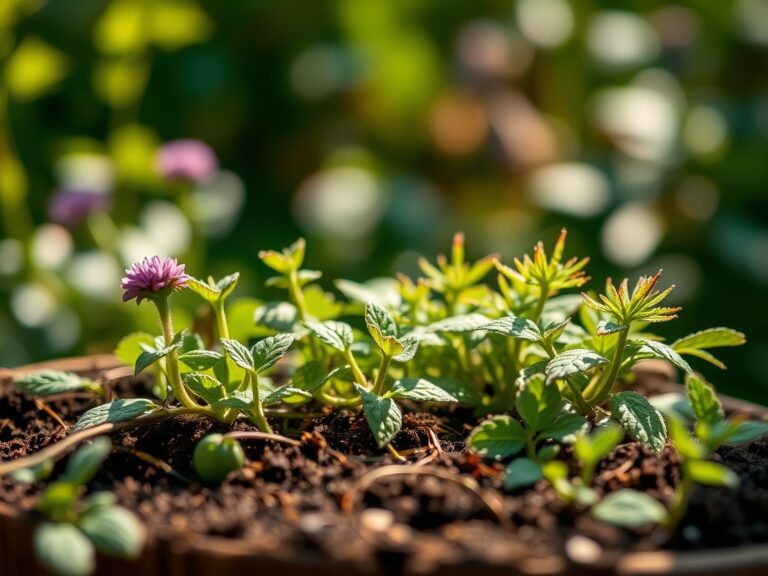
The transition from the vegetative stage to the reproductive stage (flowering) is triggered by increasing day length and temperatures exceeding 70 degrees Fahrenheit. For indoor herbs, you generally want to suppress this transition to keep the energy focused on leaf production. Monitor the nodes; if you see flower buds forming, the plant is entering senescence for that cycle, and the leaf flavor will sharpen and become bitter.
Phases:
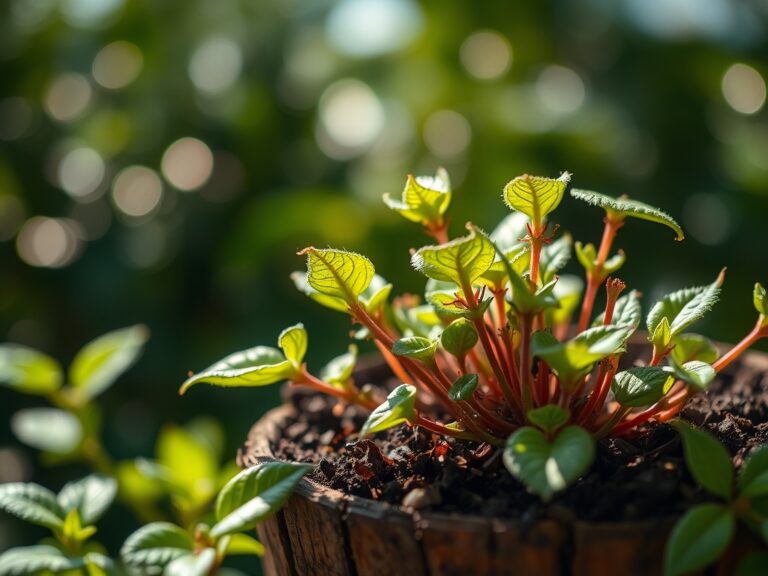
Sowing
Surface-sow the seeds onto a pre-moistened seed-starting mix. Do not cover them with soil, as thyme seeds are photoblastic and require light to trigger germination. Maintain a consistent temperature of 70 degrees Fahrenheit. Germination typically occurs within 14 to 28 days.
Pro-Tip: Thyme seeds have a low germination rate, often around 60 percent. Over-sowing ensures a full pot. The biological why involves the seed's thin coat, which makes it susceptible to drying out before the radicle can penetrate the substrate.
Transplanting
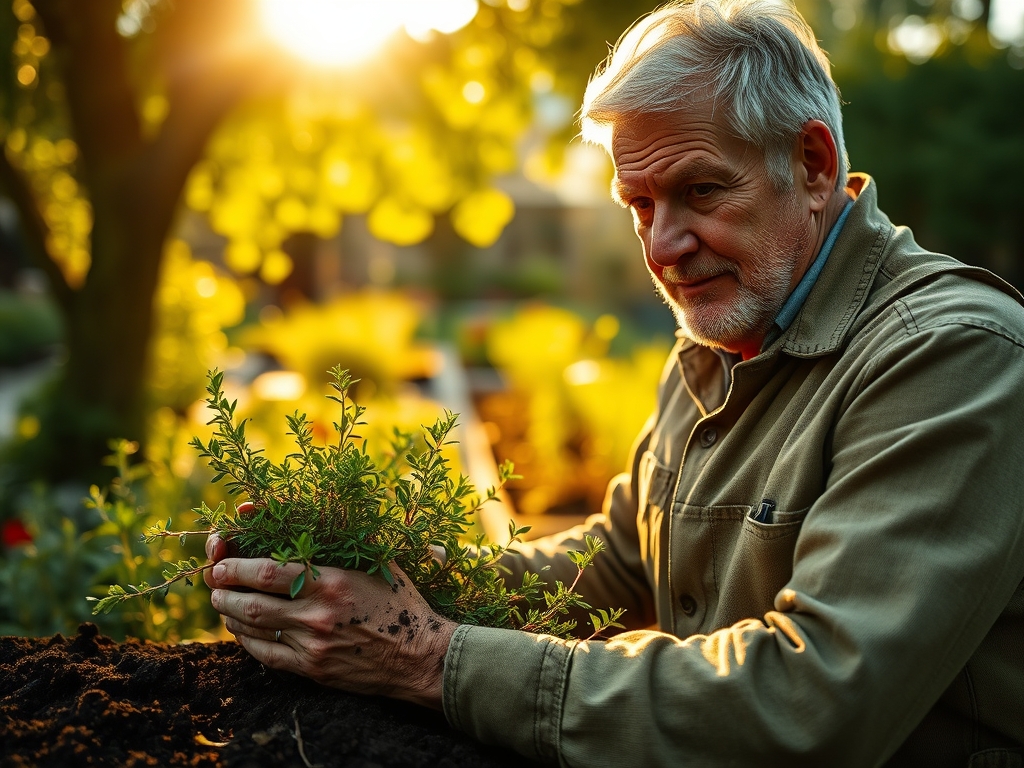
Move seedlings to their permanent containers once they have developed at least two sets of true leaves. Use a hori-hori knife to gently lift the root ball, ensuring you do not disturb the delicate root hairs. Space plants at least 6 inches apart to allow for lateral expansion and airflow.
Pro-Tip: Inoculate the soil with mycorrhizal fungi during transplanting. The biological why is that these fungi form a symbiotic relationship with the roots, effectively increasing the surface area for nutrient uptake and improving the plant's resistance to water stress.
Establishing
During the first month after transplanting, focus on root development. Keep the soil slightly more moist than you would for a mature plant, but never saturated. Once the plant reaches 4 inches in height, pinch off the terminal buds to encourage branching.
Pro-Tip: Use a fan to provide gentle air circulation around the plants. The biological why is thigmomorphogenesis; physical stress from air movement strengthens the cell walls in the stems, preventing the plant from becoming "leggy" or weak.
The Clinic:
Physiological disorders in indoor thyme are usually related to light or water imbalances.
- Symptom: Yellowing lower leaves (Chlorosis).
- Solution: This is often a sign of Nitrogen deficiency or overwatering. Check the soil moisture with a soil moisture meter. If the soil is dry, apply a balanced 10-10-10 liquid fertilizer.
- Symptom: White, powdery spots on leaves.
- Solution: This indicates Powdery Mildew, caused by high humidity and poor airflow. Increase the distance between plants and reduce ambient humidity to below 50 percent.
- Symptom: Brown, mushy stems at the soil line.
- Solution: This is Rhizoctonia root rot. Immediately reduce watering frequency and ensure the pot is not sitting in a saucer of standing water.
- Symptom: Stretching stems with large gaps between leaves.
- Solution: This is etiolation caused by insufficient light. Move the plant to a south-facing window or provide supplemental full-spectrum LED growth lights.
Maintenance:
Precision is the hallmark of professional maintenance. Thyme requires approximately 1 inch of water per week, delivered directly to the soil surface to avoid wetting the foliage. Use a soil moisture meter to ensure the top 2 inches of soil are dry before re-watering.
Pruning is mandatory for longevity. Use bypass pruners to remove the top third of the plant every few months. This prevents the center from becoming excessively woody and unproductive. Avoid cutting into the "old wood" where no leaves are present, as the plant may struggle to regenerate from those points. Monitor the cation exchange by flushing the soil with distilled water every three months to prevent salts from fertilizer buildup, which can burn the root tips.
The Yield:
Harvesting can begin once the plant has reached a height of 6 inches. The peak time for harvest is just before the plant flowers, when the essential oil concentration is at its highest. Use sharp scissors to snip stems, leaving at least 3 inches of growth to ensure the plant can recover.
To maintain "day-one" freshness, do not wash the thyme until you are ready to use it. Moisture on the leaves accelerates enzymatic browning and decay. If storing, wrap the stems in a dry paper towel and place them in a sealed container in the refrigerator at 40 degrees Fahrenheit. This slows the respiration rate of the harvested tissue, preserving the volatile aromatic compounds.
FAQ:
How much light does indoor thyme need?
Indoor thyme requires a minimum of 6 hours of direct sunlight or 12 to 16 hours of supplemental grow lights. Insufficient light leads to etiolation, where stems stretch and weaken while essential oil production drops significantly.
Why is my indoor thyme turning brown and woody?
Thyme is a sub-shrub that naturally develops woody stems over time. However, excessive woodiness usually stems from a lack of regular pruning. Pruning the top third of the plant encourages fresh, green vegetative growth from the base.
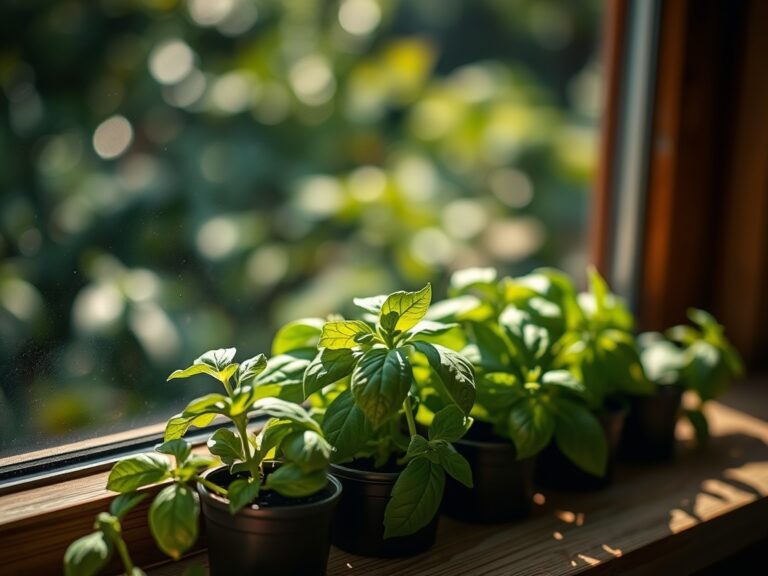
What is the best container for growing thyme indoors?
Use terracotta or unglazed clay pots. These materials are porous and allow for lateral evaporation through the pot walls. This helps regulate soil moisture and prevents the anaerobic conditions that lead to root rot in Mediterranean herbs.
How often should I fertilize indoor thyme?
Apply a half-strength, balanced liquid fertilizer every 4 to 6 weeks during the active growing season (spring and summer). Over-fertilizing, especially with high nitrogen, will result in rapid growth but significantly weaker flavor and aroma.
Can I grow thyme from grocery store cuttings?
Yes, you can propagate thyme via stem cuttings. Remove the lower leaves, dip the node in rooting hormone, and place it in a moist perlite-peat mix. Roots typically develop within two to three weeks under high humidity.