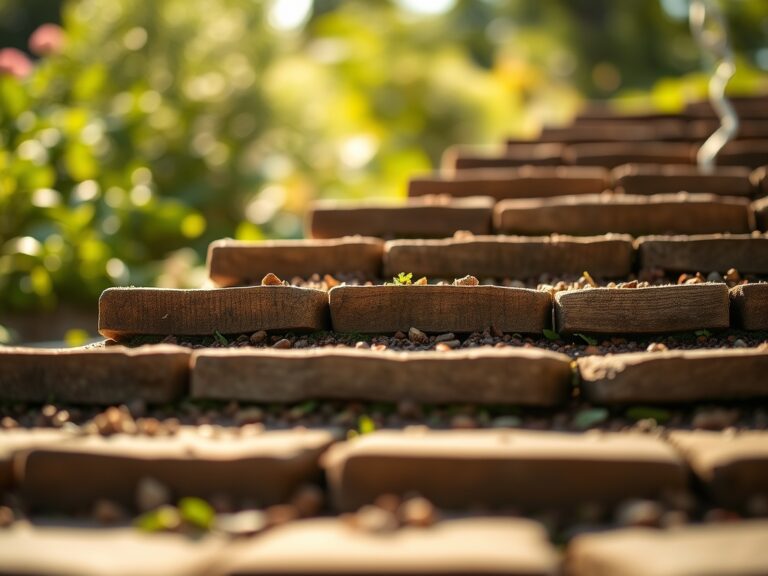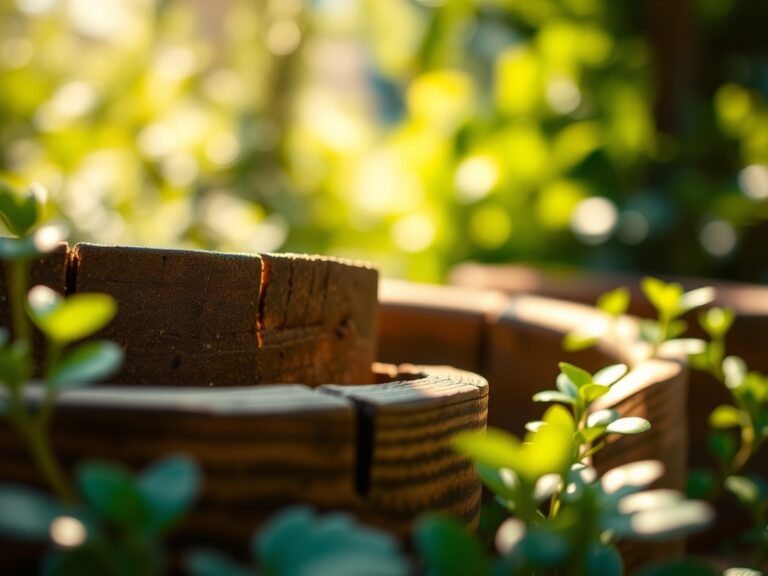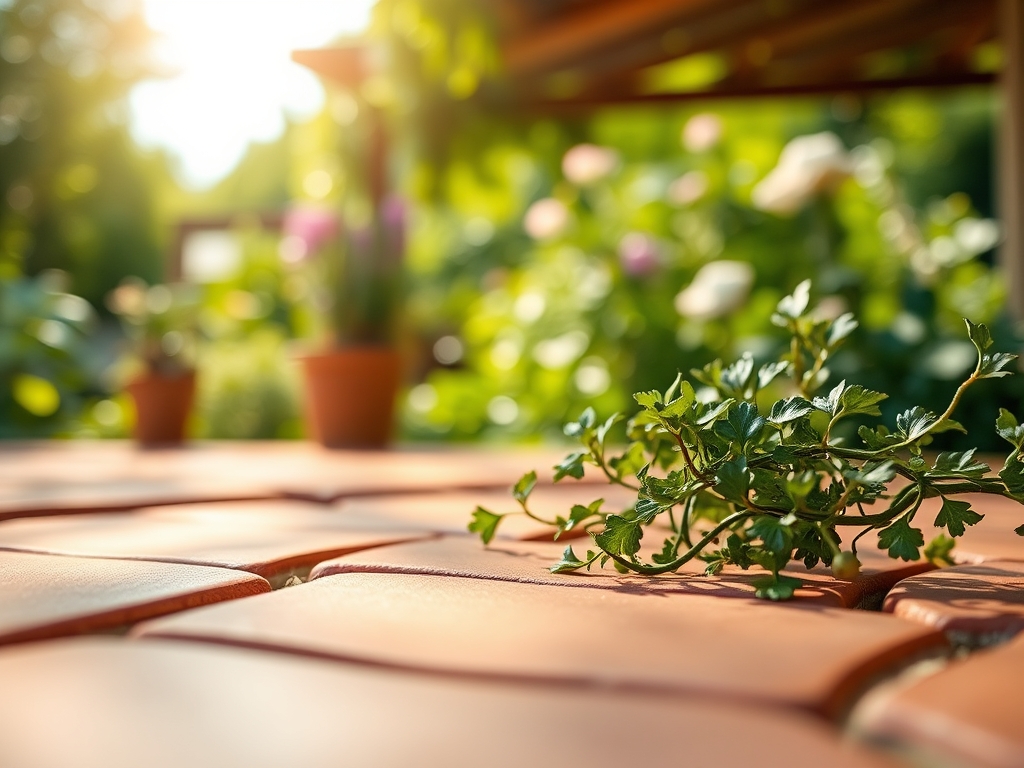
10 Best Terracotta Tiles for Patios
Damp earth exudes a sharp, geosmin-rich scent after a spring rain, a signal that the rhizosphere is active and microbial respiration has spiked. This moisture interacts with the surrounding hardscape, making the selection of the best terracotta tiles for patios a decision rooted in both aesthetics and structural geology. High-quality terracotta must possess a density capable of resisting the hydraulic pressure exerted by freezing soil. The turgor pressure of your surrounding plantings depends on a stable microclimate; the thermal mass of authentic clay tiles regulates ground temperature, preventing rapid fluctuations that stress root systems. Selecting the wrong material leads to spalling and salt efflorescence, which alters the local soil chemistry and compromises the health of your botanical collection.
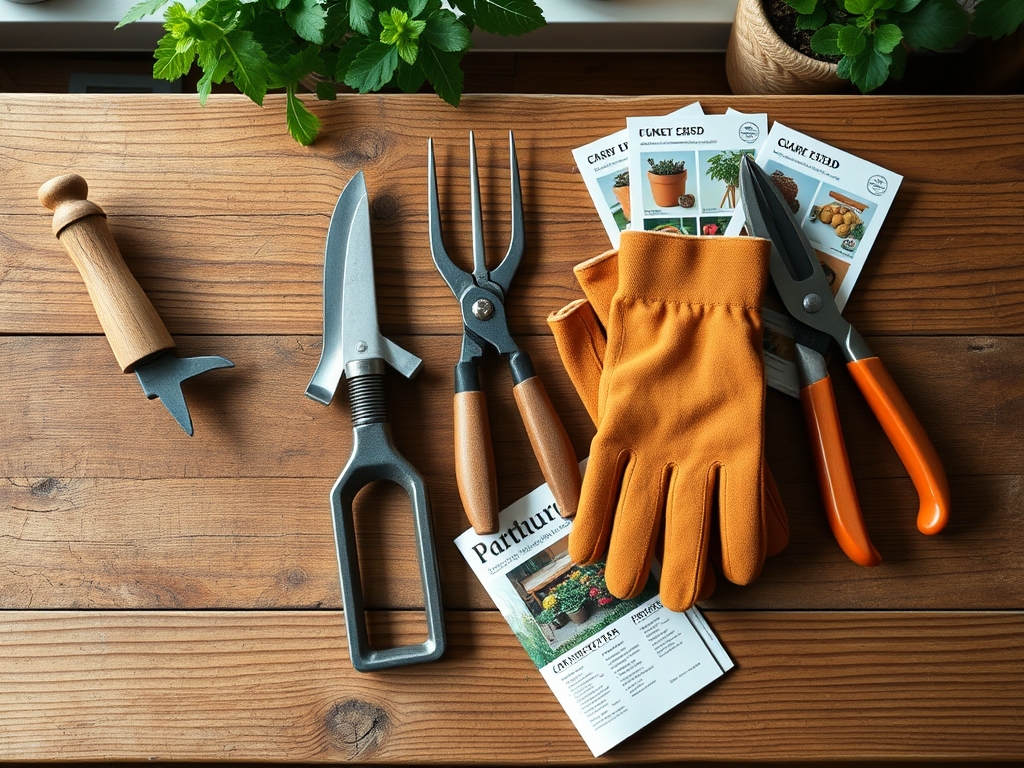
Materials:
The success of a patio installation depends on the interaction between the tile and the underlying substrate. An ideal substrate consists of a **friable loam** with a high sand content to ensure rapid drainage. Soil pH should be maintained between **6.0 and 7.0** to prevent acidic runoff from degrading the calcium carbonate often found in traditional lime mortars. For the surrounding vegetation, an NPK ratio of **10-10-10** provides a balanced nutrient profile during the initial establishment phase. High Cation Exchange Capacity (CEC) in the soil ensures that essential ions like potassium and magnesium remain available to the roots rather than leaching through the porous clay of the tiles.
Timing:
Installation and planting must align with specific Hardiness Zones, typically Zones 4 through 9 for most durable terracotta varieties. The "Biological Clock" of your garden dictates that hardscape work should be completed at least four weeks prior to the average last frost date. This window allows the soil to settle and prevents the mechanical disruption of emerging perennials. As plants transition from the vegetative stage to the reproductive stage, their water demands increase; installing the patio during the dormant winter or early spring prevents heat stress on the root zone during the critical mid-summer photoperiod.
Phases:

Sowing
When planting groundcovers between tiles, ensure the seedbed is compressed to a depth of 0.25 inches. Use a mixture of fine compost and sharp sand to create a medium that encourages rapid germination. Maintain a soil temperature of at least 65 degrees Fahrenheit for optimal metabolic activity.
Pro-Tip: Utilize mycorrhizal inoculants during sowing. This facilitates a symbiotic relationship where fungal hyphae extend the reach of the root system, increasing phosphorus uptake and drought resistance through enhanced hydraulic conductivity.
Transplanting
When moving established plants into the patio margins, use a hori-hori knife to slice through any circling roots. This mechanical disruption stimulates the production of new lateral roots. Ensure the root flare is exactly level with the tile surface to prevent stem rot.
Pro-Tip: Minimize transplant shock by applying a diluted seaweed extract. The natural cytokinins in the extract suppress auxin-driven apical dominance, encouraging the plant to focus energy on root re-establishment rather than upward growth.
Establishing
The first 90 days are critical for both the tile setting and the plant life. Irrigate the area deeply to settle the sub-base and hydrate the rhizosphere. Monitor the tile joints for any shifting that could indicate poor soil compaction or excessive hydrostatic pressure.
Pro-Tip: Avoid heavy foot traffic during the first three weeks. This prevents soil compaction, which reduces macropore space and limits the oxygen availability necessary for cellular respiration in the root zone.
The Clinic:
Physiological disorders often manifest as physical changes in the plant or the tile surface.
Symptom: White, powdery crust on tile surfaces.
Solution: This is efflorescence caused by salt migration. Reduce the use of high-sodium fertilizers and improve sub-surface drainage to lower the water table.
Symptom: Yellowing of younger leaves with green veins (Interveinal Chlorosis).
Solution: This indicates an Iron deficiency, often caused by high pH levels in the mortar. Apply chelated iron and check the soil pH to ensure it has not spiked above 7.5.
Symptom: Stunted growth and purple tinting on the underside of leaves.
Solution: Phosphorus deficiency. Incorporate bone meal or a high-phosphate fertilizer into the soil at a rate of 2 pounds per 100 square feet.
Fix-It Section: For Nitrogen chlorosis (general yellowing of older leaves), apply a quick-release nitrogen source like blood meal. Ensure the application is at least 12 inches away from the tile edge to prevent staining.
Maintenance:
Precision is required to maintain the integrity of the patio and the health of the flora. Deliver 1.5 inches of water per week at the drip line using a soaker hose to ensure deep penetration without saturating the tile base. Use a soil moisture meter daily during the summer months to maintain a moisture level between 40% and 60%. Prune overhanging branches with bypass pruners to ensure at least six hours of direct sunlight reaches the tiles, which prevents the growth of moss and liverworts that can trap moisture and cause freeze-thaw damage.
The Yield:
For patios integrated with herb gardens, harvest during the morning hours after the dew has evaporated but before the sun reaches its zenith. This timing ensures the highest concentration of essential oils. Use sharp snips to make clean cuts, preventing tissue jaggedness that leads to senescence. Place harvested materials in a cool, shaded area immediately to maintain turgor pressure and prevent wilting.
FAQ:
What is the best NPK ratio for patio-side plants?
A balanced 10-10-10 ratio is generally optimal. It provides sufficient nitrogen for foliage, phosphorus for root strength near stone structures, and potassium for overall cellular health and disease resistance without causing excessive growth that might disrupt tile alignment.
How do I prevent terracotta tiles from cracking in winter?
Select tiles with a low absorption rate, ideally below 3%. Ensure the sub-base is graded at a 2% slope to prevent standing water. Proper drainage prevents the expansion of ice from putting mechanical stress on the clay body.
Can I use salt to de-ice my terracotta patio?
No. Sodium chloride causes chemical spalling and increases soil salinity. High salinity interferes with the osmotic potential of plant roots, leading to physiological drought. Use coarse sand for traction to protect both the tiles and the rhizosphere.
Why are my patio plants wilting despite regular watering?
This may be due to "heat sink" effect or root rot. Terracotta absorbs thermal energy, potentially cooking roots in poorly insulated containers. Conversely, if drainage is blocked, anaerobic conditions lead to root senescence. Check soil oxygen levels and drainage.