9 Critical Steps to Backfill Retaining Walls
The smell of wet clay and the gritty texture of crushed limestone define the structural integrity of a landscape. When a retaining wall fails, it is rarely due to the block itself; failure occurs because the hydrostatic pressure behind the wall exceeded the shear strength of the soil. Mastering the steps to backfill retaining walls requires a deep understanding of soil mechanics and hydraulic conductivity. You must manage the weight of the earth while ensuring the rhizosphere of any planned plantings remains oxygenated. Success depends on layering materials that facilitate rapid drainage while providing a stable foundation for the vertical structure.
Materials:

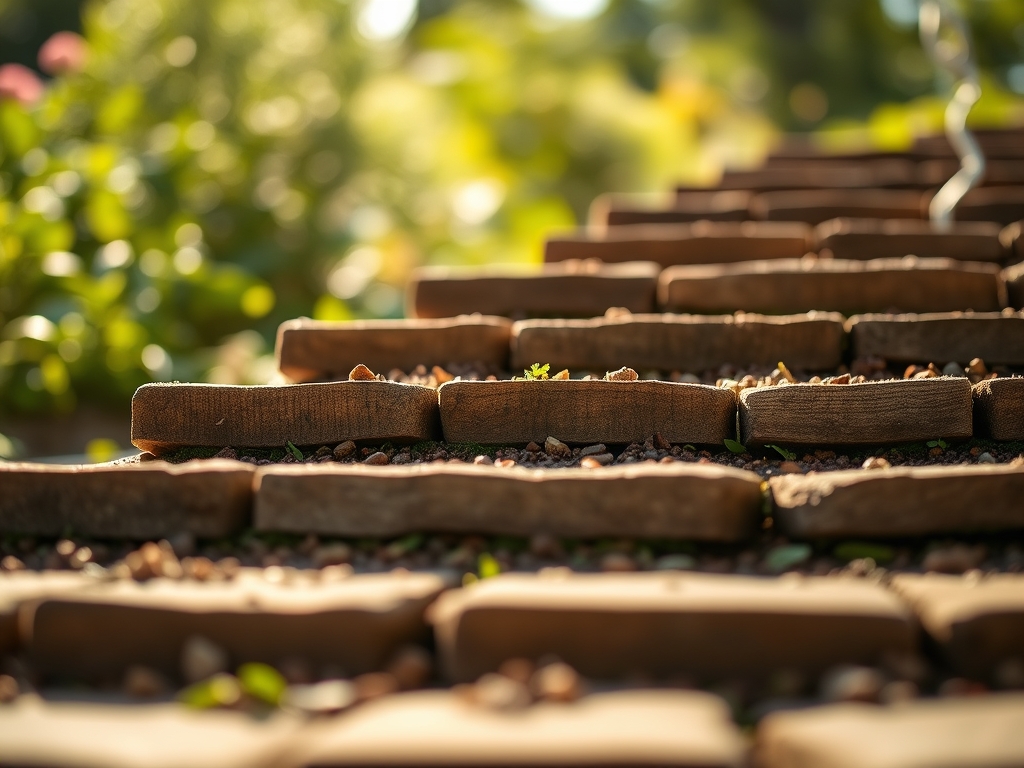
The selection of backfill material dictates the Cation Exchange Capacity (CEC) and the eventual health of the vegetation anchored above the wall. For the primary drainage zone, use 3/4 inch angular crushed stone. Unlike rounded river rock, angular stone interlocks to provide structural stability while maintaining a high percentage of void space for water movement.
For the planting layer above the drainage stone, specify a friable loam with a soil pH between 6.0 and 7.0. This substrate should consist of 40 percent sand, 40 percent silt, and 20 percent clay. To ensure optimal establishment of ornamental or edible crops, incorporate a slow release fertilizer with an NPK ratio of 10-10-10 into the top 6 inches of the loam. Avoid heavy clays in the backfill zone; clay retains excessive moisture, which increases the unit weight of the soil and can lead to structural "heave" during freeze-thaw cycles.
Timing:
In Hardiness Zones 4 through 7, backfilling must occur when the soil is not saturated or frozen. The ideal window is late spring or early autumn, at least three weeks before the first hard frost. This timing aligns with the biological clock of most temperate perennials, allowing root systems to move from the vegetative growth phase into a period of establishment before winter dormancy.
Soil temperature should be a minimum of 55 degrees Fahrenheit to ensure that any biological amendments, such as mycorrhizal fungi, can colonize the new root zone. If you backfill during the heat of summer, the high transpiration rates can lead to rapid loss of turgor pressure in new plantings. Aim for a period of moderate photoperiods to reduce environmental stress on the newly disturbed site.
Phases:

Sowing the Foundation
The first step involves laying a 4 inch perforated drain pipe at the base of the wall, sloped at a 2 percent grade toward a daylight exit. Cover this pipe with a filter fabric to prevent "fines" (small soil particles) from clogging the system. Fill the first 12 inches with angular stone.
Pro-Tip: Ensure the filter fabric is taut. This prevents the migration of silt into the drainage aggregate, maintaining the hydraulic conductivity of the system. Without this barrier, the "biological why" is simple: silt buildup creates an anaerobic environment that rots roots and increases lateral earth pressure.
Transplanting and Compaction
Backfill in 6 inch lifts. For every 6 inches of stone or soil added, use a mechanical plate compactor or a hand tamper. This prevents future settling that can shear root hairs. When the backfill reaches the desired planting depth, introduce your nursery stock.
Pro-Tip: When placing plants, do not bury the root flare. Maintaining the proper depth ensures that gas exchange continues at the base of the trunk or stem. If the flare is buried, the plant may suffer from auxin suppression, leading to stunted terminal growth.
Establishing the Root Zone
The final 12 to 18 inches of backfill should be the nutrient-rich friable loam. Lightly compact this layer by foot to remove large air pockets while preserving the macropores necessary for water infiltration.
Pro-Tip: Inoculate the backfill with endomycorrhizal fungi. This creates a symbiotic relationship where the fungi extend the reach of the root system, increasing the uptake of phosphorus and water. This is a critical "biological why" for walls in well-drained, sandy environments where nutrients leach quickly.
The Clinic:
Physiological disorders in retaining wall plantings often stem from poor drainage or improper soil chemistry.
-
Symptom: Interveinal chlorosis (yellowing leaves with green veins) in new growth.
-
Solution: This indicates Iron deficiency, often caused by a pH above 7.5. Apply chelated iron and incorporate elemental sulfur to lower the pH to a range of 6.2 to 6.8.
-
Symptom: Marginal leaf burn or "scorching."
-
Solution: This suggests Potassium deficiency or salt accumulation. Flush the soil with 2 inches of water and apply a 0-0-50 sulfate of potash amendment.
-
Symptom: Wilting despite moist soil.
-
Solution: This is likely root rot (Phytophthora) caused by poor drainage in the backfill. You must increase the depth of the angular stone layer or improve the outlet of the drainage pipe.
Fix-It for Nitrogen Chlorosis: If the entire leaf turns pale green or yellow, the plant lacks Nitrogen. Apply a quick-release calcium nitrate at a rate of 0.5 pounds per 100 square feet to rapidly restore chlorophyll production.
Maintenance:
Precision is required to maintain the balance between structural dry-stone and plant hydration. Use a soil moisture meter to monitor the rhizosphere daily for the first 30 days. Plants behind a retaining wall dry out faster than those in the ground due to increased evaporation through the wall face. Provide 1.5 inches of water per week at the drip line, preferably delivered via drip irrigation to avoid soil erosion.
Use a hori-hori knife to remove weeds by the root, ensuring you do not disturb the structural fabric or the drainage pipe. Prune dead or senescent wood with bypass pruners to redirect the plant's energy toward root establishment. Annually check the drainage outlets for blockages from debris or rodent nests to ensure hydrostatic pressure does not build up.
The Yield:
For walls supporting edible crops like rosemary or thyme, harvest during the morning when turgor pressure is at its peak. Use sharp shears to take no more than one-third of the vegetative growth at a time. To ensure "day-one" freshness, immediately submerge the cut ends in 40 degree Fahrenheit water to slow the metabolic rate and prevent wilting. This rapid cooling preserves the essential oils and cellular structure of the harvest.
FAQ:
What is the best material for backfilling?
Use 3/4 inch angular crushed stone for the first 12 inches behind the wall. This provides structural stability and maximum drainage. For the top layer, use a friable loam high in organic matter to support plant health.
How do I prevent the wall from leaning?
Proper compaction is essential. Backfill in 6 inch increments and use a plate compactor. Ensure a perforated drain pipe is installed at the base to prevent hydrostatic pressure from pushing against the back of the wall.
Can I use the dirt I dug out for backfill?
Only if it is well-draining. Heavy clay or silty soils retain too much water and expand when frozen. This exerts lateral pressure that can cause wall failure. Always prioritize angular stone for the primary drainage zone.
How deep should the drainage stone be?
The drainage column should be at least 12 inches wide and extend from the base of the wall to within 6 inches of the top surface. This ensures water moves vertically to the drain pipe rather than saturating the soil.