8 Vital Steps to Plant Olive Tree Groves
Crushing a handful of well drained soil reveals a gritty texture and the scent of geosmin; this is the foundation of a productive orchard. A healthy olive leaf maintains high turgor pressure, feeling stiff and resilient between the thumb and forefinger. Establishing a grove requires more than just digging holes. Success depends on precise mechanical and biological execution. Following the specific steps to plant olive tree groves ensures your saplings transition from nursery stock to a permanent, high yielding canopy.
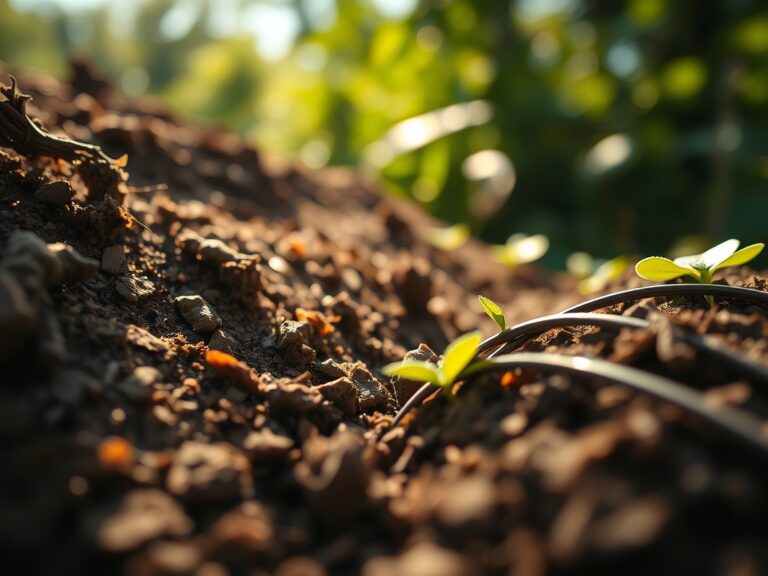
Establishing an olive grove is a long term investment in soil health and structural integrity. You must prioritize the rhizosphere by ensuring oxygen can reach the root zone. Compacted clay or standing water will lead to root asphyxiation within forty eight hours. By focusing on the chemical composition of the earth and the physiological needs of the Olea europaea species, you can achieve a ninety five percent survival rate. This guide provides the technical framework for commercial or homestead scale production.
Materials:
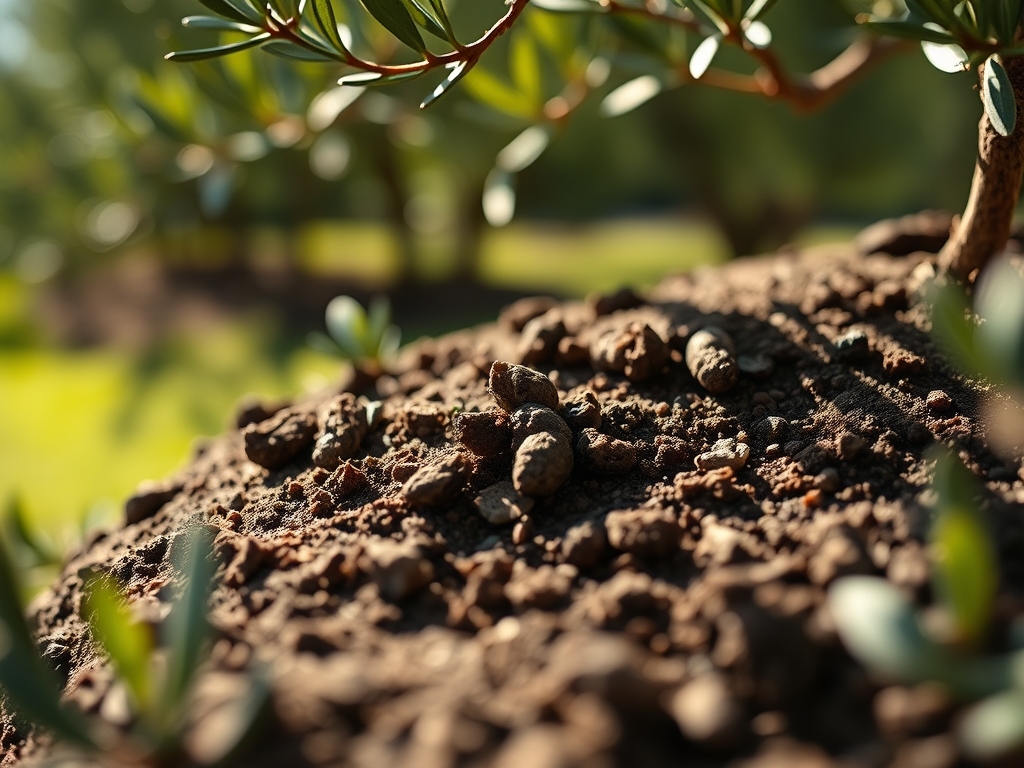
The ideal substrate for an olive grove is a friable loam with a high percentage of rock or gravel to facilitate drainage. You must aim for a soil pH between 7.0 and 8.5. If your soil is acidic, apply calcitic limestone to raise the pH level. Olives are sensitive to boron deficiency but require specific NPK ratios for early development.
For the establishment phase, utilize a 10-10-10 or 14-14-14 slow release fertilizer to provide a steady supply of nitrogen, phosphorus, and potassium. The Cation Exchange Capacity (CEC) should ideally be above 15 meq/100g to ensure the soil can retain and exchange essential nutrients like calcium and magnesium. Avoid heavy peat or high organic matter mixes that retain excessive moisture; the goal is a substrate that allows for rapid percolation.
Timing:
Olive trees thrive in USDA Hardiness Zones 8 through 11. They require a specific number of "chilling hours" (temperatures between 35 and 45 degrees Fahrenheit) to trigger the transition from the vegetative stage to the reproductive stage. This biological clock is essential for fruit production.
The optimal planting window is late winter to early spring, specifically after the last killing frost but before the heat of summer. This allows the root system to establish before the tree faces high transpiration demands. In regions with mild winters, autumn planting is also viable, as it allows for root growth during the dormant season. Avoid planting when soil temperatures are below 45 degrees Fahrenheit, as root activity ceases and the plant becomes susceptible to fungal pathogens.
Phases:

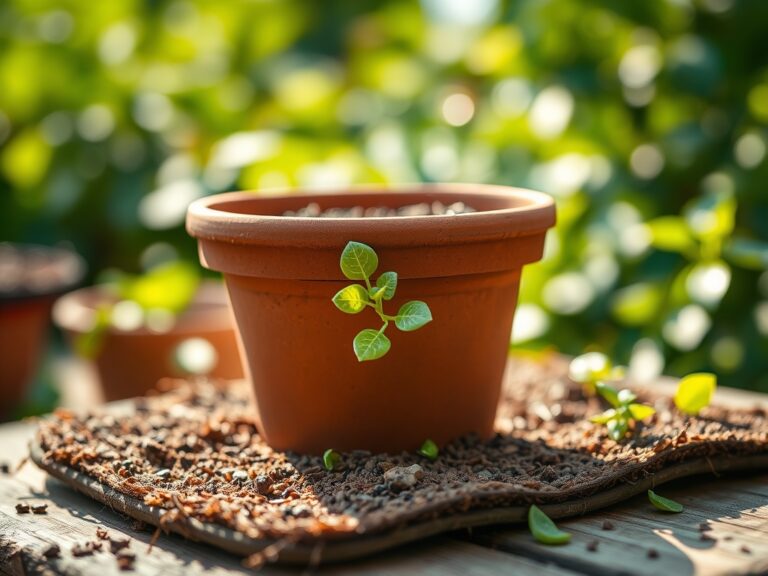
Sowing and Propagation
Most groves begin with one or two year old self rooted cuttings or grafted saplings rather than seeds. Seeds often result in wild type trees with poor fruit quality. If using cuttings, maintain a bottom heat of 75 degrees Fahrenheit to stimulate callus formation and root initiation.
Pro-Tip: Use a rooting hormone containing Indole-3-butyric acid (IBA). This mimics natural auxins, which are phytohormones that signal the plant to divert energy from apical growth to root development.
Transplanting
Dig a hole twice as wide as the root ball but no deeper. The "root flare" where the trunk meets the roots must remain at or slightly above the soil line. Planting too deep leads to trunk rot and reduced gas exchange. Space trees 15 to 20 feet apart in a grid pattern to allow for airflow and sunlight penetration.
Pro-Tip: Inoculate the planting hole with mycorrhizal fungi. This creates a symbiotic relationship where the fungi extend the reach of the root system, increasing the uptake of phosphorus and water.
Establishing
Immediately after transplanting, saturate the soil to eliminate air pockets. Stake the tree with a flexible tie to allow for slight movement; this mechanical stress encourages the development of "reaction wood," which strengthens the trunk.
Pro-Tip: Maintain a weed free radius of three feet around the base. This prevents nutrient competition and reduces the risk of allelopathy, where weeds release chemicals that inhibit olive growth.
The Clinic:
Monitoring the physiological state of the grove is a daily requirement. Use the following data to diagnose and rectify issues.
Symptom: Yellowing of older leaves starting at the tips (Chlorosis).
Solution: This indicates a Nitrogen deficiency. Apply a water soluble high nitrogen fertilizer or ammonium sulfate to the soil surface.
Symptom: Leaf "scorch" or browning of leaf margins.
Solution: This is often a sign of Potassium deficiency or salt toxicity. Flush the soil with fresh water and adjust the NPK ratio to include more potash.
Symptom: Distorted new growth and "witch's broom" appearance.
Solution: This points to a Boron deficiency. Apply a foliar spray of borax at a concentration of 0.1 percent during the pre blossom stage.
Fix-It for Drainage: If you observe wilting despite wet soil, the tree is likely experiencing root rot (Phytophthora). Improve drainage by installing French drains or elevating the planting site into mounds at least 12 inches high.
Maintenance:
Precision irrigation is the difference between a surviving tree and a thriving grove. During the first two years, provide 1.5 inches of water per week delivered at the drip line. Use a soil moisture meter to ensure the root zone at a depth of 12 inches is moist but not saturated.
Pruning should be minimal in the first three years. Use sharp bypass pruners to remove "suckers" growing from the base of the trunk. These water sprouts divert energy away from the main scaffold branches. As the tree matures, use a hori-hori knife to clear weeds near the crown and a pruning saw to maintain an "open center" or "vase" shape. This configuration maximizes sunlight interception for the interior leaves, preventing premature senescence (cell death) of lower branches.
The Yield:
Harvesting typically occurs in late autumn. For oil production, harvest when the fruit transitions from green to purple (the "veraison" stage). For table olives, harvest while the fruit is still green but has reached full size.
Use a hand rake or a mechanical shaker to dislodge the fruit onto nets spread beneath the canopy. To maintain "day-one" freshness and prevent oxidation, process the olives within 24 hours of harvest. If the fruit skin is broken, the internal fats begin to break down, increasing the acidity and ruining the flavor profile. Store harvested olives in shallow, ventilated crates in a cool, shaded environment until they reach the mill.
FAQ:
What is the best soil pH for olive trees?
Olive trees require a soil pH between 7.0 and 8.5. They are calciphiles and perform best in slightly alkaline conditions. If your pH is below 6.5, incorporate lime to increase alkalinity before planting the grove.
How much water do young olive trees need?
Young trees require approximately 1.5 inches of water per week during the growing season. Use a drip irrigation system to deliver water directly to the root zone, ensuring the moisture penetrates 12 to 18 inches deep into the soil profile.
Do olive trees need a pollinator?
While many olive varieties are self fertile, planting two or more compatible varieties increases fruit set through cross pollination. This is especially important in regions with fluctuating spring temperatures that can interfere with pollen tube growth and fertilization.
Why are my olive tree leaves turning yellow?
Yellowing leaves, or chlorosis, usually indicates a nitrogen deficiency or poor drainage leading to root stress. Check soil moisture levels first. If the soil is not overly saturated, apply a nitrogen rich fertilizer to restore leaf color.
When should I prune my olive grove?
Perform major structural pruning in late winter or early spring before the tree breaks dormancy. This timing allows the tree to heal wounds quickly as the sap begins to flow, reducing the risk of pathogen entry into the vascular system.