9 Easy Ways How to Start an Apartment Balcony Garden
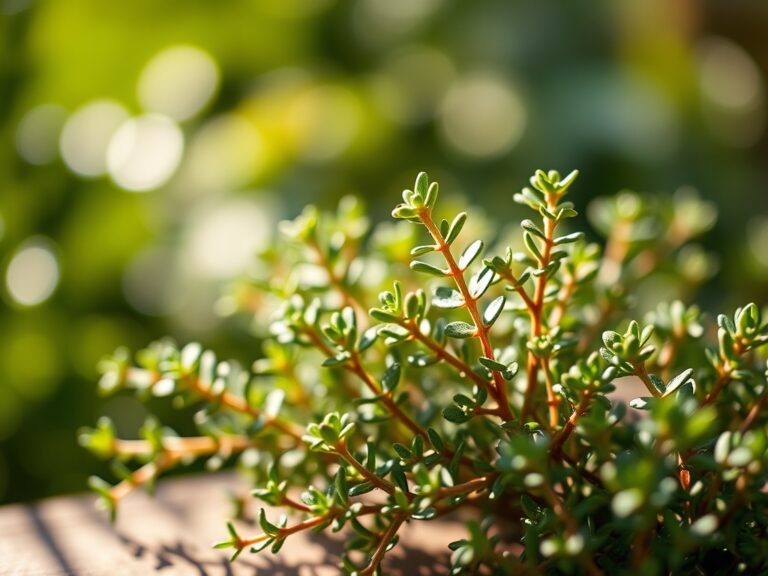
The smell of damp peat moss and the gritty texture of perlite between your fingers signal the start of a functional urban ecosystem. Success in small scale horticulture depends on maintaining high turgor pressure in cellular structures to ensure stems remain rigid against wind shear. Learning how to start an apartment balcony garden requires a shift from casual planting to precise environmental management. You must account for microclimates where concrete heat retention and wind desiccation dictate the survival of every specimen.
Materials:
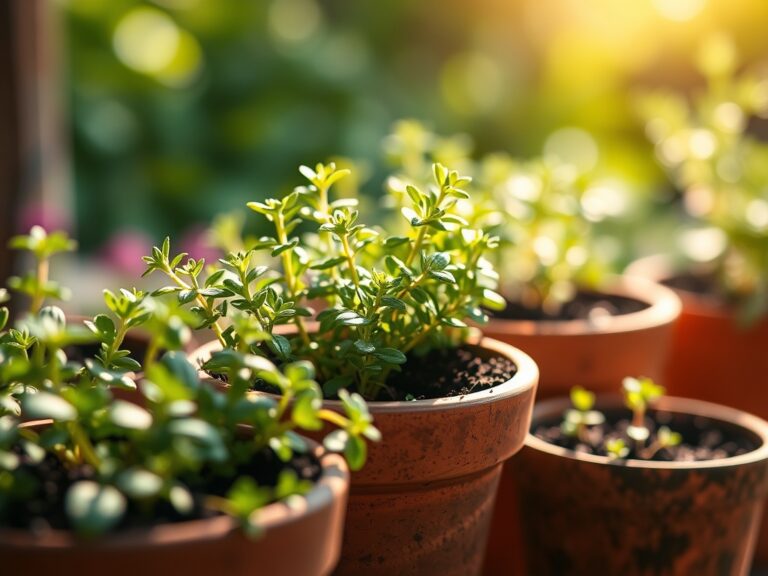
Standard garden soil is too dense for containers and lacks the necessary Cation Exchange Capacity (CEC) for limited root zones. You require a **friable loam** substitute consisting of 40 percent peat or coconut coir; 30 percent compost; and 30 percent aeration agents like perlite or vermiculite. This mixture ensures a **pH range of 6.2 to 6.8**, which is the optimal window for nutrient solubility.
Specific NPK (Nitrogen, Phosphorus, Potassium) ratios must be tailored to the crop. For leafy greens, utilize a 10-5-5 ratio to drive vegetative growth. For fruiting plants like balcony tomatoes, transition to a 5-10-10 ratio once buds appear to support reproductive development. Ensure your containers have drainage holes to prevent anaerobic conditions in the rhizosphere, which leads to root rot.
Timing:
Most balcony gardeners operate within USDA Hardiness Zones 4 through 10. However, a balcony often sits half a zone higher than the ground level due to the thermal mass of the building. You must track your local last frost date and wait until soil temperatures consistently reach 60 degrees Fahrenheit (15.5 Celsius) before moving sensitive transplants outside.
The biological clock of your garden is governed by the photoperiod. Long day plants require more than 12 hours of light to trigger the transition from the vegetative stage to the reproductive stage. On a north facing balcony, you may need to supplement with LED grow lights to prevent etiolation, a condition where plants become weak and spindly while searching for light.
Phases:

Sowing
Begin by saturating your growth medium until it reaches field capacity. Place seeds at a depth approximately two times their diameter. Maintain a consistent temperature of 70 degrees Fahrenheit for optimal germination rates.
Pro-Tip: Monitor for phototropism, where seedlings lean toward the light source. Rotate containers 180 degrees every 24 hours to ensure even distribution of auxins, the hormones responsible for cell elongation, preventing lopsided structural development.
Transplanting
When seedlings develop their second set of true leaves, they are ready for larger vessels. Gently loosen the root ball to encourage outward growth into the new substrate. Ensure the transition happens during late afternoon to reduce transplant shock caused by high transpiration rates in midday sun.
Pro-Tip: Inoculate the root zone with mycorrhizal fungi. This symbiotic relationship extends the reach of the root system, increasing the surface area for water and phosphorus absorption by up to 100 times.
Establishing
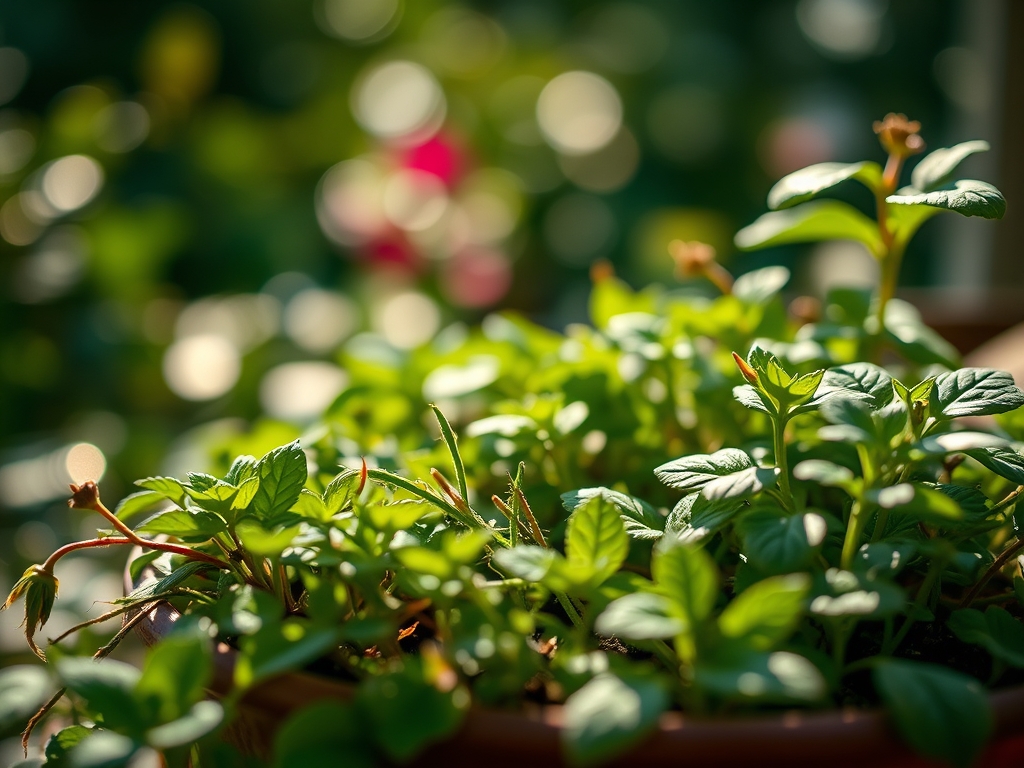
During the first 14 days post transplant, the plant focuses on root architecture rather than canopy expansion. Maintain high humidity if possible and shield the plants from high velocity winds which can cause mechanical damage to the cuticle.
Pro-Tip: Practice apical pruning on herbs like basil. By pinching off the terminal bud, you suppress apical dominance and force the plant to redirect energy to lateral buds, resulting in a bushier growth habit.
The Clinic:
Physiological disorders often mimic infectious diseases but result from environmental stress.
- Symptom: Interveinal chlorosis (yellowing between leaf veins) on old growth.
Solution: This indicates a Nitrogen deficiency. Apply a water soluble fertilizer with a high first digit in the NPK ratio to restore chlorophyll production.
- Symptom: Blossom end rot on fruit.
Solution: This is caused by a Calcium localized deficiency, often triggered by inconsistent watering. Maintain steady moisture levels to ensure calcium ions can move through the xylem.
- Symptom: Leaf curl and scorched margins.
Solution: This is typically Potassium deficiency or wind burn. Check the soil with a moisture meter; if the soil is wet but the plant is wilting, move it to a sheltered location to reduce the transpiration rate.
- Symptom: Purpling of the underside of leaves.
Solution: This signals Phosphorus deficiency, common in cold soils where the nutrient becomes chemically locked. Increase the ambient temperature of the root zone.
Maintenance:
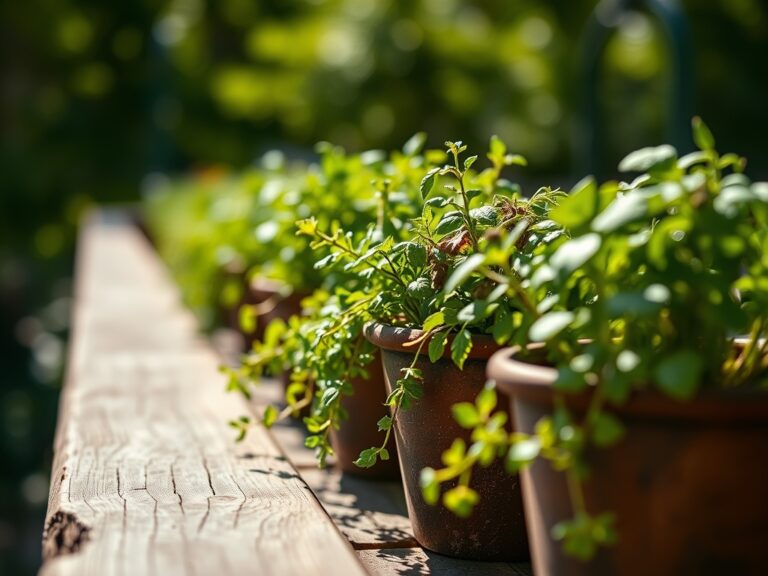
Precision watering is the baseline of container management. Most balcony plants require 1.5 inches of water per week, delivered directly to the drip line to avoid wetting the foliage. Use a soil moisture meter to verify that the top 2 inches of substrate are dry before re-watering.
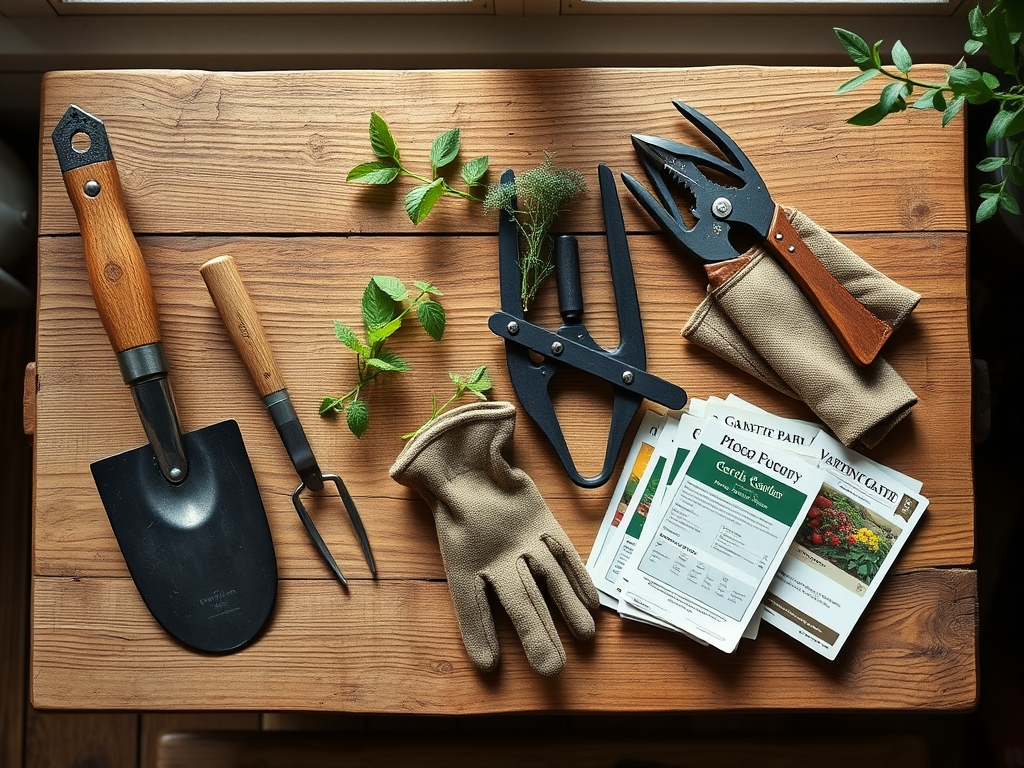
For pruning and maintenance, use bypass pruners for clean vascular cuts that heal quickly. A hori-hori knife is essential for weeding and measuring planting depths in deep containers. Every 4 weeks, top dress the containers with 1 inch of fresh worm castings to replenish the cation exchange capacity of the medium, ensuring nutrients remain available to the roots.
The Yield:
Harvesting is a physiological intervention. For leafy greens, harvest in the early morning when turgor pressure is at its peak; this ensures the leaves are crisp and have maximum shelf life. Use sharp shears to avoid tearing the vascular tissue, which can invite pathogens.
For fruiting crops, harvest just before full ripeness if birds or wind are a factor. Once harvested, submerge the stems of herbs in cool water or place produce in a high humidity crisper drawer to slow down senescence, the natural aging process of plant tissues. This preserves the sugars and volatile oils developed during the growth cycle.
FAQ:
How much weight can my balcony hold?
Most modern balconies support 50 to 100 pounds per square foot. Use lightweight expanded clay aggregate or perlite to reduce the weight of large planters. Always place the heaviest pots near load bearing walls or structural columns.
What is the best way to water a balcony garden?
Use a watering can with a fine rose attachment or a drip irrigation system. Apply water until it exits the drainage holes. This ensures the entire root zone is hydrated and flushes out accumulated mineral salts.
How do I handle high winds on a high rise?
Secure tall plants to railings using soft ties. Use heavy ceramic or stone pots for stability. Create a windbreak using lattice or hardy, flexible shrubs to reduce the mechanical stress and desiccation on more delicate species.
Can I reuse potting soil next year?
Yes, but you must recharge it. Remove the top 4 inches and replace with fresh compost. Incorporate a slow release fertilizer to restore the NPK balance and ensure the substrate has not become overly compacted or hydrophobic.