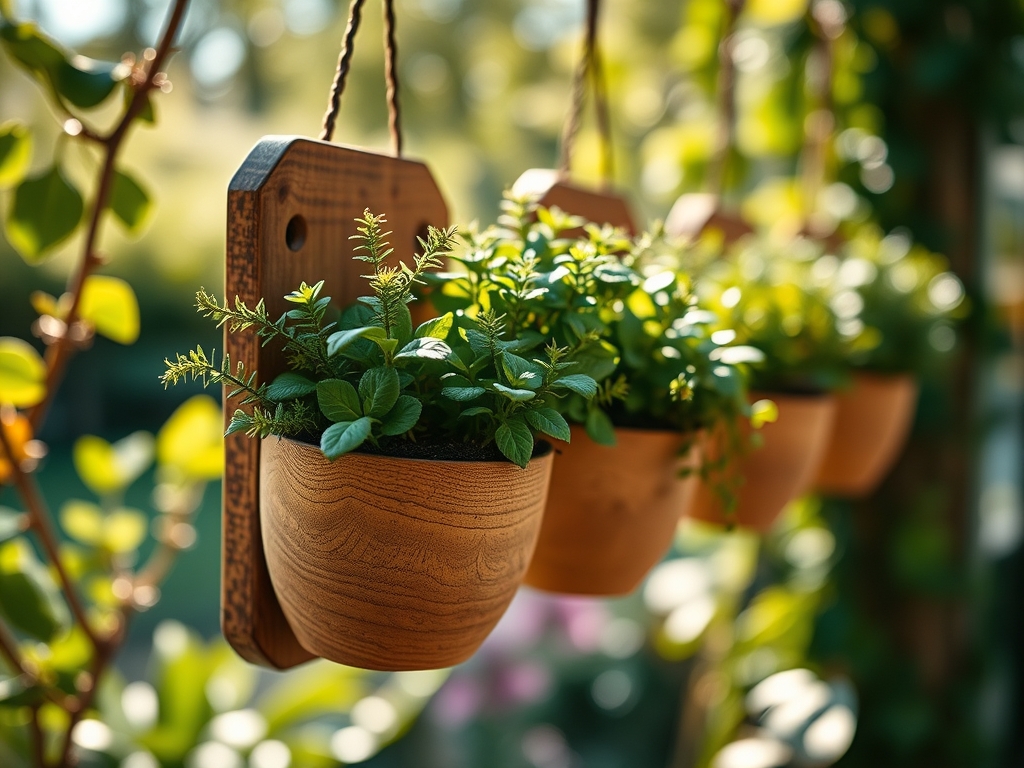
6 Creative Ways How to Use Wall Mounted Planters
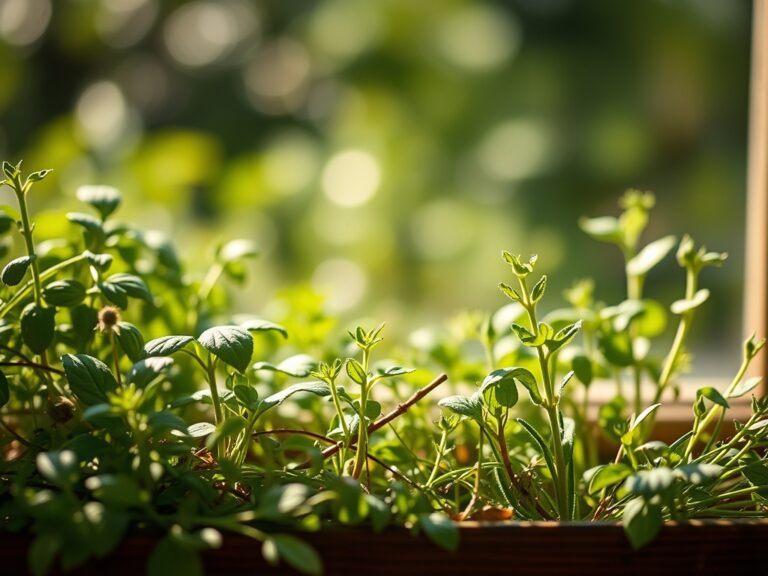
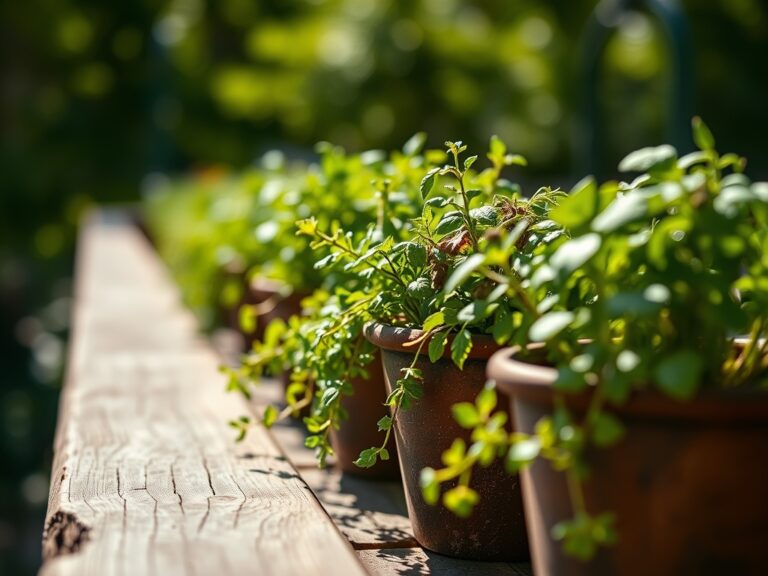
Wall mounted planters transform vertical surfaces into productive growing zones that conserve floor space while increasing photosynthetic area per square foot. Learning how to use wall mounted planters begins with understanding weight load distribution, irrigation access, and microclimatic variation across vertical planes. A south-facing wall retains 12-18°F more heat than ambient air temperature, creating a microclimate analogous to planting one full hardiness zone warmer. These systems work best when matched to plant root architecture and water delivery infrastructure.
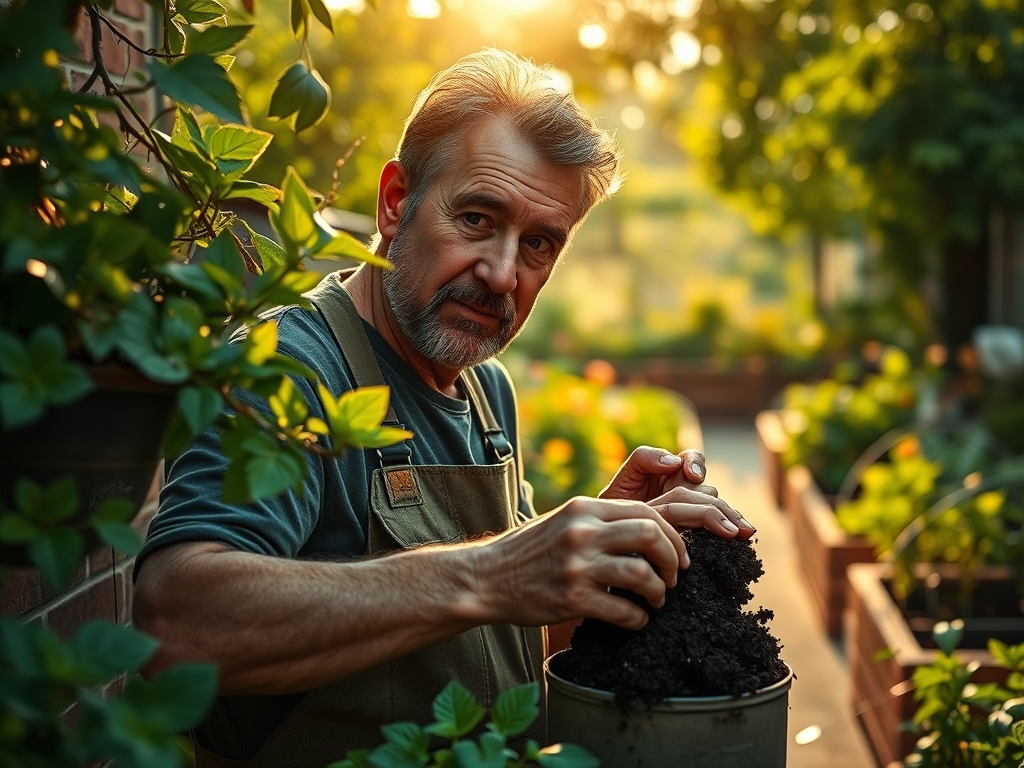
Materials
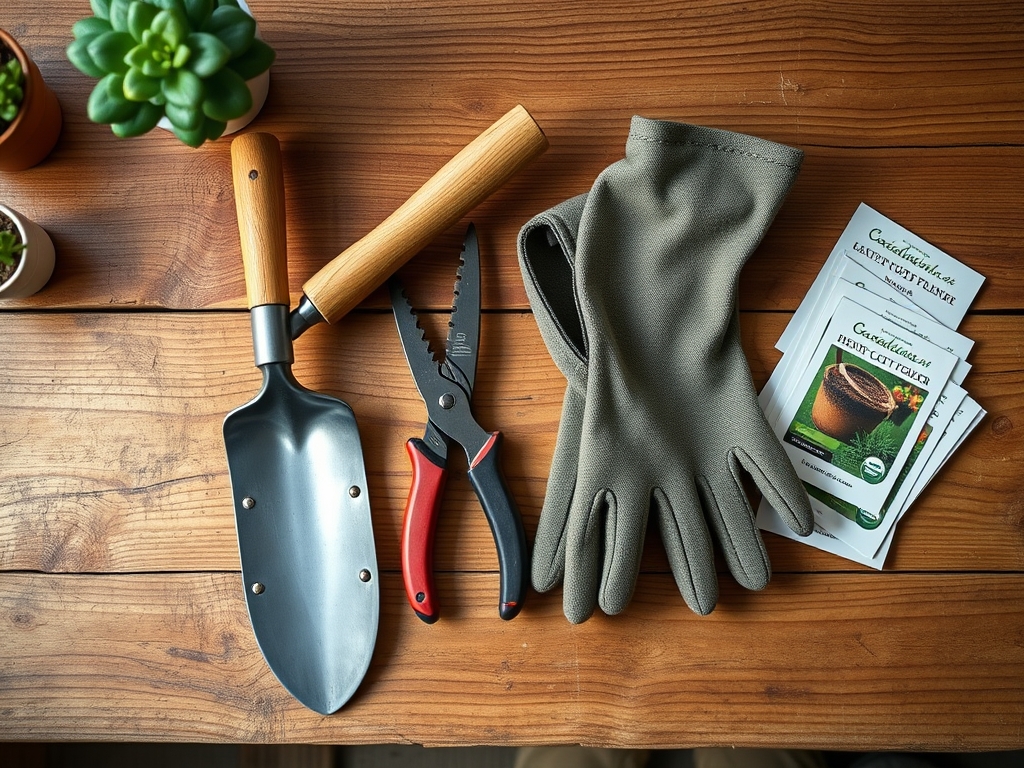
Select containers with drainage capacity of 0.25 inches per hour minimum. Metal planters require powder-coat finish rated for 500+ hours salt-spray resistance. Plastic resin must be UV-stabilized polypropylene with 2-year fade warranty.
Substrate should contain 40% perlite or pumice by volume to prevent compaction under gravity. For acid-loving species, mix 3 parts peat moss, 2 parts composted pine bark, and 1 part coarse sand to achieve pH 5.2-6.0. For Mediterranean herbs, use 2 parts coconut coir, 2 parts composted bark, and 3 parts pumice targeting pH 6.5-7.2.
Amend with granular organic fertilizer at 4-4-4 NPK ratio, applied at 2 tablespoons per gallon of media. Incorporate mycorrhizal fungi inoculant at 0.5 ounces per cubic foot to improve phosphorus uptake and drought tolerance. The cation exchange capacity should register 12-18 meq/100g for adequate nutrient retention without waterlogging.
Install drip irrigation emitters rated at 0.5-1.0 gallons per hour. Wall anchors must support 5x the saturated weight of each planter. A 3-gallon container weighs 28-32 pounds when fully hydrated.
Timing
In Zones 8-11, install wall mounted planters year-round, avoiding only periods of temperature above 95°F when transplant shock intensifies. Zones 5-7 require installation 4-6 weeks after last spring frost date, typically mid-April through May. This allows root establishment before summer heat stress.
For cool-season crops like lettuce and spinach, mount planters in late August through September in Zones 6-8. The vertical orientation reduces morning dew retention, cutting downy mildew incidence by 40% compared to horizontal beds.
Perennial installations benefit from autumn timing. Plant 6-8 weeks before first frost to encourage root development while shoot growth slows. Auxin distribution favors downward root expansion in cooling soil temperatures.
Phases
Sowing Phase
Fill planters to 1 inch below rim. Pre-moisten substrate to field capacity before sowing. Field capacity occurs when a handful of media releases 1-2 drops when squeezed.
Sow seeds at depth equal to 2x seed diameter. Lettuce and petunia require light for germination; press seeds onto surface without covering. Maintain substrate temperature at 68-72°F using bottom heat mats if ambient conditions fall below this range.
Pro-Tip: Apply kelp extract at 1 tablespoon per gallon during initial watering to stimulate cytokinin production and improve germination uniformity by 15-20%.
Transplanting Phase
Transplant seedlings when root balls show white tips emerging from drainage holes but before roots spiral. This occurs 4-6 weeks post-germination for most annuals.
Position transplants at same depth as nursery container. Planting too deep encourages stem rot; too shallow causes rapid moisture loss. Tamp substrate gently to eliminate air pockets without compressing pore space below 45% by volume.
Water immediately with dilute fish emulsion at 5-1-1 NPK ratio, mixed at 2 tablespoons per gallon. This bridges transplant shock by supplying readily available nitrogen.
Pro-Tip: Inoculate root zone with Trichoderma harzianum at 10^6 colony-forming units per gram of media. This beneficial fungus colonizes roots faster than pathogenic species, reducing damping-off by 60%.
Establishing Phase
Monitor daily water needs during the first 14 days. Wall mounted planters lose moisture 30% faster than ground-level containers due to increased air circulation. Insert moisture meter 2 inches deep; irrigate when reading drops to "3" on a 1-10 scale.
Apply balanced liquid fertilizer at 10-10-10 NPK ratio every 10 days, diluted to 150 ppm nitrogen. Vertical systems leach nutrients rapidly; consistent feeding prevents deficiency symptoms.
Pinch terminal buds on herbs and flowering annuals when stems reach 4-6 inches. Remove top 0.5 inches at 45-degree angle to encourage lateral branching and increase yield by 35%.
Pro-Tip: Install shade cloth providing 30% light reduction during establishment if wall receives more than 8 hours direct sun. Remove after 3 weeks once root systems colonize full container volume.
Troubleshooting
Symptom: Lower leaves yellow while upper foliage remains green; plants produce weak, spindly growth.
Solution: Nitrogen deficiency from excessive leaching. Increase fertilizer concentration to 200 ppm nitrogen or reduce irrigation frequency by 20%. Top-dress with blood meal at 13-0-0 NPK, applying 1 tablespoon per gallon container size.
Symptom: Leaf margins brown and crisp; wilting occurs even when substrate is moist.
Solution: Salt accumulation from over-fertilization or hard water. Leach planters with 2x container volume of clean water. Reduce fertilizer application by 50% for next 3 weeks. Test irrigation water; if EC exceeds 0.8 mS/cm, switch to rainwater or reverse osmosis.
Symptom: White powdery coating on leaf surfaces, starting on lower leaves.
Solution: Powdery mildew thrives in vertical installations with poor air circulation. Space planters 18 inches apart minimum. Spray with potassium bicarbonate solution (1 tablespoon per quart water) weekly for 3 weeks. Increase light exposure; fungi sporulate best in shade.
Symptom: Small holes in leaves; sticky residue on foliage; sooty black film develops.
Solution: Aphid infestation. Spray insecticidal soap at 2% concentration, covering undersides thoroughly. Release lady beetles at 1,500 per 500 square feet of wall space. Repeat soap application every 5 days for 2 weeks.
Symptom: Leaves curl upward; growth slows; substrate dries in 24 hours despite watering.
Solution: Root-bound condition in undersized container. Transplant to planter 2 inches wider in diameter. Score root ball in 4 vertical lines, 0.25 inches deep, to stimulate lateral root branching and prevent continued spiraling.
Maintenance
Irrigate when top 1 inch of substrate dries completely. Most systems require 0.5 gallons per 3-gallon planter every 2-3 days in summer, weekly in cooler months. Install moisture sensors at mid-depth if managing more than 12 planters.
Apply slow-release fertilizer pellets at 14-14-14 NPK ratio every 90 days, using 1 tablespoon per gallon of container volume. Scratch granules into top 0.5 inches of substrate to prevent nutrient runoff.
Prune dead foliage weekly to maintain air circulation and reduce pest habitat. Remove spent flowers every 3 days on annuals to redirect energy into continued blooming rather than seed production.
Flush substrate every 60 days with clean water at 3x container volume to prevent salt buildup. This practice maintains substrate EC below 2.0 mS/cm, preventing osmotic stress.
Rotate planters 180 degrees monthly if wall receives uneven light. This prevents phototropic leaning and encourages symmetrical canopy development.
FAQ
How much weight can standard drywall anchors support for wall mounted planters?
Drywall anchors rated at 50 pounds work only for containers under 2 gallons dry weight. Use wall studs with 3-inch lag bolts for planters 3 gallons or larger. Each mounting point should support 40 pounds minimum. Masonry walls require tapcon screws with 0.25-inch diameter, embedded 2 inches deep.
Which plants have shallow enough roots for wall mounted planters?
Lettuce, spinach, arugula, and Asian greens thrive in 4-6 inch depths. Herbs including basil, cilantro, parsley, and thyme need 6-8 inches. Strawberries produce well in 8-inch depths. Tomatoes require 12 inches minimum; choose determinate varieties that stay under 24 inches tall.
Do wall mounted planters need different soil than ground beds?
Yes. Standard garden soil compacts under its own weight in vertical containers, reducing porosity to 20% and suffocating roots. Soilless media with 40% perlite maintains 50-60% pore space. This ensures oxygen reaches roots and prevents anaerobic conditions that promote root rot pathogens like Pythium.
How do I prevent water damage to walls behind planters?
Install plastic or metal drip trays 1 inch below drainage holes. Seal wall surface with exterior-grade paint or waterproof membrane before mounting hardware. Maintain 2-inch gap between container back and wall surface using spacer blocks. Check mounting area quarterly for moisture stains indicating seal failure.
Can wall mounted planters survive winter in cold climates?
Containers lose root insulation compared to in-ground planting, effectively reducing hardiness by 2 zones. A Zone 6 plant in a wall planter survives only Zone 8 minimum temperatures. Move planters indoors or wrap with 2 inches of foam insulation when temperatures drop below 20°F for extended periods.