6 Easy Ways How to Create a Minimalist Indoor Garden
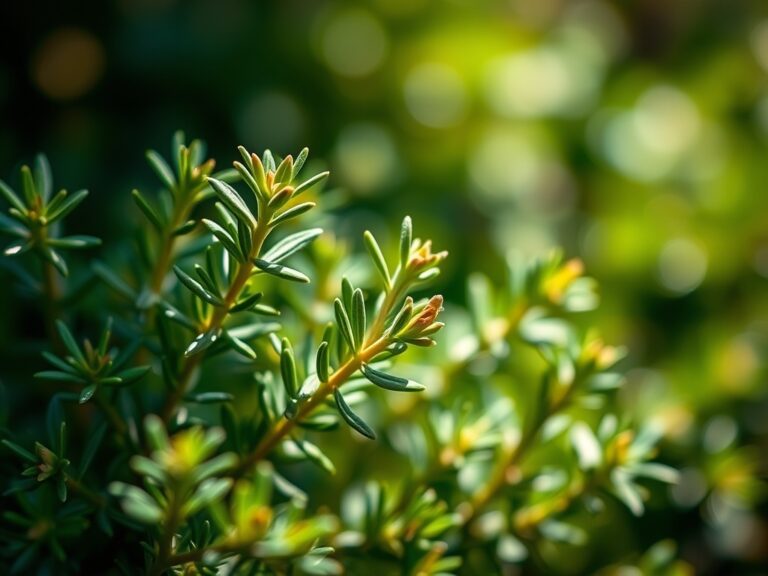
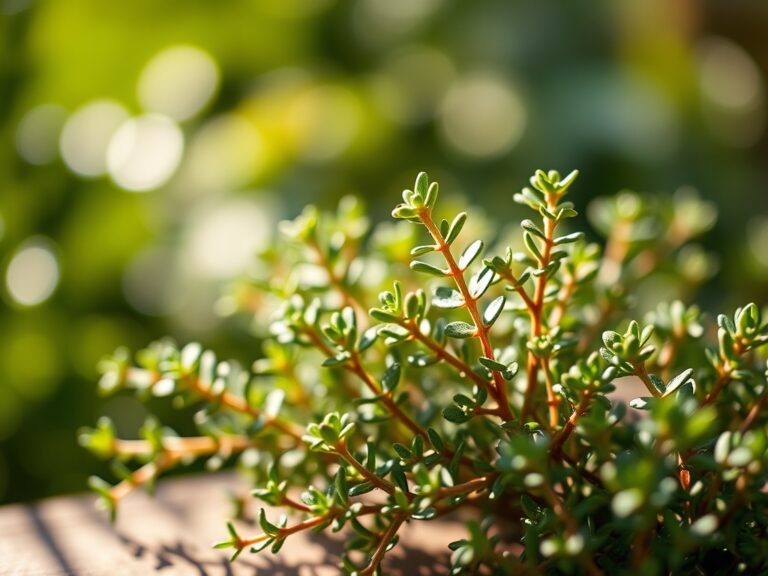
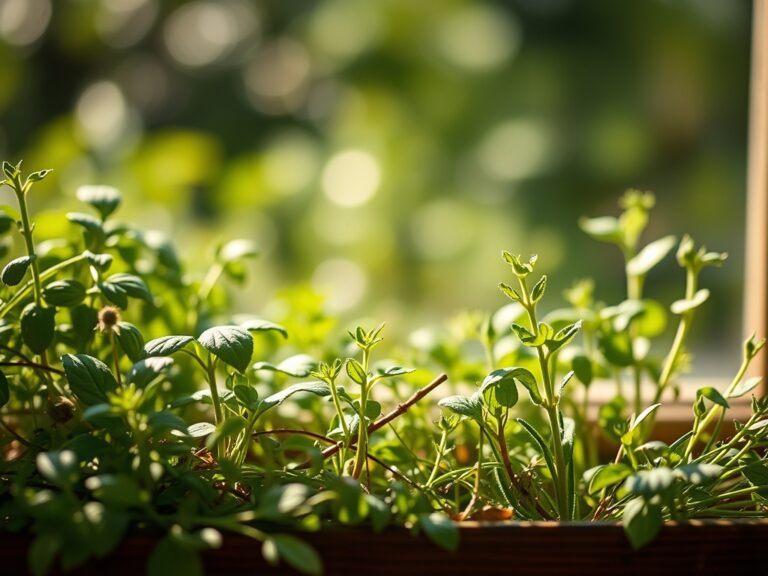
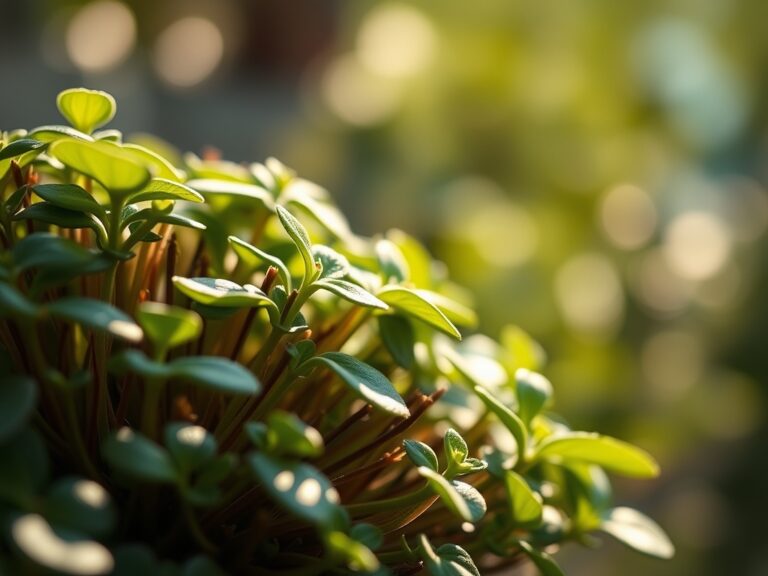
Turgor pressure dictates the structural integrity of a leaf; when the vacuole is full, the cell wall remains rigid and the plant stands firm. You can feel this resistance when you press a thumb against a healthy Ficus elastica leaf. Minimalist gardening is not about neglect; it is about precision and the reduction of variables to achieve maximum physiological health. Learning how to create a minimalist indoor garden requires a shift from ornamental excess to biological efficiency. You must prioritize the rhizosphere over aesthetics. Success is found in the smell of damp, aerobic earth and the absence of necrotic tissue. By focusing on a few high-performance species and optimizing their metabolic environment, you eliminate the clutter of struggling foliage. This approach demands a mastery of light cycles and substrate chemistry. We are stripping away the decorative noise to focus on the raw mechanics of botany. Every leaf must serve a purpose; every pot must be an optimized vessel for gas exchange and nutrient uptake.
Materials:
The foundation of a minimalist system is the substrate. You require a friable loam that maintains a Cation Exchange Capacity (CEC) of 15 to 25 milliequivalents per 100 grams. This ensures the soil can hold and release essential ions like potassium and calcium. For most indoor tropicals, aim for a soil pH between 6.0 and 6.8.
Your nutrient regimen should be lean. Use a water-soluble fertilizer with an NPK ratio of 3-1-2 for vegetative growth. This ratio provides the nitrogen necessary for chlorophyll production without forcing excessive, spindly elongation. The physical texture of the medium should include 20 percent perlite or pumice to ensure macropore space. This prevents anaerobic conditions that lead to root rot. Avoid heavy peat-only mixes that collapse over time and restrict oxygen flow to the root hairs.
Timing:
While indoor environments are buffered, they are not immune to seasonal shifts. Even inside, plants respond to the photoperiod. Most indoor species enter a semi-dormant state when daylight drops below 12 hours per day. In North America, this corresponds with the frost-date windows of Hardiness Zones 4 through 8, where indoor humidity often plummets to below 20 percent due to central heating.
The biological clock of your garden is governed by these light cycles. Transitioning from the vegetative stage to the reproductive or maintenance stage requires adjusting your inputs. During the winter solstice, reduce irrigation by 40 percent and cease fertilization. The plant's metabolic rate slows; adding nutrients during this phase leads to salt accumulation in the substrate, which can burn the sensitive root tips. Resume active feeding only when the "biological spring" begins and you observe new apical bud expansion.
Phases:
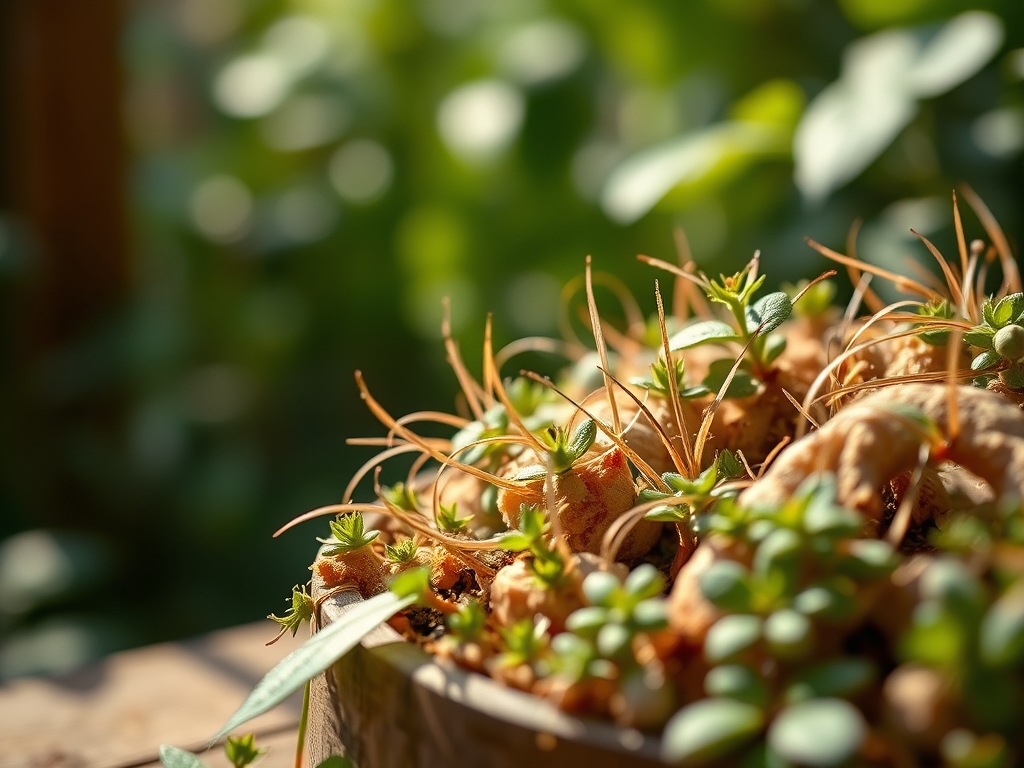
Sowing and Propagation
Start with clean, sterile media to prevent damping-off. If you are propagating via stem cuttings, ensure each cutting has at least two nodes. Submerge the basal node in water or a rooting medium.
Pro-Tip: Utilize auxin suppression by removing the apical bud if you desire a bushier habit. Auxins are hormones produced in the growing tip that inhibit lateral bud growth; removing the tip redirects these hormones to side nodes.
Transplanting
Move the specimen when the roots begin to circle the perimeter of the current vessel. Choose a new container that is only 2 inches wider in diameter. This prevents "over-potting," where a large volume of unused, wet soil suffocates the roots.
Pro-Tip: Inoculate the root ball with mycorrhizal fungi. This symbiotic relationship extends the root system's reach, increasing the surface area for phosphorus uptake by up to 100 times.
Establishing
The first 30 days post-transplant are critical for hydraulic recovery. Monitor for wilting, which indicates the roots have not yet established "intimate contact" with the new soil particles.
Pro-Tip: Maintain high humidity during this phase to reduce transpiration. If the leaves lose water faster than the damaged roots can replace it, the plant will suffer from localized desiccation and leaf drop.
The Clinic:
Physiological disorders often mimic pathogen attacks. You must differentiate between a virus and a simple nutrient deficiency.
- Symptom: Interveinal chlorosis (yellowing between green veins) on older leaves.
- Solution: This is a Magnesium deficiency. Magnesium is a mobile element and the central atom in the chlorophyll molecule. The plant is scavenging it from old growth to support new leaves. Apply a solution of 1 tablespoon Epsom salts per gallon of water.
- Symptom: Tip burn on new growth or "hooked" leaves.
- Solution: This indicates Calcium deficiency. Calcium is immobile and depends on the transpiration stream. If humidity is too high or airflow is stagnant, calcium cannot reach the extremities. Increase ventilation.
- Symptom: Soft, brown, mushy roots with a foul odor.
- Solution: Root Rot (Pythium). This is caused by over-saturation. Remove the plant, prune the necrotic roots with a sterilized hori-hori knife, and repot in a high-porosity medium.
Fix-It for Nitrogen Chlorosis: If the entire plant is turning a uniform pale green, it lacks nitrogen. Apply a high-nitrogen fish emulsion immediately. You should see a return of deep green color within 7 to 10 days as chlorophyll synthesis resumes.
Maintenance:
Minimalism requires high-efficiency maintenance. Use a soil moisture meter to verify that the substrate is dry to a depth of 2 inches before adding water. For most 10-inch pots, apply approximately 1.5 liters of water evenly across the surface until drainage occurs. This flushes out accumulated mineral salts.
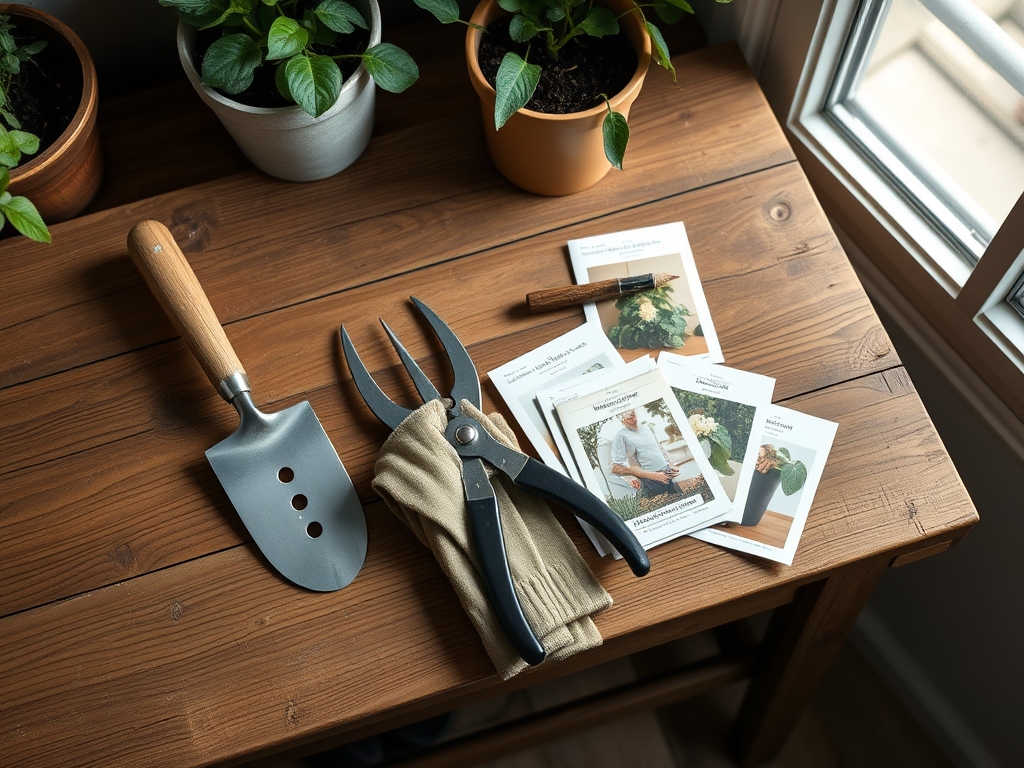
Keep your bypass pruners sharp and disinfected with 70 percent isopropyl alcohol. Use them to remove any leaf that shows more than 20 percent senescence. A dying leaf is a metabolic drain and a potential entry point for saprophytic fungi. Clean the leaf surfaces monthly with a damp cloth to remove dust; dust blocks stomata and reduces the efficiency of gas exchange by up to 30 percent.
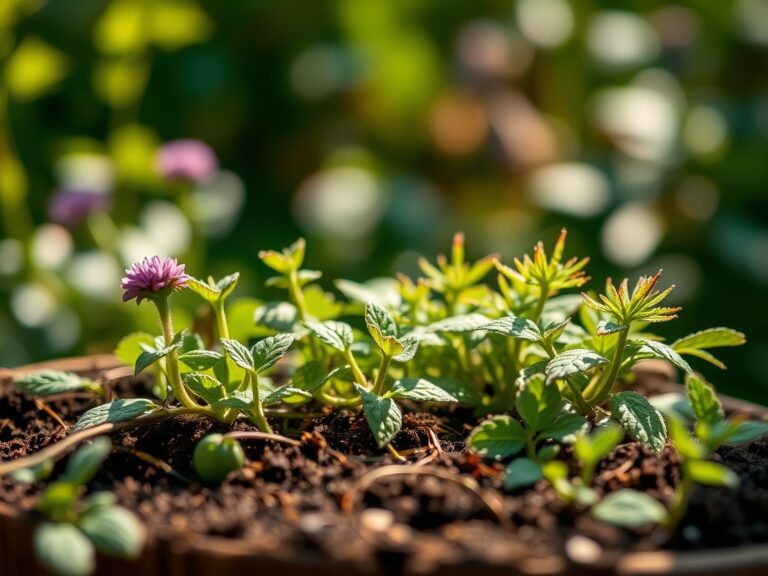
The Yield:
If your minimalist garden includes herbs like Ocimum basilicum (Basil), harvest timing is essential for essential oil concentration. Harvest in the morning after the dew has evaporated but before the heat of the day. Cut just above a node to encourage branching.
For flowers, harvest when the bud is in the "tight-fisted" stage to ensure longevity. Place the stems immediately into 40-degree Fahrenheit water to "pulse" the vascular system and maintain turgor. This rapid cooling slows down the respiration rate, preserving the sugars within the plant tissues and extending the "day-one" freshness for several extra days.
FAQ:
How often should I water a minimalist indoor garden?
Water only when the top 2 inches of soil are dry. Use a soil moisture meter to confirm. Most plants require a deep soak once every 7 to 10 days depending on ambient humidity and light levels.
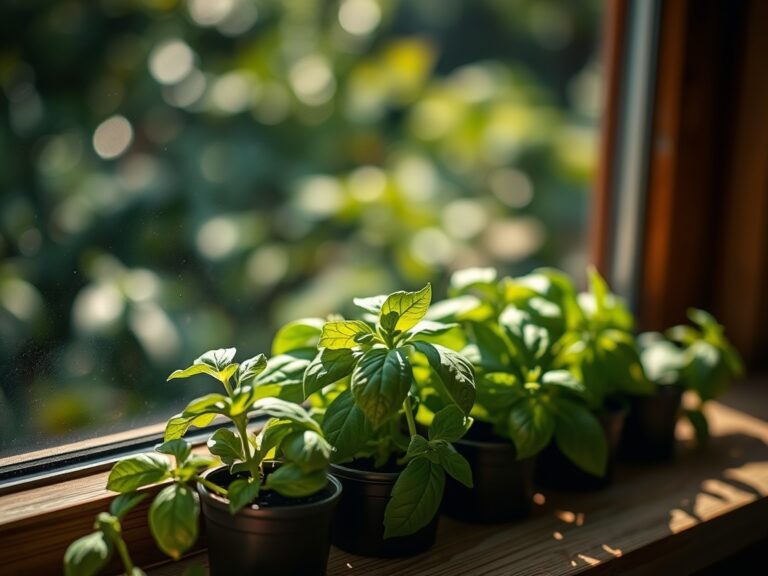
What is the best light for indoor plants?
Most indoor species thrive in bright, indirect light measuring between 200 and 400 foot-candles. Use a light meter to ensure your placement provides enough photons for photosynthesis without causing thermal stress or leaf scorch.
Do I need to fertilize in the winter?
No. When daylight drops below 12 hours, plant metabolism slows. Fertilizing during dormancy leads to salt buildup in the rhizosphere, which can dehydrate roots through osmotic pressure. Resume feeding when new growth appears in spring.
Why are my plant leaves turning yellow?
Uniform yellowing usually indicates Nitrogen deficiency. If the veins remain green but the tissue turns yellow, it is likely Magnesium or Iron deficiency. Check your soil pH; if it is too high, nutrients become chemically locked away.