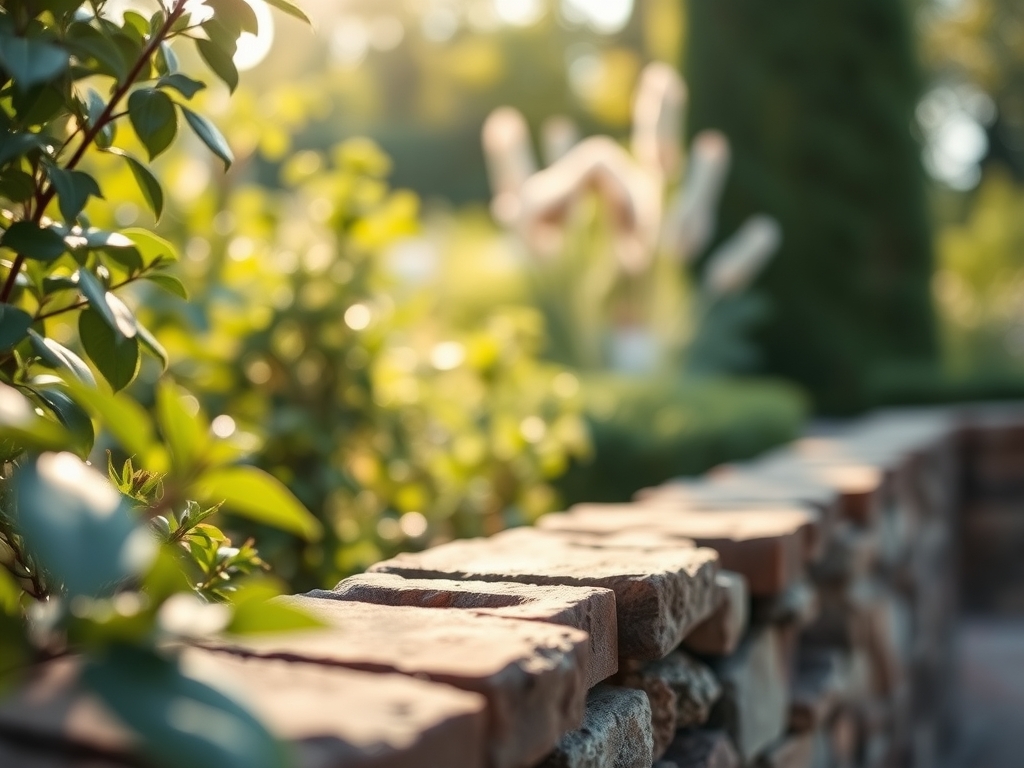
8 Structural Ways How to Design a Terrace Wall
The scent of damp, compressed clay indicates a high mineral content but poor aeration; a structural failure waiting to happen. To master how to design a terrace wall, you must first understand the physics of hydrostatic pressure and the biological needs of the rhizosphere. A successful terrace is not a decoration. It is a calculated engineering feat that manages the gravitational pull on saturated soil while providing a stable environment for root respiration. You are managing the turgor pressure of your entire landscape.
Materials:
The structural integrity of a terrace begins with the substrate. You require a **friable loam** with a Cation Exchange Capacity (CEC) between **15 and 25 meq/100g**. This ensures the soil can retain essential nutrients against the leaching effects of gravity. For the backfill, avoid heavy clays that expand when wet. Use a mixture of **60 percent coarse sand and 40 percent organic compost**.
The chemical profile must be precise. Aim for a soil pH of 6.2 to 6.8 to maximize nutrient bioavailability. Before planting, incorporate a slow release fertilizer with an NPK ratio of 5-10-10. The lower nitrogen content prevents excessive vegetative growth that could become top heavy, while the higher phosphorus and potassium levels encourage robust root lignification and cellular strength. The physical texture should be granular enough to allow water to move at a rate of 2 inches per hour toward your drainage pipes.
Timing:
Timing is dictated by the thermal mass of the wall and your specific USDA Hardiness Zone. In Zones 5 through 7, construction and initial planting should occur at least six weeks before the first hard frost. This window allows the root systems to establish before the plant enters dormancy. In warmer Zones 8 through 10, autumn is the optimal window to avoid the heat stress of high solar radiation.
Pay attention to the biological clock of your selected species. Most perennial stabilizers transition from the vegetative stage to the reproductive stage as the photoperiod shortens. You want the plant to focus energy on the rhizosphere rather than flower production during the first season. Monitor the soil temperature; most root elongation occurs when the substrate is between 55 and 70 degrees Fahrenheit.
Phases:
Sowing the Foundation
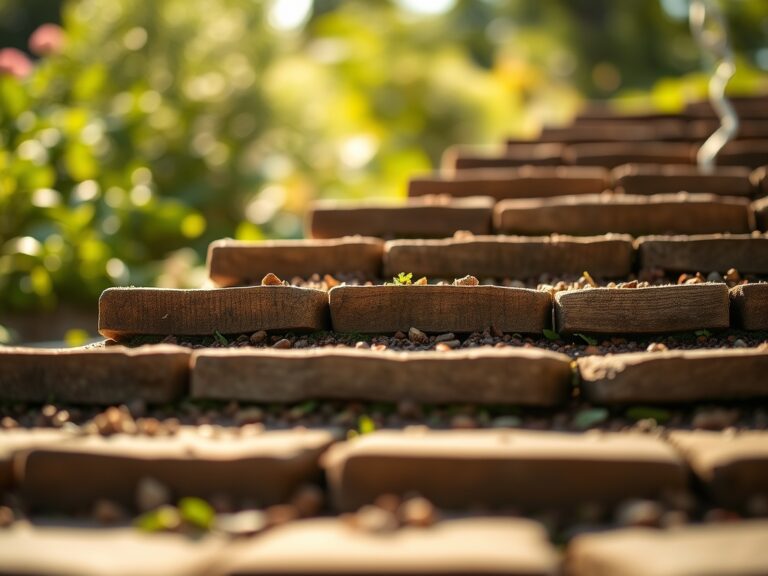
The first phase of how to design a terrace wall involves the base trench. Dig a trench 12 to 18 inches deep and fill it with compacted angular stone. This creates a capillary break that prevents moisture from wicking upward into the wall structure. If using a cover crop for soil stabilization, sow seeds at a depth of 0.25 inches and maintain consistent moisture.
Pro-Tip: Ensure the base is level to prevent uneven gravitational load. Biological Why: Consistent soil density prevents localized anaerobic pockets where root rot pathogens like Phytophthora thrive in the absence of oxygen.
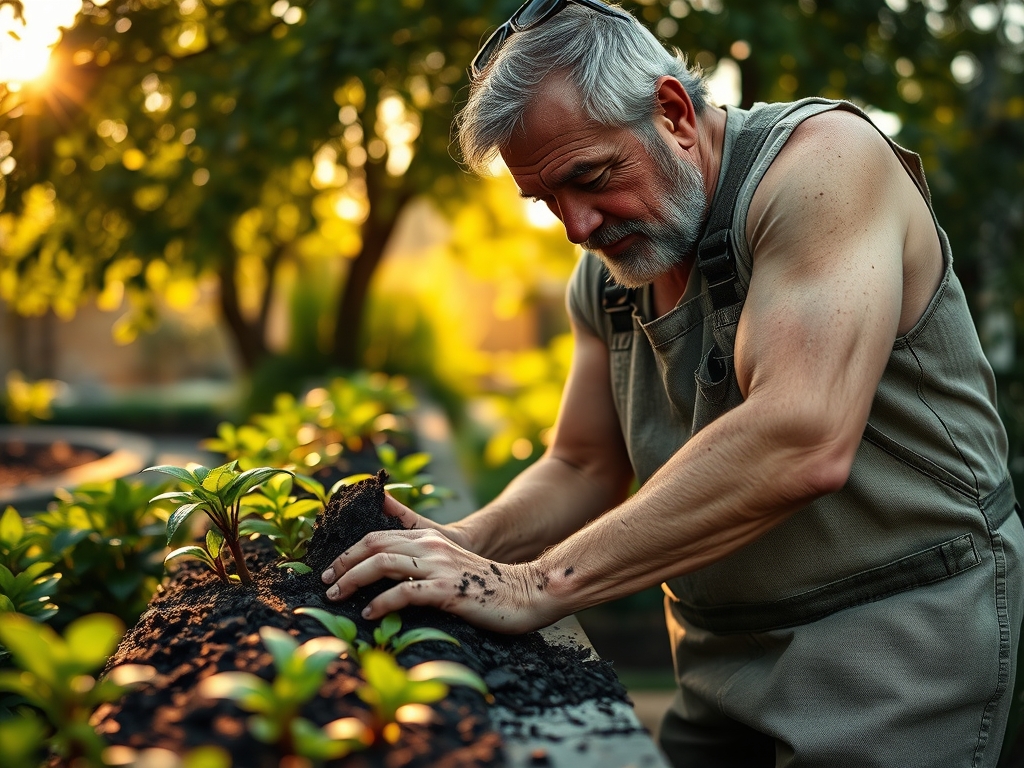
Transplanting for Stability
When moving nursery stock into the terrace, excavate a hole twice as wide as the root ball but no deeper. Inspect the roots for circling; use a hori-hori knife to make vertical incisions if the plant is pot-bound. This encourages lateral root branching into the new substrate.
Pro-Tip: Dust the root ball with endomycorrhizal fungi during transplanting. Biological Why: Mycorrhizal symbiosis increases the effective root surface area by up to 1,000 percent, significantly improving water uptake and phosphorus mobilization.
Establishing the Canopy
Once the structural plants are in place, apply a 3-inch layer of hardwood mulch. This regulates soil temperature and prevents the "baking" effect of sun-exposed terrace faces. Irrigation should be delivered via drip lines to ensure water reaches the root zone without causing surface erosion.
Pro-Tip: Prune the terminal buds of young shrubs to encourage lateral branching. Biological Why: This disrupts auxin suppression, the hormonal process where the lead shoot inhibits side growth, leading to a denser, more stable plant habit.
The Clinic:
Physiological disorders in terrace environments often stem from drainage issues or mineral imbalances.
Symptom: Interveinal chlorosis (yellowing leaves with green veins) on new growth.
Solution: This indicates Iron deficiency, often caused by a pH above 7.0. Lower the pH using elemental sulfur to increase iron solubility.
Symptom: Marginal leaf necrosis (browning edges) on established plants.
Solution: This is typically Potassium deficiency or salt accumulation. Flush the soil with 2 inches of water and apply a sulfate of potash supplement.
Symptom: Leaf wilting despite moist soil.
Solution: This suggests Root Hypoxia. The soil is too compacted, preventing oxygen from reaching the roots. Incorporate perlite or coarse grit to increase macropore space.
Fix-It for Nitrogen Chlorosis: If older leaves turn a uniform pale yellow, apply a liquid kelp or fish emulsion. Nitrogen is a mobile nutrient; the plant is scavenging it from old tissue to support new growth.
Maintenance:
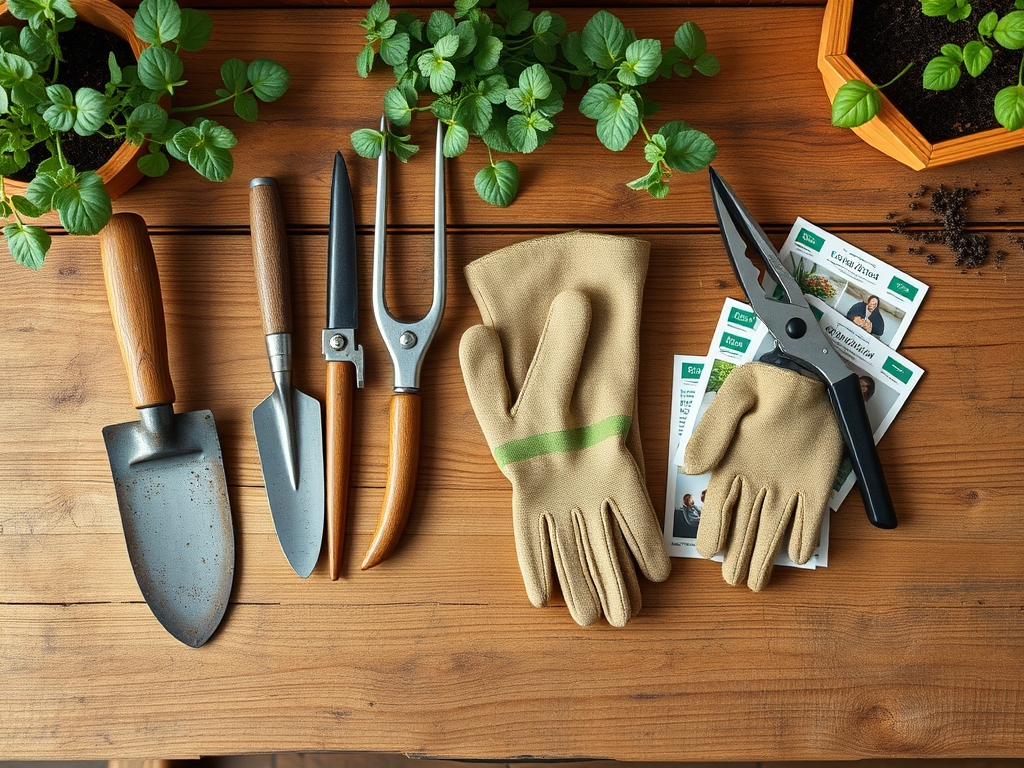
Precision maintenance is the difference between a wall and a ruin. Use a soil moisture meter twice weekly. The goal is to maintain 1.5 inches of water per week delivered at the drip line. Avoid overhead watering which can increase humidity and trigger fungal pathogens.
Equip yourself with high quality bypass pruners for clean cuts that callose quickly. Every spring, check the "batter" or the inward slope of the wall. If the wall is leaning outward more than 1 inch per 4 feet of height, you have a drainage failure. Use your hori-hori knife to clear debris from weep holes. Remove any invasive woody species immediately; their secondary thickening can exert enough pressure to crack concrete or displace heavy stone.
The Yield:
If your terrace includes edible crops like rosemary or trailing thyme, harvest during the "day-one" freshness window. This occurs in the early morning after the dew has evaporated but before the sun triggers the volatilization of essential oils.
Use sharp snips to take no more than 30 percent of the biomass at one time. This prevents the plant from entering a state of senescence or shock. For post-harvest handling, place stems in a cool, shaded area immediately. Maintaining high turgor pressure in the harvested tissue ensures the cell walls remain crisp and the nutrient density remains intact.
FAQ:
How do I prevent the wall from bowing?
Ensure you have a 1:6 batter (inward slope) and use perforated drainage pipe wrapped in geotextile fabric behind the wall. This redirects hydrostatic pressure away from the structure, preventing mechanical failure during heavy rain events.
What is the best soil for a terrace?
Use a sandy loam with a pH of 6.5. It must have enough organic matter for nutrient retention (CEC) but sufficient macropores to ensure an infiltration rate of at least 1 inch per hour.
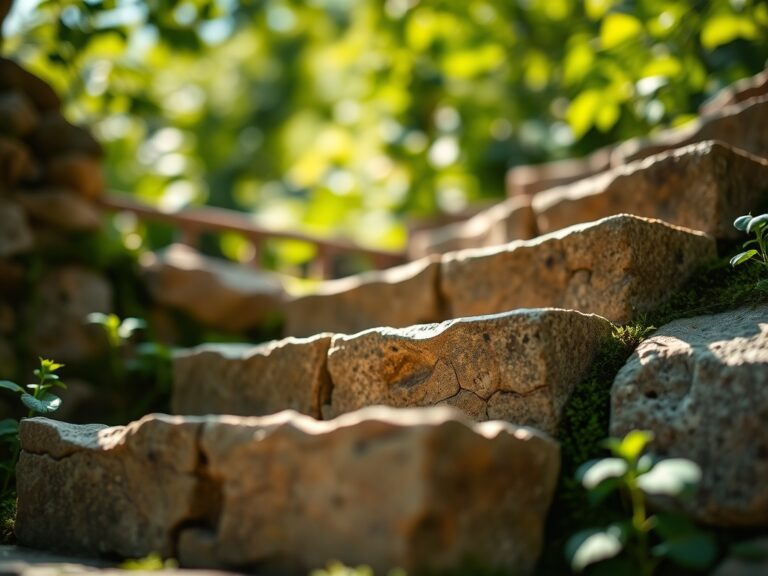
Can I build a terrace wall on a steep slope?
Slopes exceeding 40 degrees require professional engineering. For standard DIY terraces, keep individual wall heights under 3 feet and use a tiered system to distribute the weight of the soil mass safely.
How do I stop weeds from undermining the stones?
Install a heavy duty geotextile weed barrier behind and beneath the stones. For gaps between stones, use polymeric sand or a low growing steppable groundcover like Thymus serpyllum to outcompete opportunistic weed species.