7 Simple Steps to Fire Escape Gardening
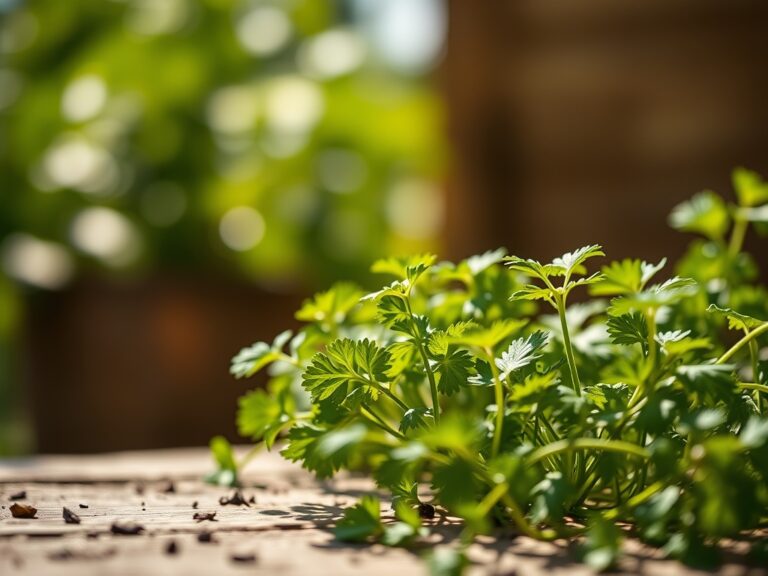
Crushing a sun-warmed tomato leaf between your fingers releases a sharp, resinous scent that signals high terpene production. This olfactory intensity indicates a plant with optimal turgor pressure; the internal fluid force that keeps stems rigid and leaves expanded. Mastering the steps to fire escape gardening requires transforming a metal platform into a high-functioning micro-ecosystem. You are managing a high-stress environment defined by extreme heat radiation from brick walls and erratic wind tunnels. Success depends on precision. A fire escape garden is not a hobby; it is a calculated exercise in urban agronomy. You must account for weight loads, solar radiation, and the restricted volume of the rhizosphere. By controlling the Cation Exchange Capacity (CEC) of your growing medium and monitoring the specific photoperiod of your site, you can achieve yields that rival traditional ground-level plots. This guide provides the technical framework to move from a barren iron grate to a productive botanical installation through rigorous scientific application.
Materials:
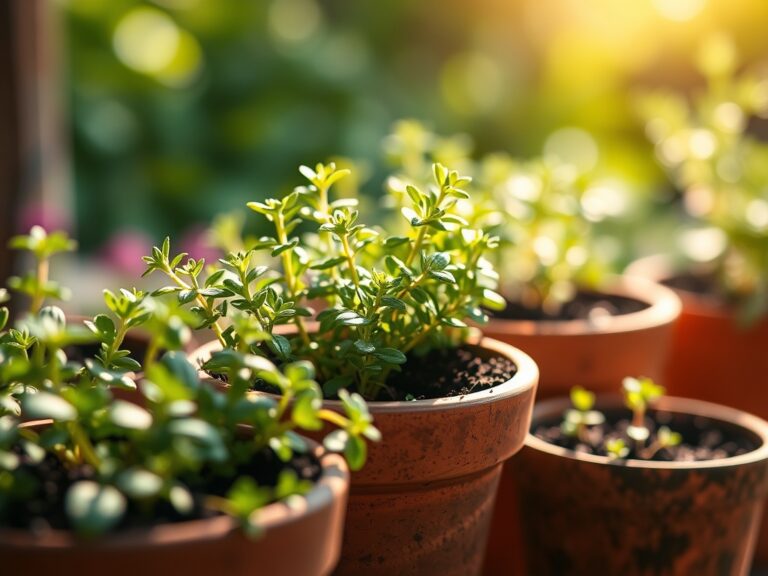
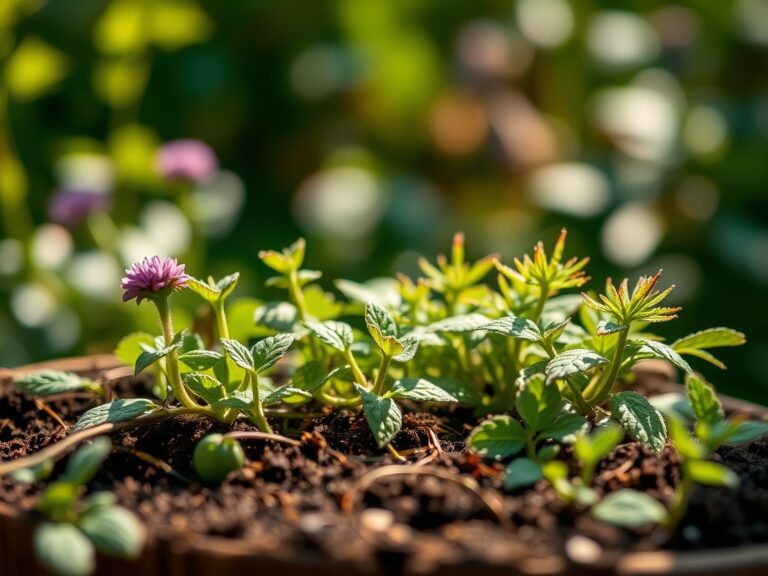
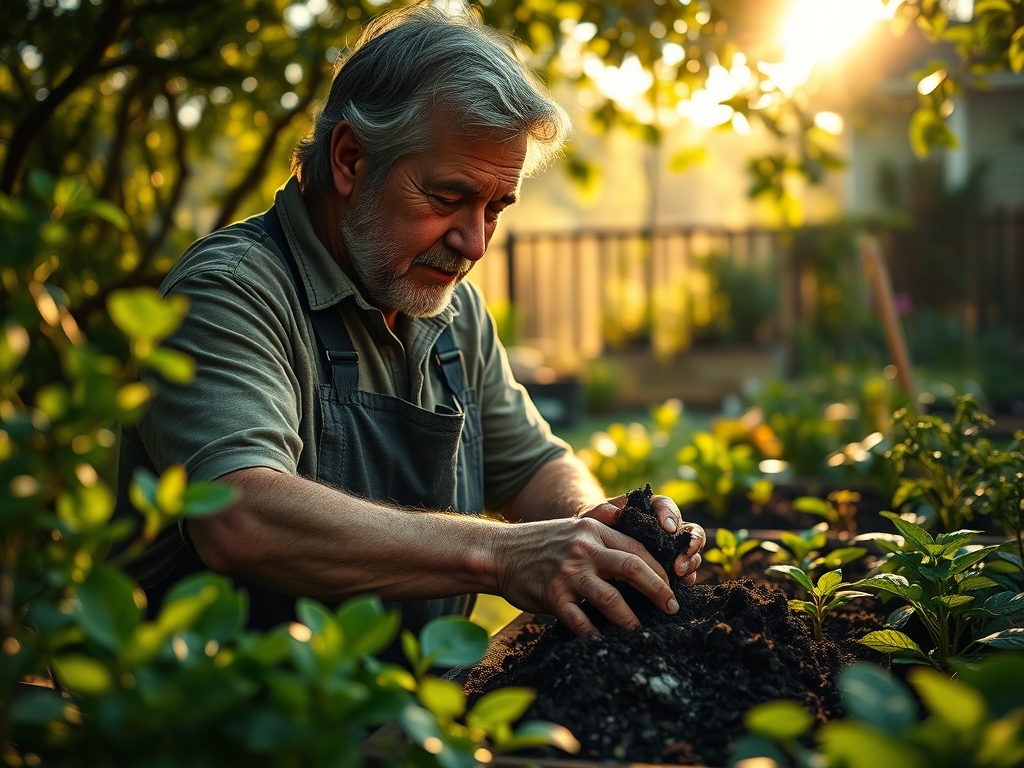
The foundation of urban container gardening is the substrate. Standard topsoil is too heavy and lacks the porosity required for container drainage. You require a friable loam substitute with a high percentage of perlite or vermiculite to ensure oxygen reaches the root zone. Aim for a soil pH between 6.0 and 6.8 for most vegetable crops; this range ensures maximum nutrient bioavailability.
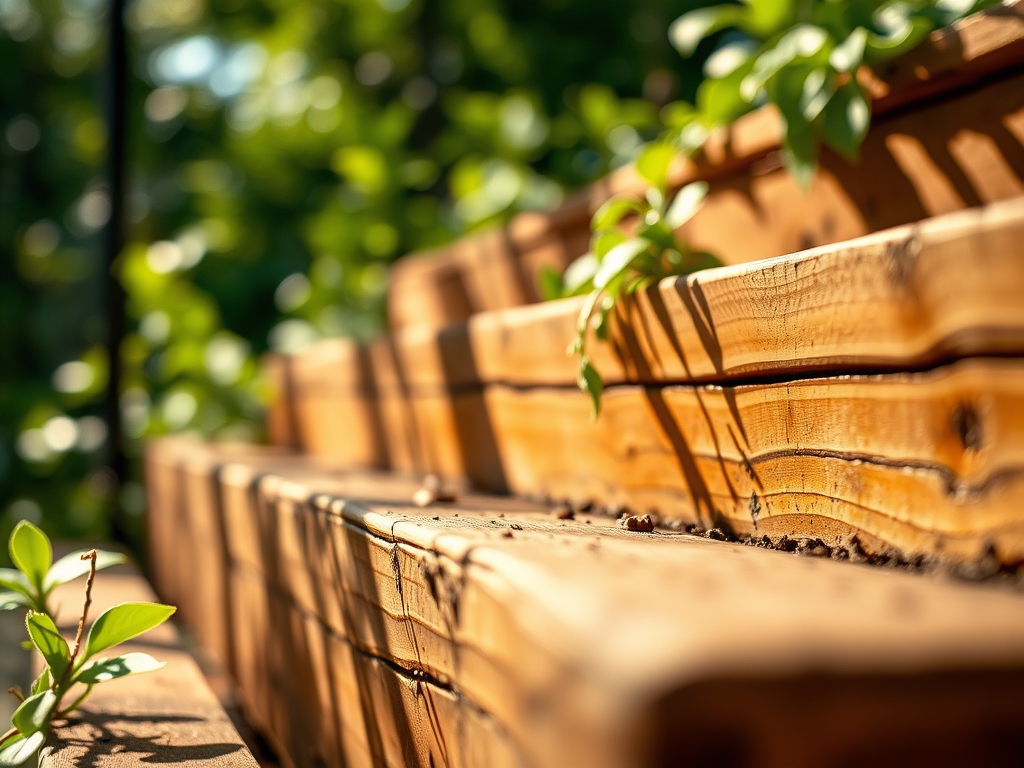
Nutrient management must be precise. For the vegetative stage, utilize a fertilizer with an NPK ratio of 10-5-5 to promote leaf and stem development. Once plants transition to the reproductive stage, shift to a 5-10-10 ratio to support flower and fruit production without over-stimulating foliage. High-quality potting mixes should have a CEC of at least 10 to 20 milliequivalents per 100 grams to effectively hold and exchange calcium, magnesium, and potassium ions. Ensure all containers are lightweight fabric or UV-stabilized plastic to prevent excessive weight on the fire escape structure.
Timing:
Successful fire escape cultivation is dictated by the USDA Hardiness Zone and the specific microclimate of your building facade. Most urban environments exist in Zones 6 through 8, but the "heat island effect" can raise your specific location by half a zone. You must track the last frost date; typically late April for Zone 7; before placing tender annuals outside.
The biological clock of your plants is governed by the photoperiod. Most fruiting plants require at least 6 to 8 hours of direct solar radiation. If your fire escape is north-facing, you are limited to leafy greens that tolerate lower light intensities. Monitor the transition from the vegetative stage to the reproductive stage. As day lengths increase, plants like spinach may undergo bolting; a premature shift to seed production caused by heat stress and light duration. You must time your plantings to ensure the vegetative phase occurs during the cooler, shorter days of early spring or late autumn.
Phases:
Sowing
Begin seeds indoors 6 to 8 weeks before the last frost. Use a sterile seed-starting mix with a fine texture to ensure intimate seed-to-soil contact. Maintain a consistent temperature of 70 degrees Fahrenheit for optimal germination rates.
Pro-Tip: Maintain consistent moisture to trigger imbibition. This is the biological process where the seed absorbs water, activating enzymes that break down stored starches into energy for the embryo.
Transplanting
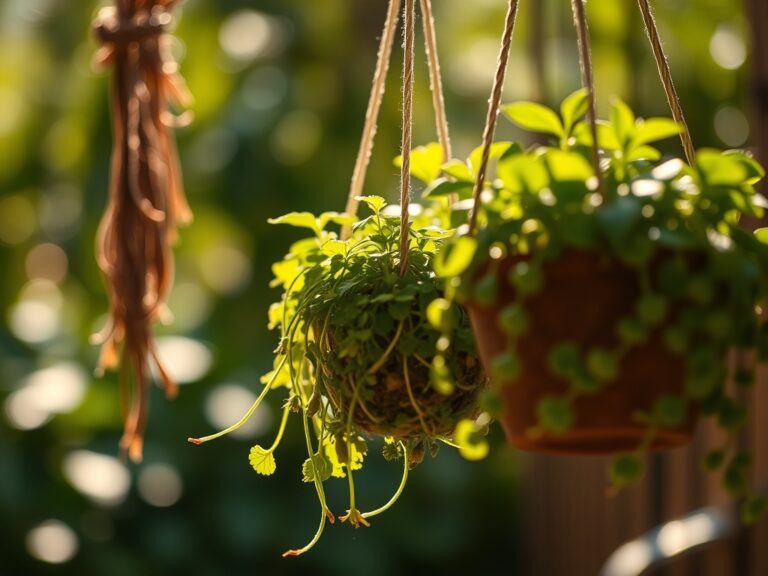
Move seedlings to the fire escape once they have developed at least two sets of true leaves. Transition them slowly over 7 to 10 days to prevent transplant shock. This process, known as hardening off, allows the cuticle of the leaf to thicken, protecting the plant from desiccation and UV damage.
Pro-Tip: When transplanting, avoid disturbing the root ball to preserve mycorrhizal symbiosis. These fungal networks extend the reach of the root system, significantly increasing the uptake of phosphorus and water.
Establishing
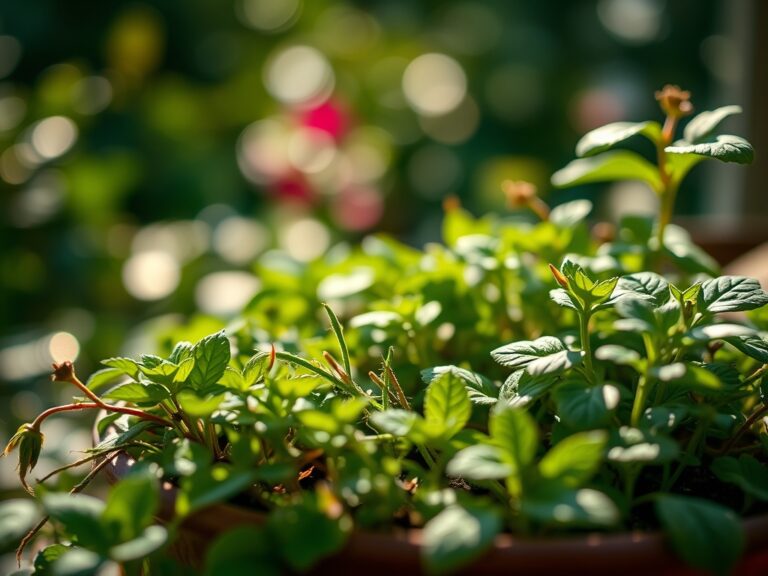
Once situated, focus on structural integrity. Use soft ties to secure taller plants to the railing. This prevents wind-induced mechanical stress which can lead to stem breakage or stunted growth due to excessive energy expenditure on structural reinforcement.
Pro-Tip: Practice apical pruning to manage plant height and density. By removing the terminal bud, you disrupt auxin suppression; a hormonal process that inhibits the growth of lateral buds; resulting in a bushier, more productive plant.
The Clinic:
Urban plants are susceptible to physiological disorders caused by environmental extremes.
- Blossom End Rot: Observed as a dark, sunken leathery spot on the bottom of fruit. This is caused by a localized calcium deficiency often triggered by inconsistent watering. Ensure the soil remains evenly moist.
- Edema: Small bumps or blisters on the undersides of leaves. This occurs when the plant absorbs water faster than it can transpire it. Increase airflow around the containers.
- Nitrogen Chlorosis: General yellowing of older leaves while veins remain green. Fix-It: Apply a liquid fertilizer with a high nitrogen content (e.g., fish emulsion) to restore chlorophyll production.
- Leaf Scorch: Browning of leaf margins. This is a result of high transpiration rates exceeding the roots' ability to supply water. Provide temporary shade during peak afternoon heat.
Maintenance:
Precision maintenance is the difference between survival and senescence. Use a soil moisture meter to check the substrate daily. Most containers require approximately 1.5 inches of water per week, applied directly to the soil at the drip line to keep foliage dry. Wet foliage in stagnant urban air is a primary vector for fungal pathogens.
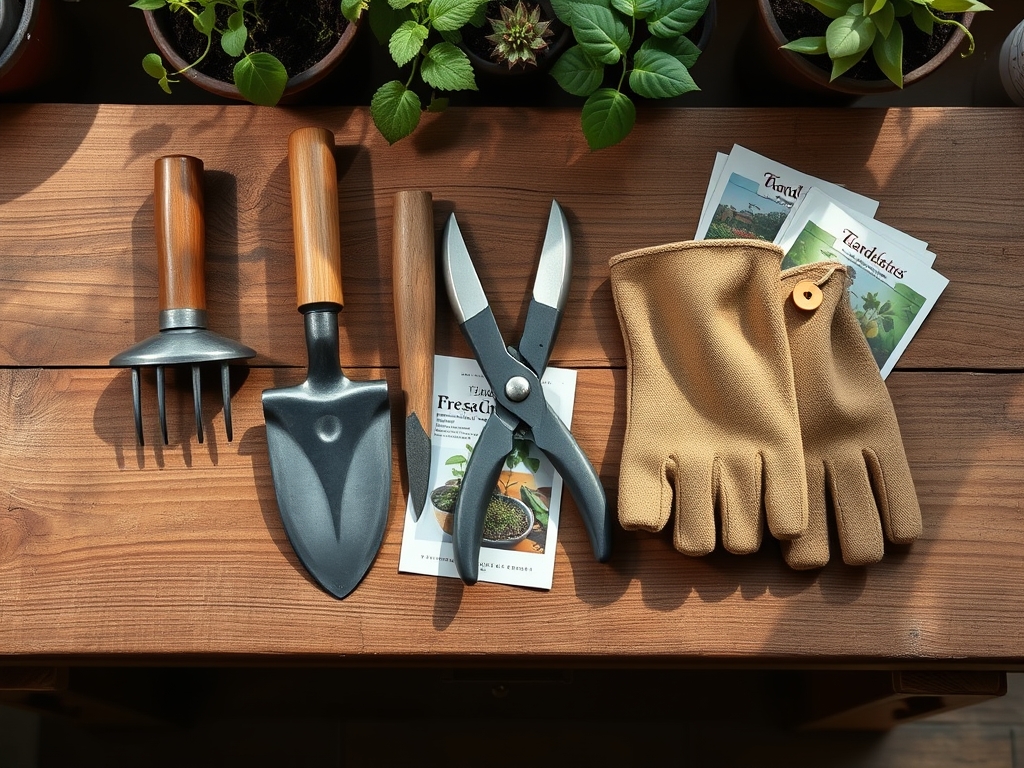
Keep a hori-hori knife for weeding and a pair of bypass pruners for precise cuts. When pruning, always cut at a 45-degree angle approximately 1/4 inch above a node. This facilitates rapid callusing and prevents water from pooling on the wound. Monitor the CEC of your soil monthly; if growth slows despite proper watering, a side-dressing of compost or a balanced granular fertilizer may be necessary to replenish cation levels.
The Yield:
Harvesting is the final stage of the steps to fire escape gardening. For leafy greens, harvest the outer leaves first to allow the central meristem to continue producing. For fruiting crops like peppers or tomatoes, harvest when the fruit reaches its "breaker stage"; the point where it begins to change color.
To maintain "day-one" freshness, harvest in the early morning when turgor pressure is at its peak. Use sharp bypass pruners to ensure a clean detachment, minimizing tissue damage. Immediately submerge the stems of herbs in cool water or place produce in a high-humidity environment to slow the rate of respiration and prevent wilting.
FAQ:
Is it safe to put heavy pots on a fire escape?
Check local building codes and fire ordinances first. Use lightweight fabric pots and a perlite-heavy substrate to minimize load. Distribute weight evenly across the structural supports of the platform to ensure safety.
How often should I water my fire escape plants?
Containers on fire escapes dry out rapidly due to wind and radiant heat. Check the soil daily. Most plants require watering when the top 1 inch of soil feels dry to the touch.
What are the best plants for high-wind areas?
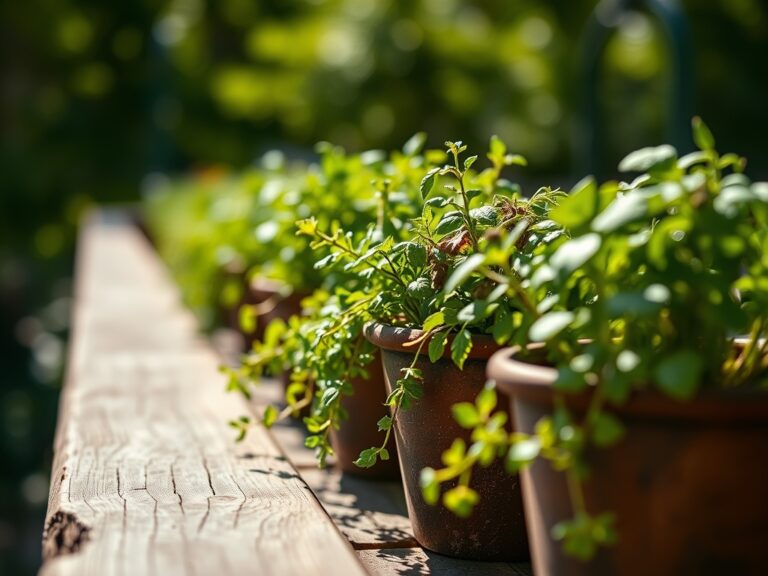
Select low-profile plants with flexible stems or small leaf surface areas. Herbs like rosemary, thyme, and oregano are evolutionarily adapted to windy, arid conditions and perform well in exposed urban environments.
How do I manage soil nutrients in small containers?
Use a water-soluble fertilizer every two weeks during the growing season. Because containers have limited soil volume, nutrients leach out quickly during watering. Frequent, low-dose feeding maintains a stable nutrient profile.