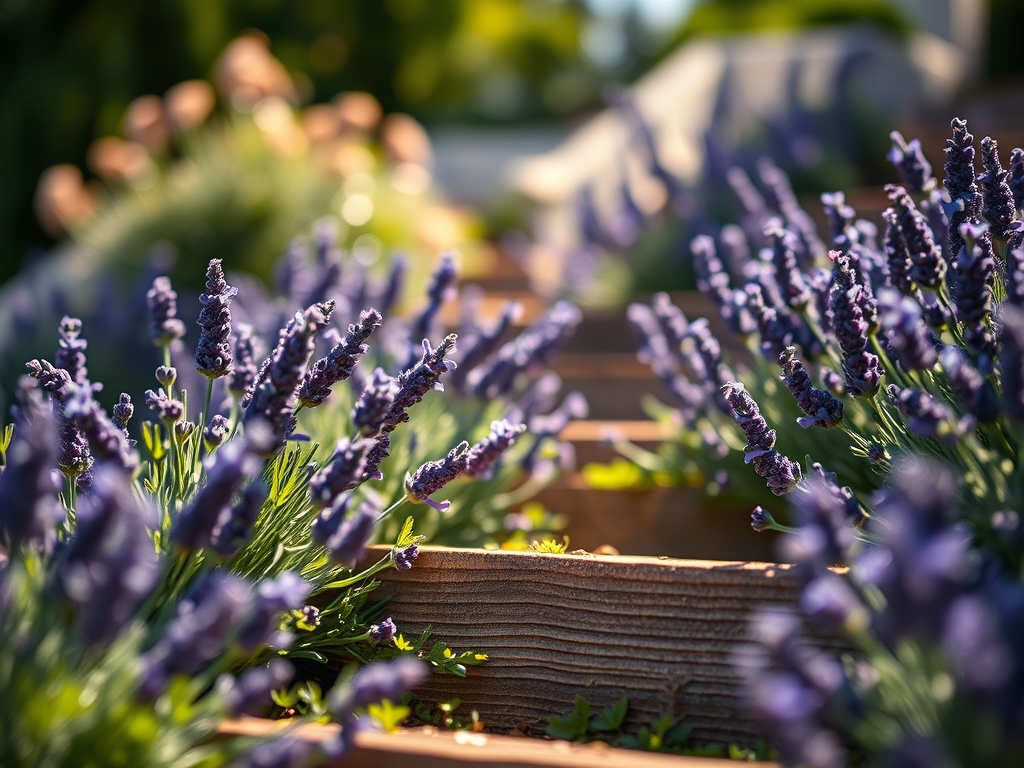
7 Simple Steps to Plant Lavender Borders
Crushing a fresh lavender leaf between your thumb and forefinger releases a sharp, camphoraceous scent that signals high essential oil concentration. A healthy specimen exhibits high turgor pressure; the stems are rigid and the foliage resists wilting even under intense solar radiation. Establishing these perennials requires precision to ensure the root system survives the transition from nursery pot to garden soil. Following the correct steps to plant lavender borders ensures a structural, aromatic boundary that persists for a decade. Success depends on manipulating the rhizosphere to mimic the dry, rocky outcrops of the Mediterranean. Poor drainage or acidic soil will trigger rapid root senescence. You must prioritize drainage and solar exposure over nutrient density. Lavender is a calciphile, meaning it thrives in alkaline environments where calcium availability is high. By focusing on soil porosity and the specific timing of the transplant, you can establish a border that maintains its silver-grey architecture through the harshest winters.
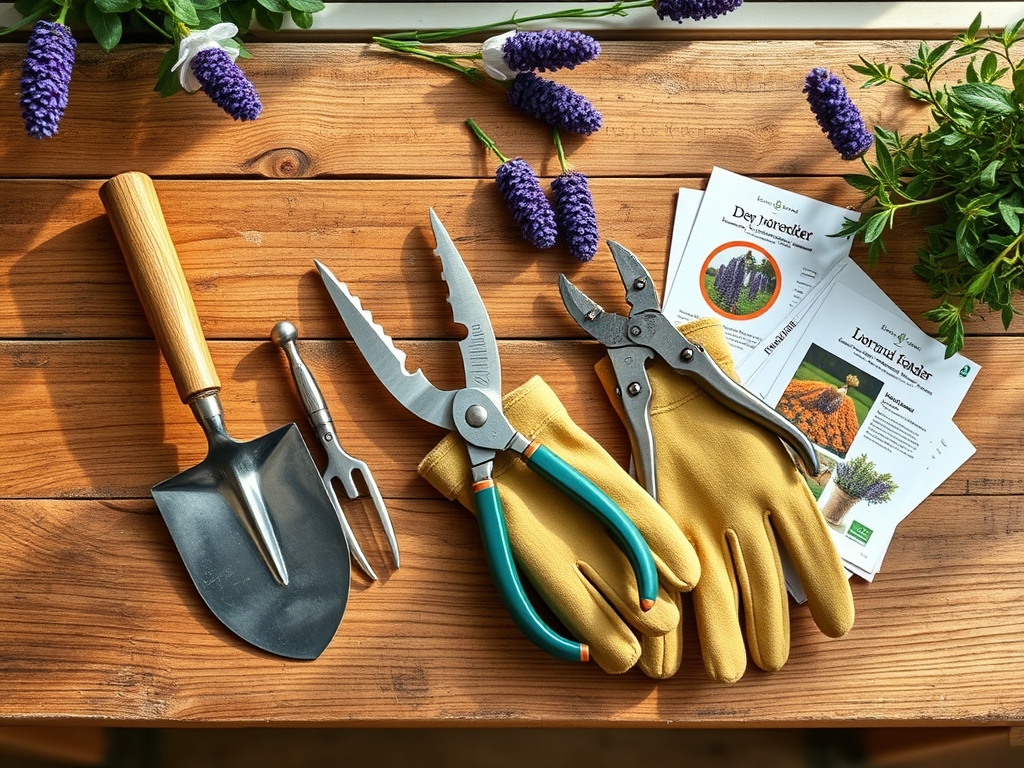
Materials:
The ideal substrate for lavender is a friable loam with a high sand or grit content. Unlike leafy greens, lavender requires low nitrogen levels to prevent weak, leggy growth. Aim for an NPK ratio of 5-10-10 if the soil is severely depleted; otherwise, no supplemental fertilizer is needed. The soil pH must sit between 6.7 and 7.3. If your soil test reveals a pH below 6.5, incorporate dolomitic lime at a rate of 5 pounds per 100 square feet to raise the alkalinity.
The Cation Exchange Capacity (CEC) of the soil should be relatively low; this ensures that water and nutrients do not linger too long around the crown, which prevents fungal pathogens. You will need horticultural grit or 1/4-inch pea gravel to mix into the planting holes. Avoid organic mulches like wood chips; these retain too much moisture and lower the soil temperature. Instead, use white gravel or oyster shells to reflect light back up into the canopy, which increases essential oil production and keeps the crown dry.
Timing:
Lavender thrives in Hardiness Zones 5 through 9, though specific cultivars like Lavandula angustifolia are more cold-hardy than Lavandula stoechas. The biological clock of the plant is dictated by the photoperiod and soil temperature. Planting should occur when the soil temperature consistently reaches 60 degrees Fahrenheit (15.5 degrees Celsius). In most temperate regions, this window opens in late spring, after the final frost date has passed.
During this period, the plant transitions from winter dormancy to a vigorous vegetative stage. Early spring planting allows the root system to establish before the plant enters its reproductive stage (flowering) in mid-summer. If you plant too late in the heat of July, the plant will suffer from high transpiration rates, leading to desiccation before the roots can interface with the local soil.
Phases:
Sowing and Seed Starting
Starting lavender from seed is a test of patience due to erratic germination rates. Seeds require a period of cold stratification at 40 degrees Fahrenheit for 4 weeks to break physiological dormancy. Sow seeds on the surface of a sterile, well-draining mix; they require light to germinate. Maintain a constant temperature of 70 degrees Fahrenheit.
Pro-Tip: Lavender seeds exhibit "epigeal germination." Do not bury them deep. Light exposure triggers the hormonal response needed for the hypocotyl to emerge and begin photosynthesis immediately.
Transplanting to the Border
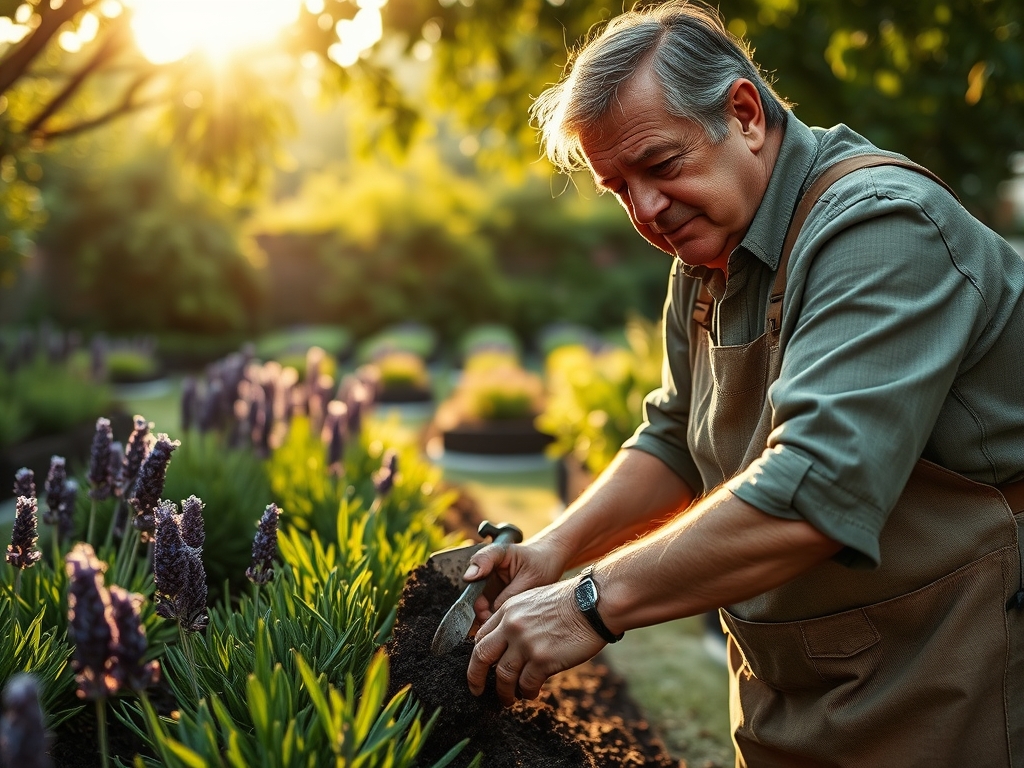
Space your plants 12 to 18 inches apart to ensure adequate airflow. Dig a hole twice the width of the root ball but no deeper. If the roots are "pot-bound," gently tease them outward to prevent girdling. Set the plant so the crown sits slightly above the soil line to prevent water from pooling against the main stem.
Pro-Tip: When transplanting, avoid excessive root disturbance to protect the mycorrhizal symbiosis. These beneficial fungi extend the reach of the root system, allowing the plant to scavenge phosphorus and water more efficiently in lean soils.
Establishing the Border
Water the plants immediately after transplanting to settle the soil and eliminate air pockets. For the first 30 days, monitor the soil moisture daily. The goal is to keep the root zone damp but never saturated. Once you see new terminal growth, the plant has successfully established its root-to-soil interface.
Pro-Tip: Pinch off any flower spikes that appear during the first growing season. This suppresses auxin production in the apical meristem, redirecting the plant's energy toward lateral branching and root development rather than seed production.
The Clinic:
Physiological disorders in lavender are almost always linked to water-to-oxygen ratios in the soil.
- Symptom: Lower leaves turning yellow and soft (Chlorosis).
- Solution: This is typically a sign of nitrogen deficiency or waterlogged roots. If the soil is wet, stop irrigation immediately. If the soil is dry, apply a low-nitrogen liquid seaweed extract.
- Symptom: Rapid wilting despite wet soil (Phytophthora root rot).
- Solution: This fungal pathogen thrives in anaerobic conditions. Remove the infected plant and improve drainage by adding 3 inches of horticultural grit to the area before replanting.
- Symptom: Stunted growth and purple leaf margins.
- Solution: This indicates phosphorus deficiency, often caused by soil that is too cold or has a pH below 6.0. Apply bone meal and check soil alkalinity.
- Fix-It for Nitrogen Chlorosis: If the entire plant looks pale, apply a blood meal amendment at half the recommended strength to provide a quick nitrogen boost without forcing "soft" growth that attracts pests.
Maintenance:
Once established, lavender is drought-tolerant but not drought-proof. Provide 1.5 inches of water per week during the heat of summer, delivered via drip irrigation at the base of the plant. Avoid overhead watering; moisture on the foliage increases the risk of Septoria leaf spot.
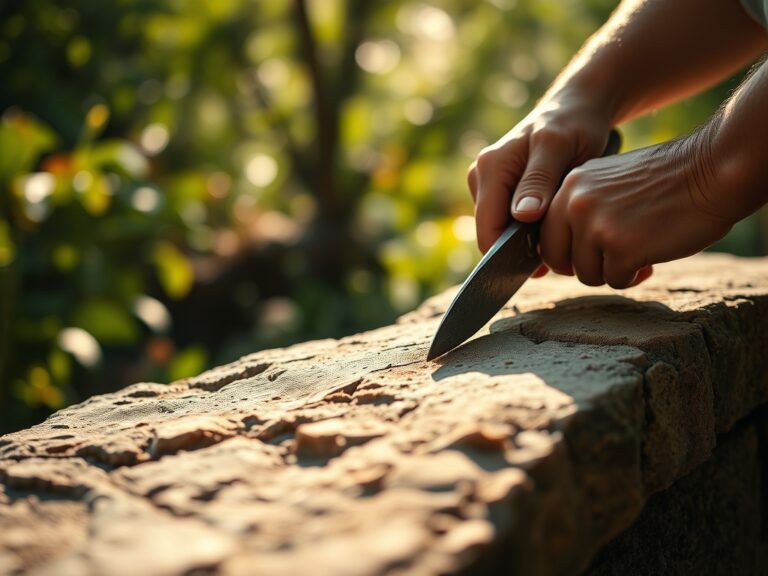
Use a hori-hori knife to remove weeds around the base, ensuring they do not compete for nutrients. Pruning is the most critical maintenance task. Use sharp bypass pruners to cut back the foliage by one-third in late summer after the flowers fade. Never cut back into the "old wood" (the brown, leafless interior); lavender lacks latent buds on old wood and will not regrow from these points. Use a soil moisture meter to verify that the top 2 inches of soil are dry before re-watering.
The Yield:
Harvesting lavender for its aromatic oils or dried bundles requires timing the "peak essence." Harvest when the bottom third of the flowers on the spike have just opened. This is when the linalool and linalyl acetate levels are at their highest.
Use sharp snips to cut the stems long. Harvest in the early morning after the dew has evaporated but before the sun's heat begins to volatilize the essential oils. To maintain "day-one" freshness for drying, hang the bundles upside down in a dark, well-ventilated room with a temperature between 60 and 70 degrees Fahrenheit. This prevents the degradation of the pigments and preserves the structural integrity of the flower spikes.
FAQ:
How much sun does a lavender border need?
Lavender requires a minimum of 6 to 8 hours of direct sunlight daily. Insufficient light leads to poor turgor, diminished oil production, and increased susceptibility to fungal pathogens in the rhizosphere.
Can I grow lavender in heavy clay soil?
Yes, but only if you modify the structure. Dig a trench 12 inches deep and replace 50 percent of the clay with coarse sand and crushed stone to ensure the roots never sit in standing water.
What is the best mulch for lavender?
Avoid organic mulches. Use white gravel, pea stone, or crushed oyster shells. These inorganic materials reflect heat and light, keep the crown dry, and help maintain an alkaline soil pH.
When should I prune my lavender border?
Perform a light pruning in spring to remove winter kill. Conduct a major pruning in late summer or early autumn, removing one-third of the green growth to maintain a compact, mounded shape and prevent woodiness.