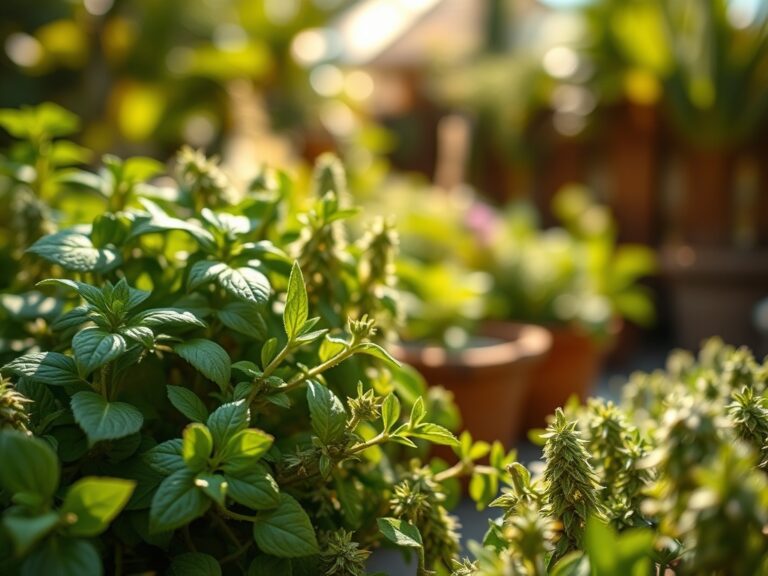
5 Best Nutrients for Wall Plants
Crushing a handful of damp, aged compost between your fingers reveals the structural integrity of a growing medium. The smell of geosmin indicates active microbial life. When a vertical garden reaches peak health, the leaves exhibit high turgor pressure; they feel firm and cool to the touch. Achieving this state requires precision in the delivery of the best nutrients for wall plants. Unlike traditional ground beds, vertical systems suffer from limited root volume and rapid drainage. You must manage the rhizosphere with surgical accuracy to prevent nutrient leaching. This guide focuses on the chemical and physical requirements for maintaining high-density vertical foliage. We are looking for a balance of macro and micro elements that sustain cellular respiration and structural rigidity. Nitrogen, phosphorus, potassium, calcium, and magnesium form the baseline of this nutritional program. Without these, the plant enters a state of senescence prematurely. Success in vertical horticulture depends on your ability to manipulate the Cation Exchange Capacity (CEC) within a restricted environment.
Materials:

Vertical substrates must be porous yet capable of holding ionic charges. Use a friable loam mixed with perlite or expanded clay pebbles to ensure oxygen reaches the roots. The ideal soil pH for most wall-dwelling species ranges from 5.8 to 6.5. This range ensures that micronutrients like iron and manganese remain bioavailable.
The following NPK ratios are essential for specific growth stages:
- High-Nitrogen (10-5-5): Used during the initial vegetative surge to build leaf biomass and chlorophyll density.
- Balanced (10-10-10): Standard maintenance for established evergreen wall plants.
- High-Phosphorus (5-15-5): Promotes root elongation and floral initiation in flowering species.
- Calcium Nitrate: Essential for cell wall strength; prevents tip burn in high-transpiration environments.
- Magnesium Sulfate (Epsom Salts): Applied at 1 tablespoon per gallon to rectify interveinal chlorosis and support the central atom of the chlorophyll molecule.
Timing:
Vertical gardens are highly sensitive to ambient temperature fluctuations due to their lack of ground insulation. In Hardiness Zones 7 through 9, the primary growing window begins when nighttime temperatures consistently exceed 55 degrees Fahrenheit. You must synchronize nutrient application with the biological clock of the plant. During the vegetative stage, the plant focuses on carbon fixation and stem elongation. As the photoperiod shifts, the plant transitions to the reproductive stage, requiring a reduction in nitrogen and an increase in potassium to support fruit or flower development. Avoid fertilizing during the dormant winter months; the lack of metabolic activity leads to salt accumulation in the substrate, which can cause osmotic shock when growth resumes in the spring.
Phases:
Sowing and Propagation
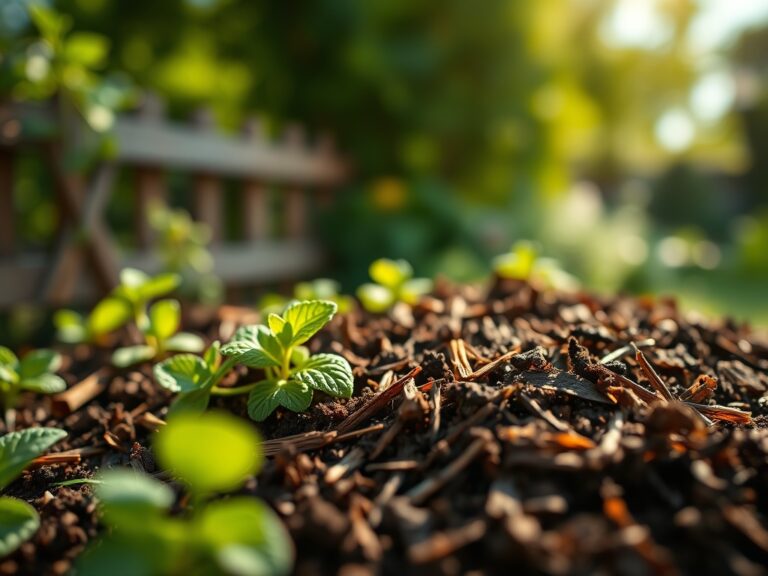
Start seeds in a sterile medium with a fine texture. Maintain a constant temperature of 70 to 75 degrees Fahrenheit to optimize germination enzymes. Do not introduce heavy fertilizers at this stage; the cotyledons provide enough energy for the initial emergence.
Pro-Tip: Focus on mycorrhizal symbiosis. Inoculating the seeds with beneficial fungi increases the surface area of the future root system by up to 100 times, allowing for better phosphorus uptake in confined wall pockets.
Transplanting
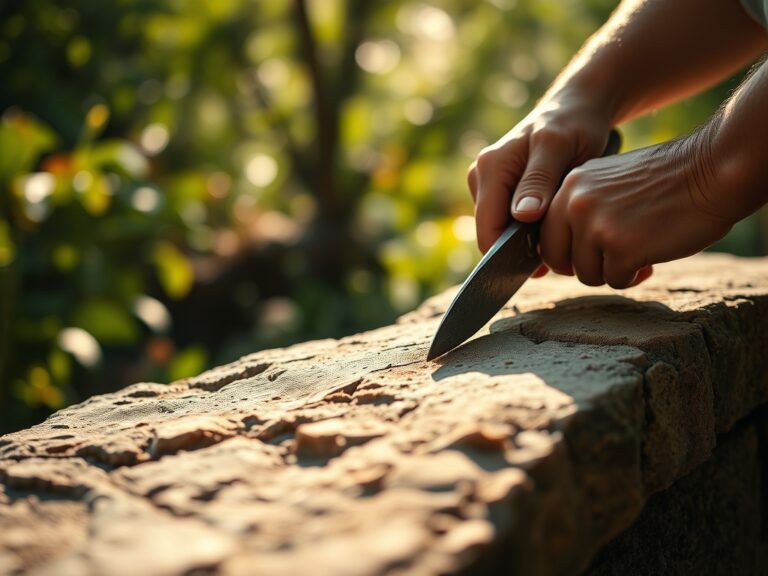
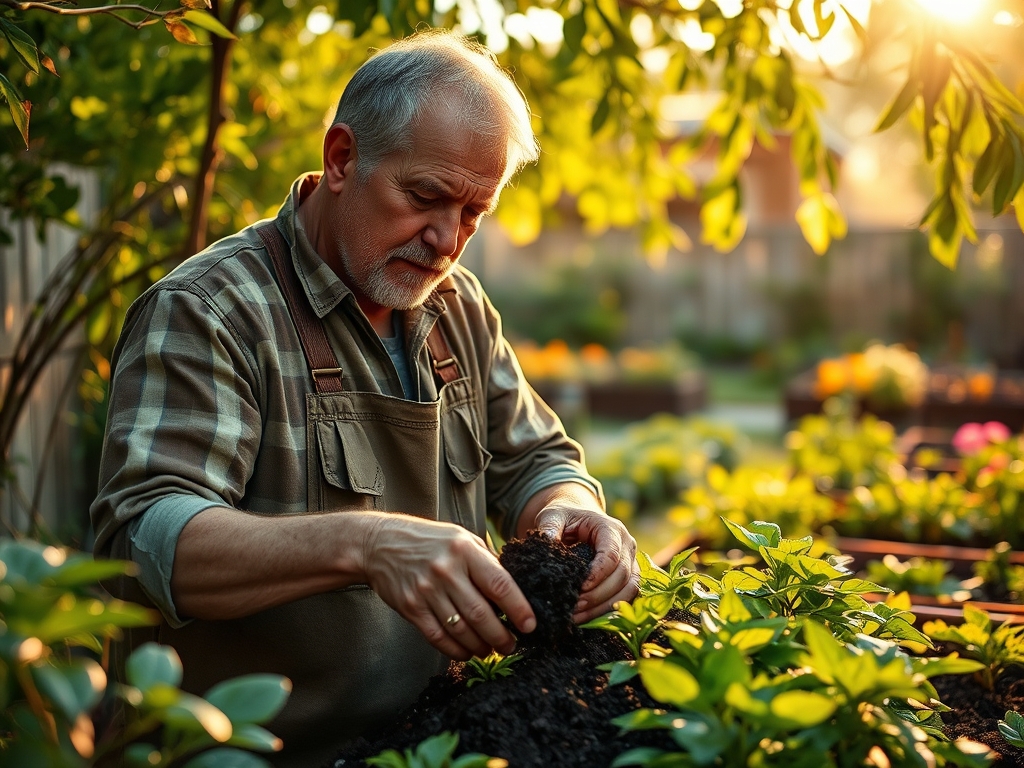
When moving starts to the wall, ensure the root ball is moist. Dig a hole twice the width of the root ball using a hori-hori knife. Set the plant at the same depth it sat in its nursery pot.
Pro-Tip: Manage auxin suppression. When you transplant, avoid pruning the lead apical bud immediately. The auxins produced at the tip signal the roots to grow downward and outward, establishing a firm anchor in the vertical structure.
Establishing
During the first six weeks, water the wall daily. The goal is to maintain consistent moisture without saturating the roots to the point of hypoxia. Use a liquid seaweed extract to provide trace minerals that help the plant recover from transplant shock.
Pro-Tip: Utilize phototropism to your advantage. Rotate individual pots or adjust light angles to ensure the lower foliage receives at least 400 foot-candles of light. This prevents the lower leaves from yellowing and dropping, a process known as self-shading.
The Clinic:
Symptom: Interveinal Chlorosis
Condition: The veins remain green while the tissue between them turns yellow. This usually indicates a Magnesium deficiency or an alkaline pH blocking iron uptake.
Solution: Check the pH of the effluent water. If it is above 7.0, flush the system with acidified water (pH 5.5). Apply a chelated iron foliar spray for immediate relief.
Symptom: Marginal Leaf Burn
Condition: The edges of the leaves appear scorched and brown. This is often caused by excessive salt accumulation from synthetic fertilizers.
Fix-It: Perform a deep leach. Run clear, dechlorinated water through the wall for 20 minutes to wash out accumulated salts. Reduce your fertilizer concentration by 50 percent in subsequent feedings.
Symptom: Stunted Growth and Purple Foliage
Condition: The plant stops growing and the undersides of the leaves turn purple or dark red. This is a classic Phosphorus deficiency.
Fix-It: Apply a water-soluble fertilizer with a high middle number (e.g., 10-30-10). Ensure the root zone temperature is above 60 degrees Fahrenheit, as cold soil inhibits phosphorus mobility.
Maintenance:
Precision is the difference between a thriving wall and a failing one. Use a soil moisture meter to check the saturation levels at different heights of the wall; gravity causes the bottom rows to stay wetter than the top. Aim for 1.5 inches of water per week delivered through a drip irrigation system.
Pruning is mandatory for airflow. Use sharp bypass pruners to remove any dead or necrotic tissue, which prevents fungal pathogens from colonizing the wall. Clean your tools with 70 percent isopropyl alcohol between plants to prevent the spread of pathogens. Monitor the electrical conductivity (EC) of your nutrient solution. For most wall plants, an EC of 1.2 to 1.8 mS/cm is the target range for optimal nutrient density without risking root burn.
The Yield:
For edible wall plants like herbs or leafy greens, harvest in the early morning when turgor pressure is at its highest. Use a sharp blade to cut just above a node to encourage axillary bud growth. To maintain "day-one" freshness, immediately submerge the stems in cool water or place them in a sealed container at 40 degrees Fahrenheit. This slows the rate of respiration and prevents the degradation of volatile oils. For flowering wall plants, deadhead spent blooms regularly to divert energy back into root development and new bud formation.
FAQ:
How often should I fertilize wall plants?
Apply a half-strength liquid fertilizer every two weeks during the active growing season. This prevents nutrient leaching common in vertical systems. Monitor the substrate for salt crusting and flush with clear water monthly to maintain root health.
What is the best pH for a vertical garden?
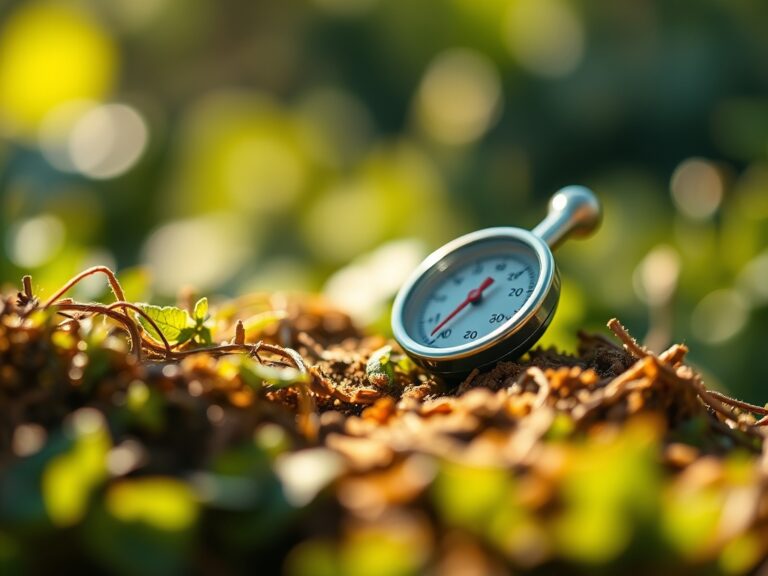
Maintain a pH between 5.8 and 6.5. This acidic to neutral range ensures that essential micronutrients like iron, zinc, and manganese remain soluble. Use a digital pH probe to test the runoff water weekly for accuracy.
Can I use standard garden soil in a wall planter?
No. Standard soil is too heavy and lacks the necessary aeration for vertical systems. Use a soilless mix containing peat moss, perlite, and vermiculite. This ensures high porosity and prevents the medium from compacting over time.
Why are my wall plant leaves turning yellow?
Yellowing, or chlorosis, usually indicates a Nitrogen deficiency or overwatering. Check the moisture levels with a meter. If the soil is dry, apply a high-nitrogen liquid feed. If the soil is wet, reduce irrigation to prevent root rot.