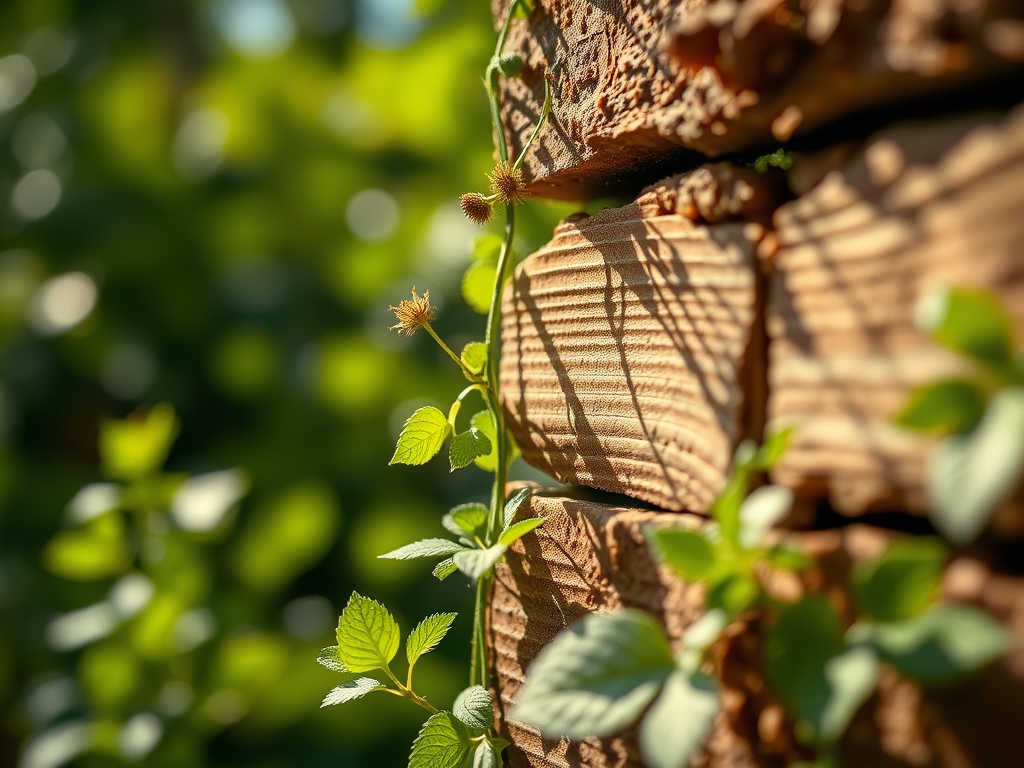
7 Creative Ways How to Build a Vertical Wall
Crushed perlite grit and the sharp, metallic scent of wet galvanized steel signal the start of a serious installation. When a leaf maintains maximum turgor pressure, its cells are distended against the cell walls; this rigidity is the primary goal of any vertical system. Learning how to build a vertical wall requires more than aesthetic intent. It demands an understanding of gravitational water movement and the physical limits of root anchoring. You are not just hanging plants. You are engineered a pressurized hydraulic system that must counteract the drying effects of increased airflow and height.
Materials:

The foundation of a vertical system is the substrate. Standard garden soil is too heavy and compacts under its own weight. You require a friable loam substitute with high porosity. Use a mix of 60 percent coconut coir, 20 percent perlite, and 20 percent vermiculite. This ensures a high Cation Exchange Capacity (CEC), allowing the medium to hold and release essential nutrients like potassium and magnesium.
For the nutrient profile, target a soil pH between 6.0 and 6.5. Incorporate a slow release fertilizer with an NPK ratio of 10-10-10 for general foliage or 5-10-10 if you are integrating flowering species. High nitrogen levels (the first number) promote vegetative growth, but excess can lead to weak, succulent tissue susceptible to mechanical damage. Ensure the containment structure uses 304-grade stainless steel or UV-stabilized high-density polyethylene (HDPE) to prevent chemical leaching into the rhizosphere.
Timing:
Vertical installations should be timed to the local Hardiness Zone frost dates. In Zones 7 through 9, the optimal window for outdoor assembly is three weeks after the last predicted frost when soil temperatures consistently exceed 60 degrees Fahrenheit. Indoors, timing is less restricted, but you must account for the photoperiod.
Plants operate on a biological clock governed by circadian rhythms and phytochrome shifts. Transitioning from vegetative to reproductive stages is triggered by light duration. For a vertical wall, you want to maintain the vegetative stage as long as possible to ensure full coverage. This requires a consistent 14 to 16 hours of light daily. If the plants enter senescence too early, the wall will thin and lose its structural density.
Phases:

Sowing and Propagation
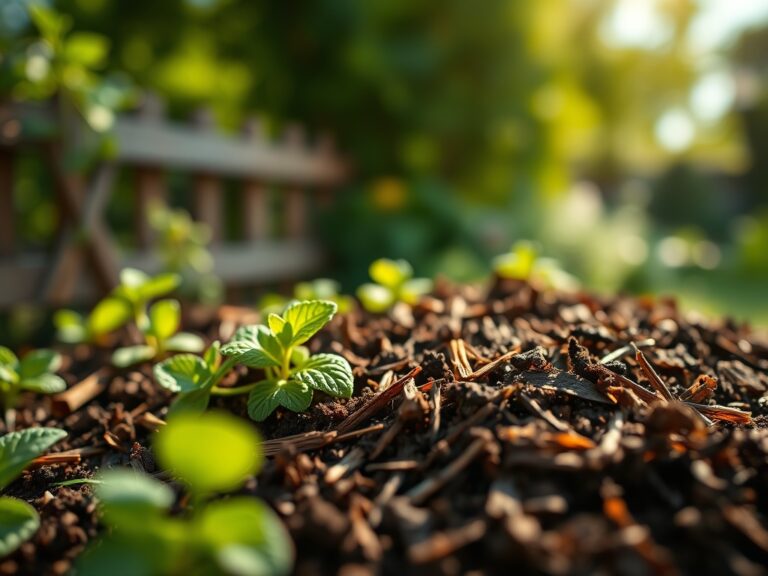
Start seeds in 72-cell plug trays using a sterile peat-based starter. Maintain a constant temperature of 72 degrees Fahrenheit. Only move to the vertical structure once the secondary set of true leaves has fully expanded.
Pro-Tip: Utilize auxin suppression by pinching the terminal buds of young plants. This breaks apical dominance and forces lateral branching, resulting in a bushier plant that covers the vertical hardware more efficiently.
Transplanting into the Wall
When moving plants into the vertical modules, ensure the root ball is moist but not saturated. Position the plant at a 45-degree upward angle. This orientation accounts for future "slump" and encourages the plant to grow outward before phototropism pulls it upward.
Pro-Tip: Inoculate the roots with mycorrhizal fungi during transplant. This symbiotic relationship increases the surface area of the root system by up to 100 times, significantly improving water uptake in the fast-draining vertical environment.
Establishing the System
The first 21 days are the establishment phase. During this time, the root system is colonizing the new substrate. Keep the wall out of direct, harsh afternoon sun to prevent excessive transpiration while the roots are still limited.
Pro-Tip: Monitor turgor pressure daily. If the leaves appear flaccid, it indicates that the rate of transpiration is exceeding the rate of water uptake, a common issue in vertical systems where air circulation is high.
The Clinic:
Physiological disorders in vertical walls often stem from the uneven distribution of water and nutrients.
Symptom: Interveinal chlorosis (yellowing between green veins) on new growth.
Solution: This indicates an Iron deficiency, often caused by a pH above 7.0. Lower the pH of your irrigation water to 6.0 using phosphoric acid.
Symptom: Tips of leaves turning brown and "burned."
Solution: This is typically Tip Burn caused by calcium deficiency or high salinity. Flush the system with pure water to leach out excess salts and ensure consistent moisture levels to allow for calcium transport.
Symptom: Lower leaves turning yellow and falling off.
Solution: Nitrogen chlorosis. The plant is mobile-sourcing nitrogen from old growth to support new growth. Increase your NPK application to a 20-20-20 water-soluble solution for two weeks.
Fix-It for Drainage Issues: If the bottom modules are waterlogged while the top is dry, install pressure-compensating emitters (2.0 gallons per hour) to ensure every level receives the exact same volume of water regardless of gravity.
Maintenance:
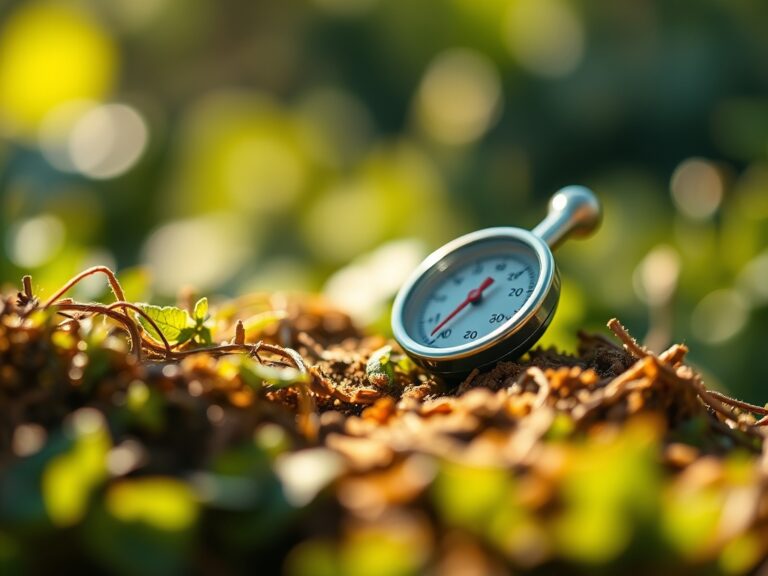
Vertical walls require precision. Use a soil moisture meter to check the moisture levels at the top, middle, and bottom of the wall. Because gravity pulls water downward, the bottom 20 percent of the wall often requires 30 percent less irrigation than the top. Aim for 1.5 inches of water per week delivered directly to the root zone.
Use a hori-hori knife to remove any dead plant material or to divide overgrown perennials. Pruning should be done with bypass pruners to ensure clean cuts that heal quickly, preventing pathogens from entering the vascular system. Sanitize your tools with a 70 percent isopropyl alcohol solution between every plant to prevent the spread of systemic infections.
The Yield:
If your vertical wall includes herbs or edible greens, harvest when the plant has at least six to eight sets of leaves. Never remove more than 30 percent of the biomass at one time; doing so can shock the plant and cause root dieback.
Harvest in the early morning when the plants are at peak hydration. Use sharp snips to cut just above a node to encourage regrowth. For "day-one" freshness, immediately submerge the stems in 40-degree Fahrenheit water to remove field heat and maintain the cellular integrity of the harvest.
FAQ:
How do I prevent the bottom of the wall from rotting?
Install a drainage manifold at the base to collect excess runoff. Use a coarse-textured substrate in the bottom modules to increase aeration and prevent anaerobic conditions in the rhizosphere.
What is the best light for an indoor vertical wall?
Use full-spectrum LED arrays providing 30 to 50 watts per square foot. Ensure the light hits the wall at a perpendicular angle to prevent the lower plants from being shaded by the upper ones.
How often should I fertilize a vertical system?
Apply a balanced, water-soluble fertilizer every 14 days during the growing season. Use a half-strength dilution to prevent salt buildup in the confined growing medium of the vertical modules.
Can I grow perennials in a vertical wall?
Yes, provided the root zone is large enough to survive winter dormancy. In colder zones, you must provide insulation for the root mass or move the entire system into a temperature-controlled environment.