6 Best Edging for Forest Trails
Damp earth smells of geosmin and fungal decomposition; it is the scent of a high-functioning rhizosphere in a woodland ecosystem. Walking a path where the soil maintains its structure underfoot requires more than just clearing brush. You need a barrier that manages hydrostatic pressure and prevents the encroachment of aggressive stoloniferous weeds. Selecting the best edging for forest trails involves balancing the Cation Exchange Capacity (CEC) of the surrounding soil with materials that can withstand high acidity and constant moisture. A forest floor often sits at a pH of 4.5 to 5.5. This acidity will corrode cheap galvanized steel or rot untreated softwoods within two seasons. Professional trail design requires materials that integrate with the mycorrhizal networks rather than severing them. We look for durability that survives the freeze-thaw cycles of northern latitudes while maintaining the turgor of peripheral vegetation. The goal is a permanent line of demarcation that directs foot traffic and contains the organic mulch layer without disrupting the delicate hydrological balance of the forest floor.
Materials:
The ideal substrate for a forest trail is a friable loam with a high percentage of organic matter. If your trail borders a planting zone, the soil should ideally test at an **NPK ratio of 3-1-2** for established woody perennials. Forest soils are often nitrogen-limited due to the high carbon content of fallen leaves and wood. To stabilize the edging, you must understand the soil texture. Sandy soils have low CEC and require deeper anchoring systems; clay-heavy soils have high CEC but poor drainage, which can lead to anaerobic conditions around the edging material.
- Black Locust or Cedar Timbers: High tannin content provides natural rot resistance.
- Weathering Steel (Corten): Develops a stable rust layer that protects the inner metal.
- Fieldstone: Best for high-drainage areas with a pH above 6.0.
- Recycled Composite: Inert and does not leach chemicals into the fungal mat.
- Pressure-Treated Pine (UC4B grade): Rated for ground contact but may affect soil microbes.
- Wattle (Willow or Hazel): Living or dried branches that facilitate gas exchange.
Timing:
Installation should occur when the ground is workable but before the spring "flush" of growth. In Hardiness Zones 4 through 7, this window typically opens between March and April. You must monitor the biological clock of the local flora. The transition from vegetative to reproductive stages usually begins when soil temperatures reach a consistent 55 degrees Fahrenheit. Installing edging during the dormant phase prevents damage to the fine feeder roots that occupy the top 6 inches of the soil profile. Avoid heavy excavation during the peak of summer senescence, as the plants are already under heat stress and have reduced capacity for root regeneration.
Phases:
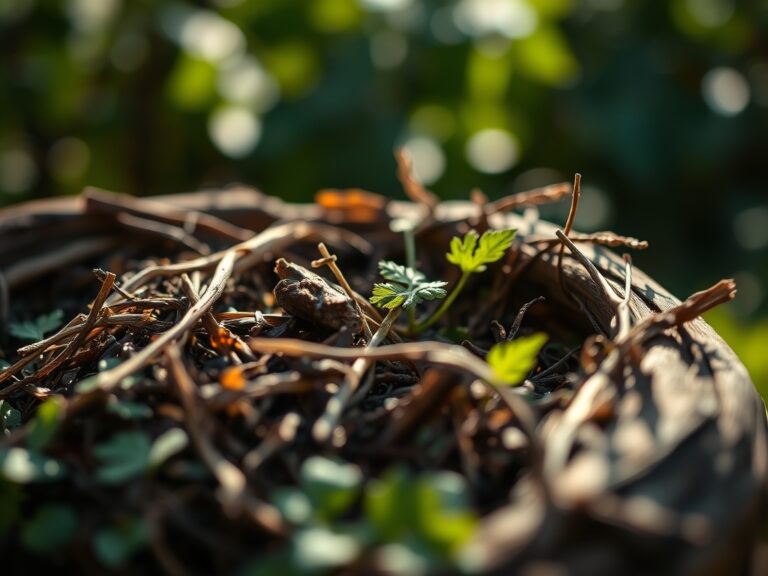
Sowing and Site Prep
Clear the trail path to a width of 36 to 48 inches. Remove all leaf litter to expose the mineral soil. Use a spade to cut a vertical trench 4 to 6 inches deep. This depth is critical to intercept the rhizomes of invasive grasses.
Pro-Tip: Maintain a clean edge to prevent "auxin suppression" issues. When you prune roots cleanly with a sharp spade, the plant redirects growth hormones to lateral roots rather than sending out long, invasive runners into your path.
Transplanting and Stabilization
When placing stone or timber, ensure at least two-thirds of the material is buried. This prevents frost heave during winter months. If using metal edging, overlap the sections by 4 inches to maintain structural integrity under the lateral pressure of the soil.
Pro-Tip: Inoculate the backfill soil with local leaf mold. This encourages mycorrhizal symbiosis, where beneficial fungi attach to the roots of bordering plants, increasing their nutrient uptake and drought resistance.
Establishing the Border
Backfill the exterior side of the edging with a mix of native soil and aged compost. Tamp the soil to a bulk density of approximately 1.3 g/cm3. This provides enough stability to hold the edging in place while leaving enough pore space for oxygen to reach the rhizosphere.
Pro-Tip: Avoid over-compacting the soil. High bulk density triggers negative phototropism in roots; they will turn away from the compacted path and potentially push your edging out of alignment as they seek easier paths through the soil.
The Clinic:
Woodland plants along a trail edge are prone to specific physiological disorders.
- Symptom: Interveinal chlorosis (yellow leaves with green veins) on new growth.
- Solution: This indicates an Iron deficiency, often caused by high pH. Apply chelated iron or elemental sulfur to lower the pH to a 5.5 to 6.5 range.
- Symptom: Marginal necrosis (browning leaf edges) on established ferns.
- Solution: This is often "Wind Burn" or salt accumulation. Increase irrigation to flush the soil and provide a windbreak.
- Symptom: Stunted growth and purpling of lower leaves.
- Solution: Phosphorus deficiency. Forest soils can bind phosphorus tightly. Apply a high-phosphate fertilizer (0-20-0) directly to the root zone.
- Fix-It for Nitrogen Chlorosis: If the entire leaf turns pale yellow, the plant is scavenging nitrogen from old growth. Apply a slow-release organic fertilizer with a 10-0-0 analysis to restore chlorophyll production.
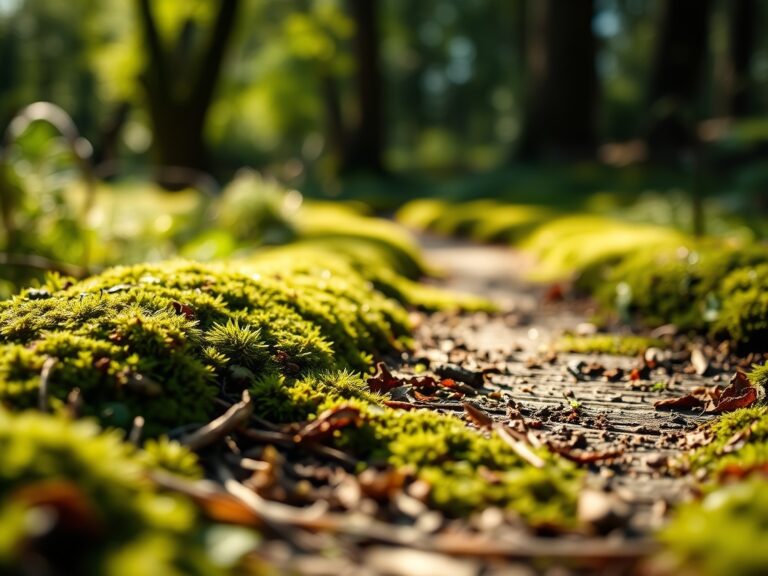
Maintenance:
A forest trail is a living system. Use a soil moisture meter weekly to ensure the border plants receive 1.5 inches of water per week at the drip line. During the first year, use a hori-hori knife to sever any runners that attempt to leap over the edging. Prune overhanging branches with bypass pruners to maintain a "light chimney" that allows at least 4 hours of dappled sunlight to reach the trail edge. This prevents the path from becoming a mossy, slippery hazard. Inspect the edging every spring for frost heave; use a rubber mallet to reset any sections that have shifted more than 0.5 inches from the level line.
The Yield:
If your forest trail includes edible borders like ramps (Allium tricoccum) or shade-tolerant berries, timing is everything. Harvest ramps when the leaves are fully expanded but before the flower stalk emerges. Use a narrow trowel to take only 10 percent of a colony to ensure the stand remains viable. For berries, harvest when the fruit detaches with zero resistance. This indicates peak sugar brix levels. Place harvested items in a ventilated basket and move to a cool, dark environment within 20 minutes to maintain post-harvest turgor and prevent wilting.
FAQ:
What is the most durable edging for acidic forest soil?
Weathering steel or Corten steel is superior. It forms a protective oxide layer that resists the corrosive effects of low-pH forest soils and high moisture. It typically lasts 25 to 40 years in woodland environments.
How deep should I bury forest trail edging?
Bury the edging at least 4 inches deep. This depth is necessary to block the majority of weed rhizomes and provide enough leverage to resist the lateral pressure exerted by the forest floor's organic mat.
Will wood edging rot too quickly in the shade?
Untreated softwoods will fail in 2 to 3 years. Use Black Locust, Eastern Red Cedar, or UC4B pressure-treated lumber. These materials contain natural or chemical preservatives that extend their functional lifespan to 15 years or more.
How do I prevent frost heave from moving my edging?
Ensure a minimum of 60 percent of the material is below the soil surface. Adding a 2-inch base of crushed stone or coarse sand beneath the edging facilitates drainage and reduces the ice lens formation that causes heaving.