9 Basic Steps to Install Felt Pockets
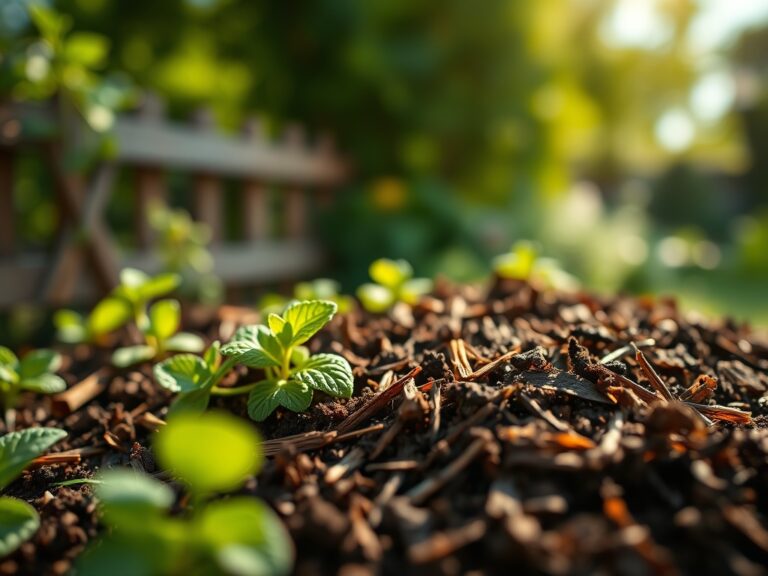
The smell of damp peat moss and the gritty texture of perlite under fingernails signal the beginning of a vertical installation. Success in high-density wall gardening depends on maintaining turgor pressure within the plant tissues; this requires a precise balance of moisture and aeration. When you execute the steps to install felt pockets, you are not merely hanging fabric; you are engineering a synthetic rhizosphere. This vertical environment must mimic the natural drainage of a cliffside while providing the nutrient density of a forest floor.
Vertical gardening systems rely on capillary action to move water through the felt fibers. Without a rigorous approach to installation, gravity causes uneven moisture distribution, leading to basal rot in lower pockets and desiccation in the upper tiers. This guide provides the technical framework to ensure your vertical system thrives from the first irrigation cycle.
Materials:
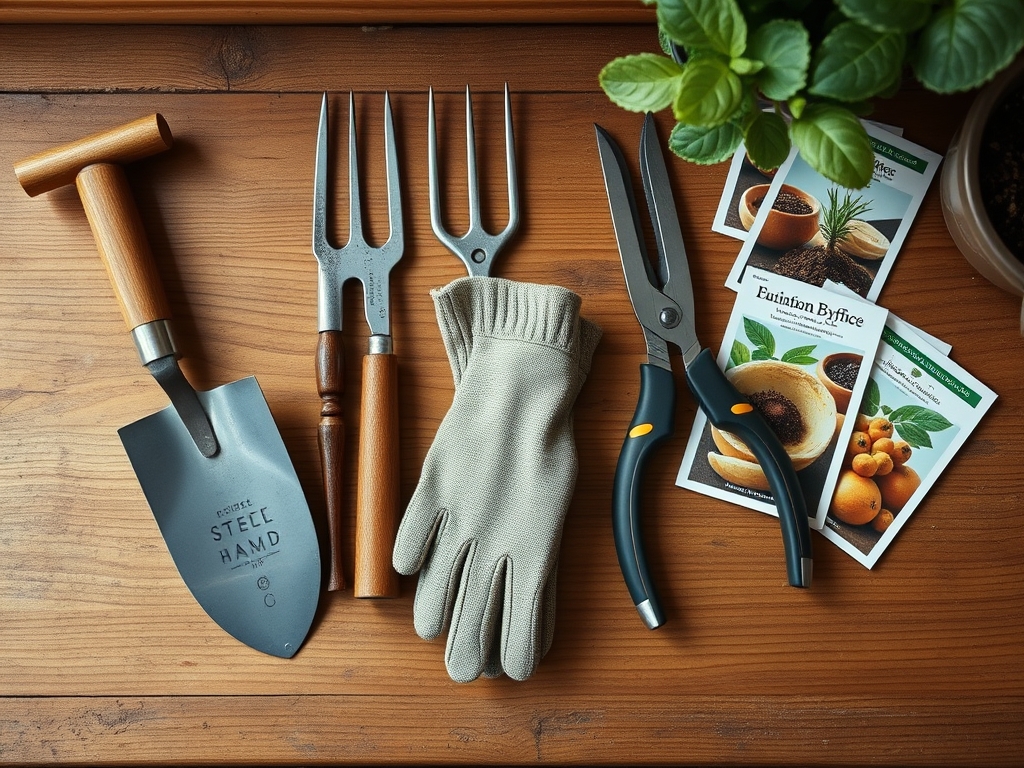
Substrate selection is the most critical variable for felt systems. Use a friable loam or a soilless mix composed of 60 percent coconut coir, 20 percent perlite, and 20 percent vermiculite. This mixture ensures a high Cation Exchange Capacity (CEC), allowing the medium to hold onto essential nutrients like ammonium and potassium.
For leafy greens and vegetative growth, select a fertilizer with an NPK ratio of 10-5-5. If the goal is floral production, shift to a 5-10-5 ratio to support phosphorus demands during the reproductive phase. The target soil pH should sit between 6.0 and 6.5 to optimize nutrient bioavailability. You will also need stainless steel fasteners or masonry anchors, a level, and a waterproof backing membrane to prevent structural rot on the mounting surface.
Timing:
Installation timing must align with your local USDA Hardiness Zone. In Zones 7 through 9, vertical installations are most successful when performed in the early spring, at least three weeks after the last frost date. This window allows root systems to establish before the high evapotranspiration rates of summer.
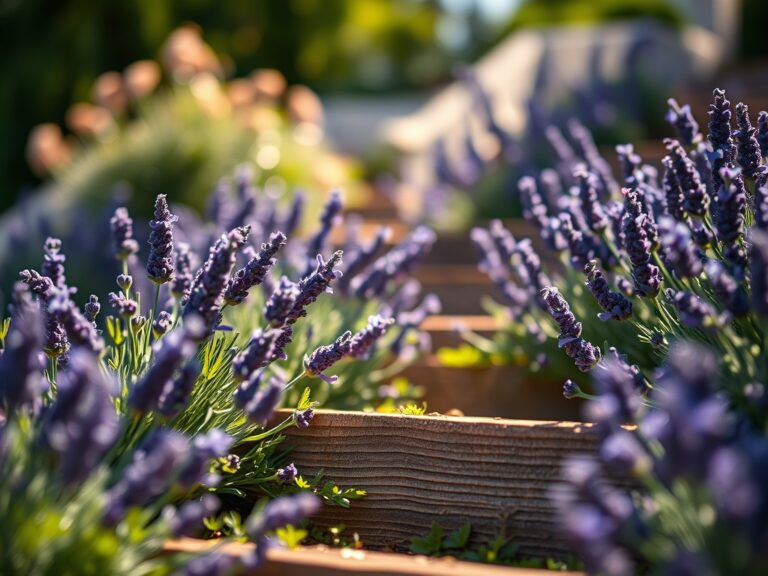
The biological clock of your selected species dictates the installation schedule. Most herbaceous perennials require a photoperiod of at least 12 hours to trigger robust vegetative growth. Installing during a period of increasing day length leverages the plant's natural surge in auxin production, which accelerates root elongation into the new substrate. Avoid transplanting during peak flowering; the plant's energy is diverted toward reproductive senescence rather than root establishment.
Phases:

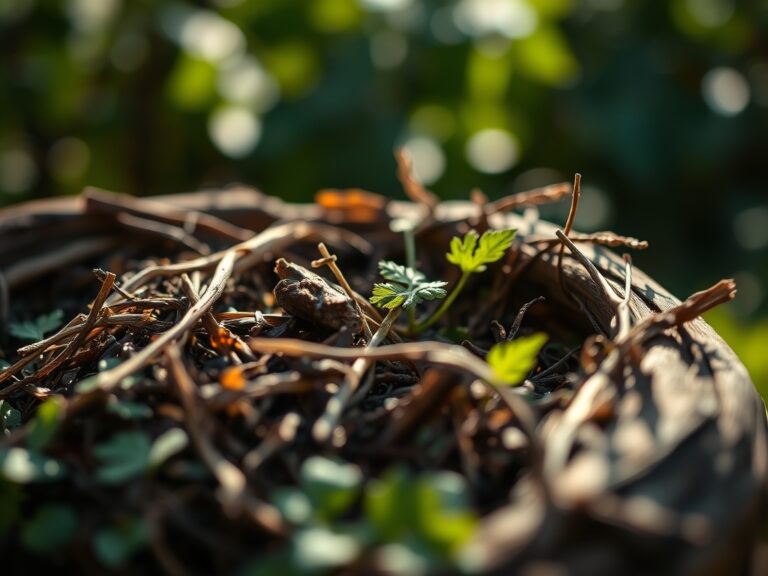
Sowing and Preparation
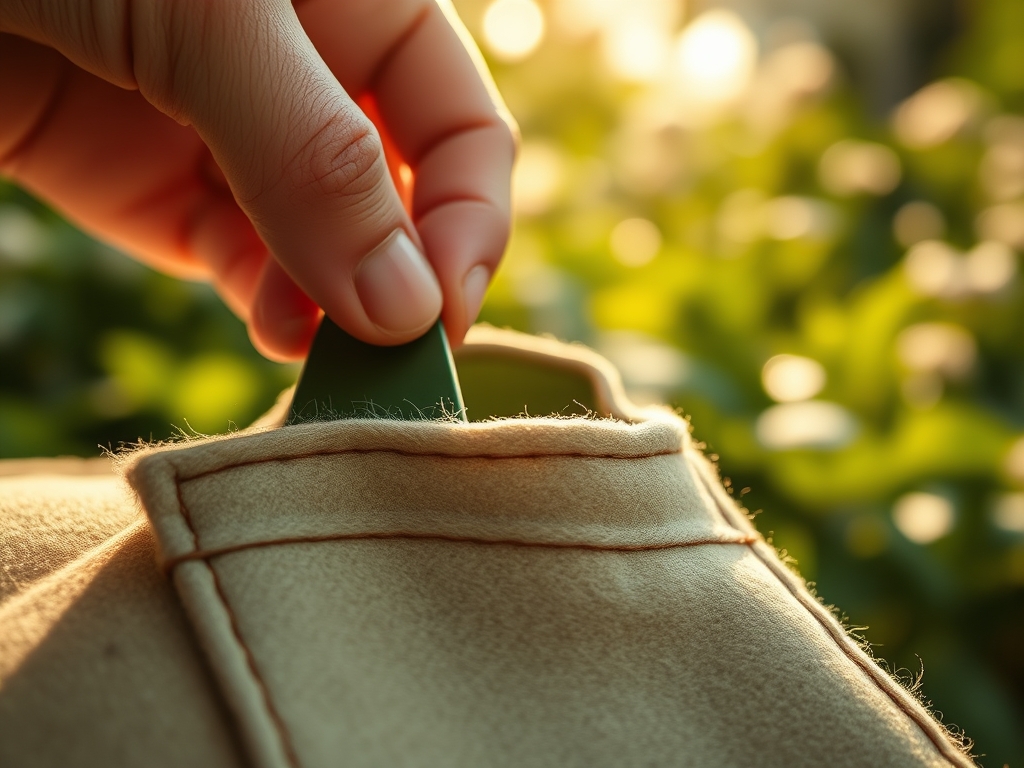
Before the felt hits the wall, pre-soak the fabric. Dry felt is hydrophobic and will repel initial irrigation. Lay the pockets flat and saturate them with a weak solution of seaweed extract to stimulate the rhizosphere. If starting from seed, use a sterile seed-starting mix in the pockets to prevent "damping off" caused by soil-borne pathogens.
Pro-Tip: Pre-soaking the felt initiates capillary pathways. This biological why is rooted in surface tension; once the fibers are hydrated, water molecules can move via cohesion and adhesion, ensuring the entire root ball receives moisture.
Transplanting into Pockets
When moving seedlings, handle them by the root ball or the "true leaves" to avoid damaging the delicate apical meristem. Use a hori-hori knife to create a precise slit in the substrate. Position the plant so the crown sits slightly above the soil line to prevent crown rot. Ensure the roots are spread laterally to maximize contact with the felt.
Pro-Tip: Avoid "J-rooting," where roots are tucked upward. Proper downward orientation prevents auxin suppression at the root tips, which would otherwise stunt the plant's ability to seek out moisture and nutrients deeper in the pocket.
Establishing the System
The first 14 days are the establishment phase. Maintain high humidity around the foliage to reduce the transpiration load while the roots are still recovering from transplant shock. Monitor the turgor pressure of the leaves; wilting during the cool evening hours indicates a failure in the root-to-substrate interface.
Pro-Tip: During this phase, mycorrhizal symbiosis is your greatest ally. Introducing beneficial fungi to the pockets increases the effective surface area of the root system by up to 100 times, significantly improving phosphorus uptake and drought resistance.
The Clinic:
Physiological disorders in felt pockets often manifest rapidly due to the limited root volume.
Symptom: Interveinal Chlorosis
Yellowing between leaf veins while veins remain green indicates a Magnesium deficiency.
Solution: Apply a foliar spray of Epsom salts (magnesium sulfate) at a rate of 1 tablespoon per gallon of water.
Symptom: Tip Burn
Brown, crispy edges on new growth suggest Calcium deficiency or high salinity.
Solution: Flush the pockets with distilled water to leach excess salts and incorporate a liquid calcium nitrate supplement.
Symptom: Stunted Growth and Purple Leaves
This is a classic sign of Phosphorus deficiency, often exacerbated by cold substrate temperatures.
Solution: Increase the ambient temperature if possible and apply a high-phosphorus "bloom booster" fertilizer.
Nitrogen Chlorosis Fix-It: If the entire leaf turns a uniform pale yellow, the plant is scavenging nitrogen from older tissues. Apply a high-nitrogen liquid fertilizer (NPK 20-0-0) to restore chlorophyll production.
Maintenance:
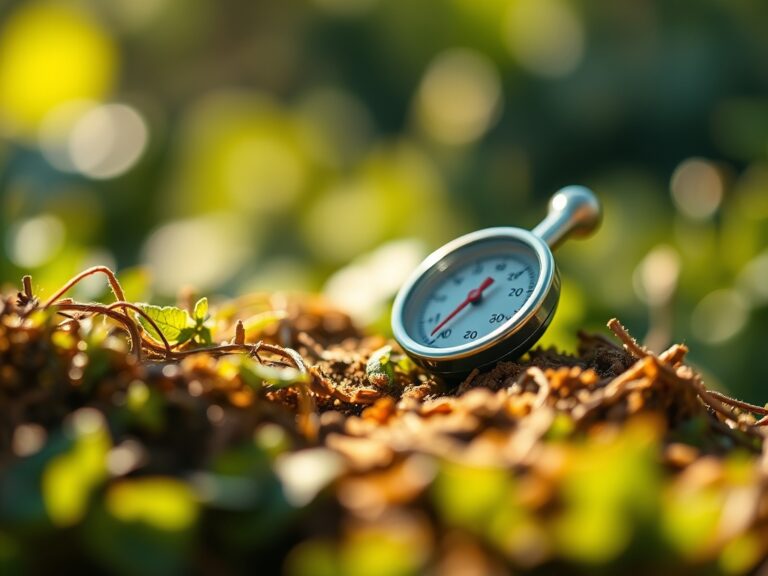
Precision is the hallmark of a master gardener. Use a soil moisture meter daily to check the middle pockets; these are the "canaries in the coal mine" for the system's hydration. On average, a vertical felt system requires 1.5 inches of water per week, delivered via a drip irrigation line at the top of the structure.
Pruning is essential to maintain airflow and prevent fungal outbreaks. Use bypass pruners to remove any yellowing or dead foliage (senescence) immediately. This prevents the plant from wasting energy on failing tissues and improves light penetration to the lower pockets. Every six months, check the structural integrity of the mounting hardware; the weight of a fully saturated felt wall can increase by 300 percent compared to its dry weight.
The Yield:
For edible crops like basil or kale, harvest during the early morning hours when turgor pressure is at its peak. This ensures the cell walls are fully hydrated, providing a crisp texture. Use sharp snips to take no more than one-third of the plant's biomass at a time; this prevents the plant from entering a state of shock and allows for continuous regrowth.
Post-harvest, immediately submerge the stems in 40-degree Fahrenheit water. This rapid cooling halts the metabolic processes that lead to wilting and preserves the volatile oils responsible for flavor and aroma. For floral yields, cut at a 45-degree angle to maximize the surface area for water uptake in the vase.
FAQ:
How often should I water felt pockets?
Check moisture levels daily. Most systems require irrigation every 24 to 48 hours depending on ambient temperature. Use a soil moisture meter to ensure the core of the substrate remains damp but not anaerobic.
Can I reuse the felt pockets next season?
Yes, but they must be sterilized. Remove all old substrate and soak the felt in a 10 percent bleach solution to kill pathogens. Rinse thoroughly to remove residual chlorine before replanting to protect the new rhizosphere.
What is the best plant for a beginner?
Pothos or heartleaf philodendron are ideal. They have high tolerance for fluctuating moisture levels and exhibit clear visual cues, such as drooping, when they lose turgor pressure, making them excellent for learning the system's nuances.
Do felt pockets leak onto the wall?
Without a moisture barrier, yes. Always install a waterproof backing membrane such as HDPE plastic or pond liner between the felt and the wall. This protects the structure from water damage and mold growth.