9 Practical Ways How to Build a Compost Bin
The smell of damp earth and the firm turgor of a healthy leaf are the ultimate indicators of a functioning rhizosphere. When you learn how to build a compost bin, you are not merely constructing a container; you are engineering a high temperature bioreactor. This vessel facilitates the thermophilic decomposition of organic matter, converting cellulose and lignin into stable humic substances. A well managed bin ensures a steady supply of nutrients to maximize the cation exchange capacity of your garden soil.
Materials:
To optimize the finished product for a **pH range of 6.0 to 7.5**, your inputs must be calculated. Aim for a finished **NPK ratio of approximately 1-1-1 or 2-1-1** depending on your feedstock. The physical texture of the ideal substrate is a friable loam; it must crumble under light pressure while retaining enough moisture to prevent microbial senescence.
- Structural Walls: Use heat treated (HT) cedar or Douglas fir. Avoid chemically treated lumber which can leach heavy metals.
- Aeration Mesh: Hardware cloth with a 0.5 inch grid allows for gas exchange while excluding rodents.
- Carbon Base: Coarse wood chips or straw to facilitate the "chimney effect" for oxygen flow.
- Nitrogen Catalyst: Fresh green matter or urea to jumpstart the thermophilic phase.
- Fasteners: Galvanized or stainless steel screws to resist the corrosive environment of organic acids.
Timing:
In Hardiness Zones 4 through 7, the biological clock of a compost pile slows significantly during the winter months when ambient temperatures drop below 40 degrees Fahrenheit. Construction should occur at least six weeks before the first frost to allow the initial mesophilic bacteria to establish. In Zones 8 through 11, year round activity is possible, though high summer temperatures may require supplemental irrigation to prevent the pile from desiccating. Understanding the transition from vegetative to reproductive stages in your garden is vital; you need the finished compost ready for the heavy feeding phase of spring transplanting.
Phases:

Sowing the Pile
Layering is the foundational step in how to build a compost bin. Start with a 6 inch layer of brown, carbon rich materials followed by a 3 inch layer of green, nitrogen rich materials. This creates a C:N ratio of 30:1, which is the metabolic sweet spot for aerobic bacteria.
Pro-Tip: Incorporate a shovelful of active garden soil between layers. This introduces indigenous mycorrhizal fungi and beneficial bacteria immediately into the core. This process, known as inoculation, bypasses the lag phase of microbial colonization.
Transplanting Heat
As the pile settles, internal temperatures should reach 135 to 160 degrees Fahrenheit. This heat is a byproduct of microbial respiration. You must monitor this using a 24 inch probe thermometer to ensure the pile is "cooking" without becoming anaerobic.
Pro-Tip: Turn the pile when temperatures begin to plateau or drop. This reintroduces oxygen, preventing the shift to anaerobic fermentation which produces methane and hydrogen sulfide. Maintaining aerobic conditions ensures the survival of actinomycetes, which are responsible for the "earthy" smell of finished compost.
Establishing Stability
The final phase is maturation or curing. The pile volume will have decreased by 50 to 70 percent. The temperature will return to ambient levels, and the material will appear dark and homogenous. This phase allows for the degradation of phytotoxic compounds that can inhibit seed germination.
Pro-Tip: Allow a minimum of 21 days for curing after the final turn. This period facilitates the stabilization of nitrogen into organic forms. If used too early, the high microbial activity can cause "nitrogen tie-up" in the soil, where bacteria compete with plant roots for available nitrogen, leading to temporary chlorosis.
The Clinic:
Monitoring the physiological state of your compost is as critical as monitoring your plants.
Symptom: Ammonia odor (sharp, pungent smell).
Solution: The C:N ratio is too low (excess nitrogen). Incorporate more "browns" such as shredded cardboard or dried leaves to balance the chemistry.
Symptom: Rotten egg smell (hydrogen sulfide).
Solution: The pile is anaerobic and likely oversaturated. Turn the pile immediately with a manure fork to introduce oxygen and add dry, coarse material to improve porosity.
Symptom: Pile is cold and dry.
Solution: Lack of moisture or nitrogen. Increase water content until the material feels like a wrung out sponge. Add a nitrogen source like alfalfa meal or fresh grass clippings.
Fix-It for Nitrogen Chlorosis: If plants show yellowing of older leaves after applying fresh compost, the material was likely "immature." Apply a liquid kelp or fish emulsion to provide immediate nitrate availability while the soil microbes finish processing the carbon.
Maintenance:
A compost bin requires active management to sustain biological productivity. Use a soil moisture meter to ensure the pile remains at 50 to 60 percent moisture content. If the pile dries out, microbial activity ceases. If it becomes too wet, oxygen is displaced.
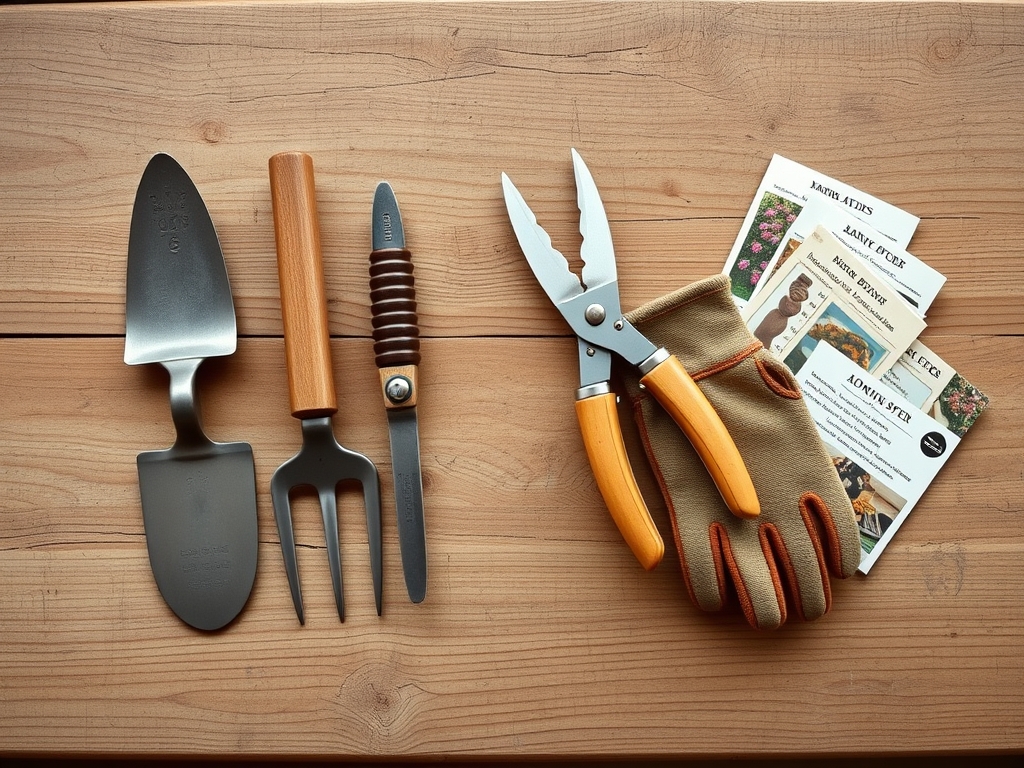
During the height of the growing season, use your hori-hori knife to core into the center of the pile to check for uniform decomposition. If you notice "pockets" of dry material, use a garden hose to apply approximately 1.5 inches of water throughout the layers while turning. Use bypass pruners to shred any large stalks or woody debris into pieces smaller than 2 inches before adding them to the bin; this increases the surface area for enzymatic attack by fungi.
The Yield:
Harvesting compost is best done in early spring or late fall. Sift the material through a 0.5 inch screen to remove unfinished chunks. The resulting "black gold" should be applied as a top dressing or incorporated into the top 3 inches of soil.
For "day-one" freshness in a biological sense, use the compost immediately or store it in a breathable container. If the compost is allowed to dry out completely or is sealed in an airtight bag, the beneficial aerobic microbial populations will crash, reducing the biological value of the amendment.
FAQ:
How big should my compost bin be?
A minimum volume of 3 feet by 3 feet by 3 feet (one cubic yard) is required to maintain the critical mass necessary for thermophilic heat retention. Smaller piles lose heat too quickly to effectively kill weed seeds or pathogens.
Can I put meat or dairy in the bin?
Avoid these materials in standard backyard bins. They attract vermin and contain high fat levels that slow down aerobic decomposition. Stick to plant based inputs and eggshells to maintain a clean, high speed aerobic process.
How often should I turn the compost?
Turn the pile every 3 to 7 days during the active heating phase. Once the internal temperature drops and stays below 100 degrees Fahrenheit, turning can be reduced to once every two weeks until the curing phase is complete.
Why is my compost pile not heating up?
The most common causes are lack of moisture, insufficient nitrogen, or a pile volume that is too small. Ensure the pile is damp, add fresh green matter, and verify the pile is at least 36 inches tall.