7 Vital Steps to Plant Indoor Oregano Pots
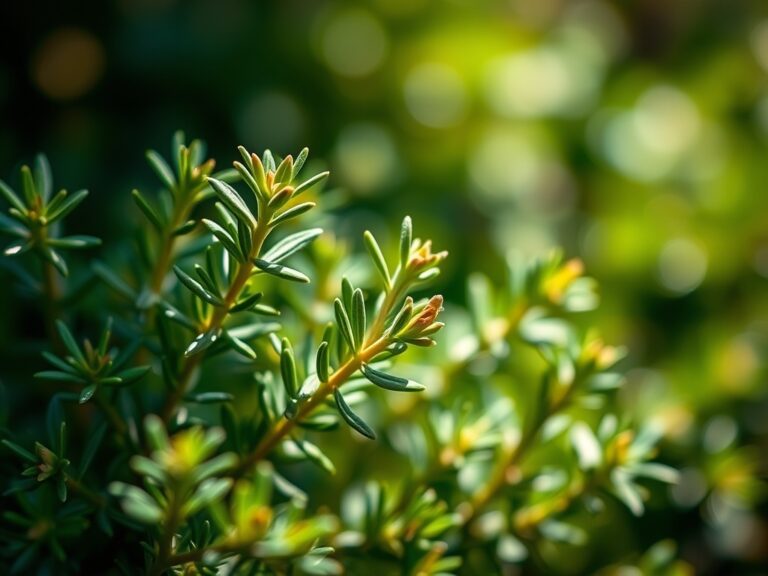
The smell of damp earth and the sharp, resinous aroma of crushed Origanum vulgare foliage define the indoor gardener's workspace. Success requires more than a sunny windowsill; it demands an understanding of cellular turgor and metabolic rates. To master the steps to plant indoor oregano pots, one must manage light cycles and drainage with surgical precision. This guide outlines the technical requirements for establishing a perennial herb colony that thrives in a controlled environment.
Materials:
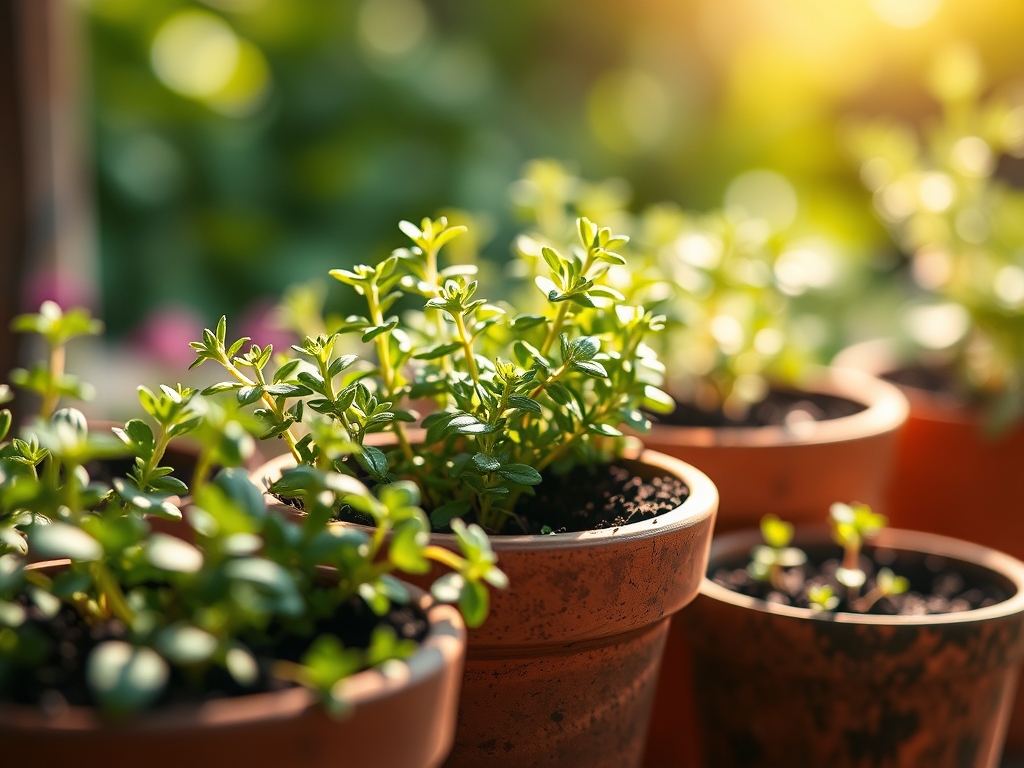
Substrate selection dictates the health of the rhizosphere. Oregano requires a **soil pH between 6.5 and 7.0**. Use a friable loam composed of 40 percent peat or coco coir, 40 percent perlite for aeration, and 20 percent sterilized compost. Avoid heavy garden soils that collapse and suffocate root hairs.
For nutrient loading, incorporate a slow release fertilizer with an NPK ratio of 5-10-5. High nitrogen levels (the first number) encourage rapid, weak growth that lacks concentrated essential oils. Phosphorus and potassium support root architecture and cellular strength. Ensure the container has at least three drainage holes to prevent anaerobic conditions. A Cation Exchange Capacity (CEC) of 15 to 25 milliequivalents per 100 grams of soil is ideal for maintaining nutrient availability without salt buildup.
Timing:
Indoor cultivation bypasses traditional frost dates, yet the plant still responds to external barometric pressure and light quality. In USDA Hardiness Zones 5 through 10, indoor sowing should begin 6 to 8 weeks before the last local frost to align with increasing natural day length.
The biological clock of oregano is governed by the photoperiod. During the vegetative stage, the plant focuses on leaf production and stem elongation. Once the plant reaches 10 to 12 inches in height, it may attempt to transition to the reproductive stage by producing flowers. For indoor pots, you must interrupt this transition to maintain foliage quality. Maintaining a consistent 14 to 16 hour light cycle using full spectrum LED arrays prevents premature senescence and keeps the plant in a perpetual state of vegetative vigor.
Phases:
Sowing and Germination
Surface sow the seeds onto pre-moistened media. Do not bury them; oregano seeds are photoblastic and require light to trigger the germination process. Maintain a consistent temperature of 70 degrees Fahrenheit. Cover the tray with a humidity dome to keep relative humidity at 70 percent until the first true leaves appear.
Pro-Tip: Monitor for the "hook" stage of the hypocotyl. This early growth phase relies on cellular expansion driven by turgor pressure. If the media dries out for even four hours, the delicate cell walls collapse, leading to irreversible seedling death.
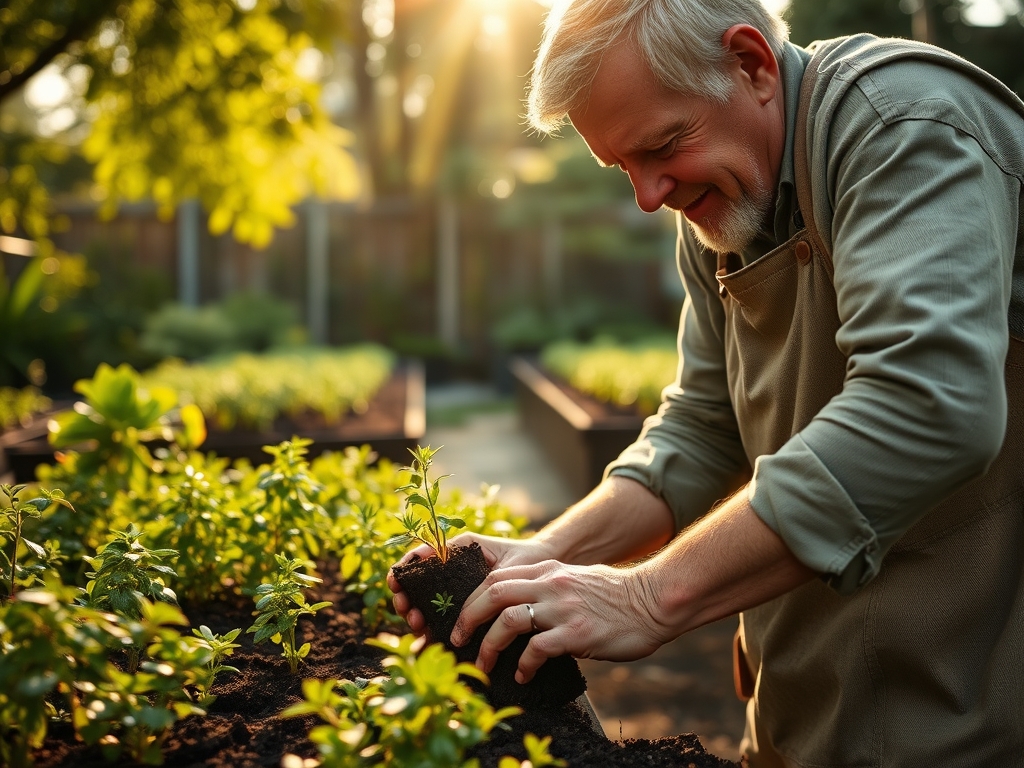
Transplanting to Final Pots
Once seedlings possess two sets of true leaves, move them to their permanent containers. Use a hori-hori knife to lift the root ball, ensuring the delicate mycorrhizal network remains intact. Space plants 8 inches apart if using a long planter.
Pro-Tip: When transplanting, bury the stem slightly deeper than it sat in the nursery tray. This encourages the development of adventitious roots from the buried nodes, increasing the surface area for nutrient uptake and stabilizing the plant against the weight of its own foliage.
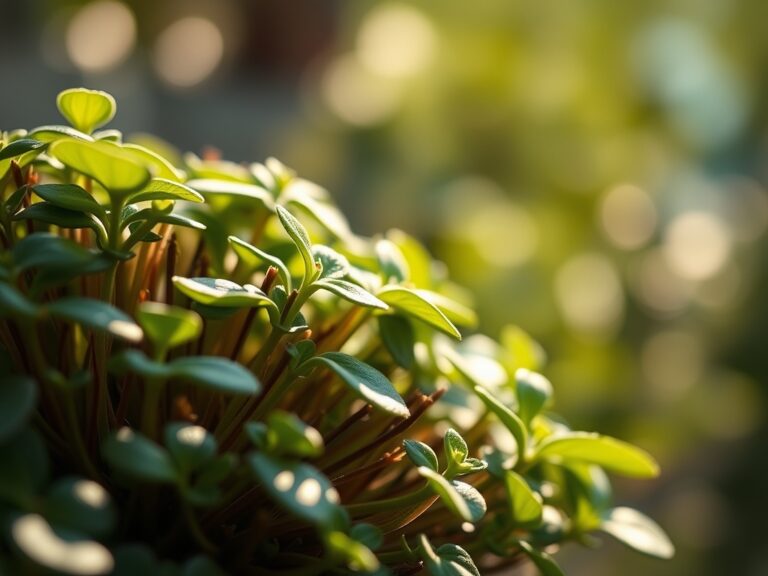
Establishing the Canopy
As the plant reaches 4 inches in height, pinch off the apical meristem (the top center growth point). This action redirects the flow of auxins, the hormones responsible for upward growth, to the lateral buds. This results in a bushier, more productive plant rather than a single leggy stem.
Pro-Tip: This process, known as apical dominance suppression, forces the plant to allocate carbohydrates to side branching. It increases the total photosynthetic surface area, allowing the plant to process more light energy per square inch of pot space.
The Clinic:
Physiological disorders often mimic infectious diseases. Accurate diagnosis is the first step to recovery.
- Nitrogen Chlorosis: Symptoms include yellowing of older, lower leaves while the top remains green. Solution: Apply a liquid kelp or fish emulsion at half strength to restore nitrogen levels.
- Edema: Symptoms include small, corky bumps on the underside of leaves. This is caused by the plant taking up water faster than it can transpire. Solution: Increase airflow using a small fan and reduce watering frequency.
- Root Hypoxia: Symptoms include wilting despite wet soil. Solution: Repot into a mixture with higher perlite content and check that drainage holes are not blocked by debris.
- Iron Deficiency: Symptoms include yellowing between the leaf veins (interveinal chlorosis) on new growth. This often occurs when the pH rises above 7.5. Solution: Lower the pH using elemental sulfur or chelated iron drench.
Maintenance:
Precision watering is the cornerstone of oregano care. Provide 1.5 inches of water per week, delivered directly to the soil surface to keep the foliage dry. Use a soil moisture meter to ensure the top inch of soil is dry before adding more water.
Pruning is a weekly requirement. Use bypass pruners to remove any woody stems, which occur as the plant ages. Maintaining a high ratio of green, succulent tissue ensures the highest concentration of carvacrol and thymol, the primary aromatic compounds. If the plant becomes root-bound, the cation exchange process slows down; at this point, you must either pot up to a larger size or perform root pruning to stimulate new growth.
The Yield:
Harvesting should occur just before the plant considers flowering, as this is when essential oil concentration peaks. Use sharp shears to cut stems roughly 2 inches above the soil line. Never remove more than 30 percent of the total biomass at one time to avoid putting the plant into a state of shock.
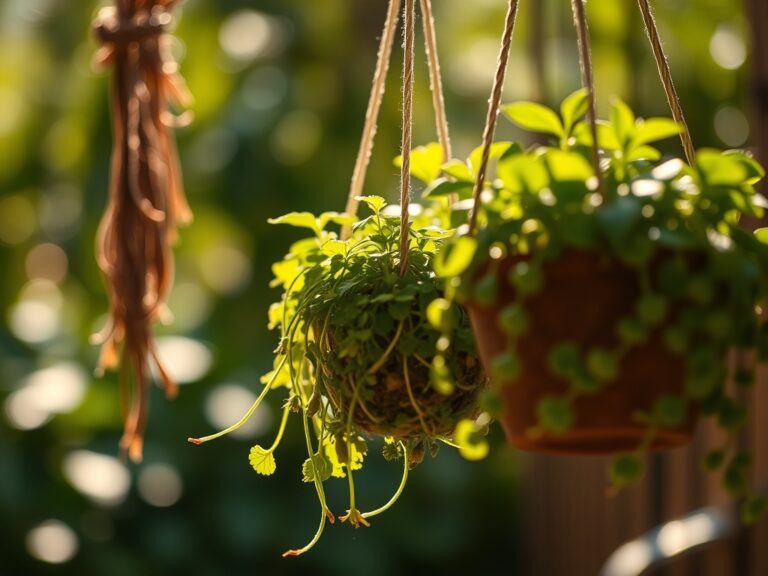
Post-harvest, submerge the stems in cold water for 15 minutes to maximize turgor. Shake off excess moisture and store in a sealed glass container in the refrigerator. For long term storage, hang the bundles in a dark room with a temperature of 65 degrees Fahrenheit and 40 percent humidity. This slow drying process preserves the volatile oils that provide the characteristic flavor profile.
FAQ:
Why is my indoor oregano turning yellow?
This is usually nitrogen chlorosis or overwatering. Check soil moisture with a meter. If the soil is dry and yellowing persists, apply a balanced liquid fertilizer to restore nitrogen levels and support chlorophyll production.
How much light does indoor oregano need?
Oregano requires 6 to 8 hours of direct sunlight or 14 hours under high quality LED grow lights. Insufficient light leads to "leggy" growth where stems stretch, weakening the cellular structure and reducing oil production.
Can I grow oregano in a pot without holes?
No. Oregano is highly susceptible to root rot caused by anaerobic bacteria in standing water. Always use containers with multiple drainage holes and a well-draining substrate to ensure proper oxygenation of the rhizosphere.
How often should I prune my indoor oregano?
Prune every 2 to 3 weeks during the active growing season. Regular harvesting of the terminal buds encourages lateral branching and prevents the plant from becoming woody, ensuring a continuous supply of tender, aromatic leaves.