7 Easy Ways How to Grow Steam Shower Plants
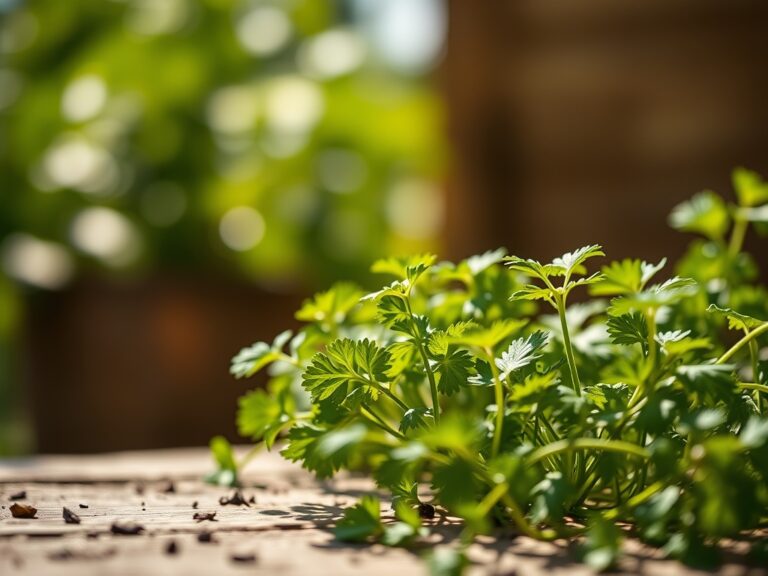
Turgor pressure defines the structural integrity of a bathroom botanical; the moment a leaf loses its rigidity, the cellular vacuum has failed. Success requires more than just placing a pot in a humid corner. To master the steps to grow steam shower plants, you must synchronize high ambient humidity with specific light intensity and substrate drainage. This process begins with selecting species that thrive in a saturated atmosphere where transpiration rates are naturally suppressed by the surrounding vapor.
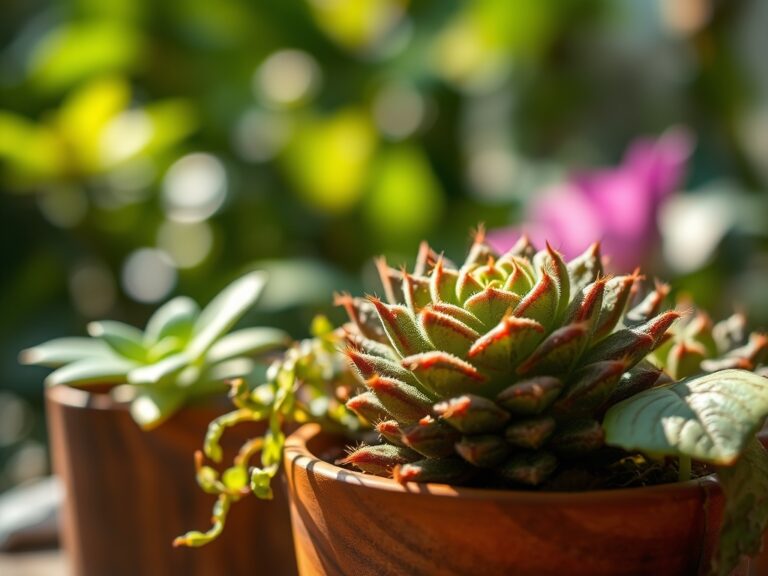
High humidity environments, often exceeding 60 percent relative humidity, require a precise management of the rhizosphere to prevent anaerobic conditions. You are not just decorating a room; you are engineering a microclimate. You must account for the lack of natural airflow and the presence of volatile organic compounds from soaps or cleaners. The goal is to maintain a consistent metabolic rate despite the intermittent heat spikes characteristic of a steam shower. Observe the root structure and leaf orientation in the step-by-step photos below to ensure your specimens are adapting to the high-moisture cycle.
Materials:

The substrate is the foundation of plant health in a high-humidity zone. You require a friable loam that maintains a Cation Exchange Capacity (CEC) high enough to retain nutrients without becoming waterlogged. For most tropical shower plants, aim for a soil pH between 5.5 and 6.5.
- Substrate Composition: Mix 40 percent orchid bark, 30 percent coco coir, 20 percent perlite, and 10 percent worm castings. This creates a porous medium that allows for rapid oxygen exchange.
- Nutrient Ratios: Use a water-soluble fertilizer with an NPK ratio of 20-20-20 for general foliage growth or a 10-30-20 ratio if you are cultivating flowering species like Peace Lilies.
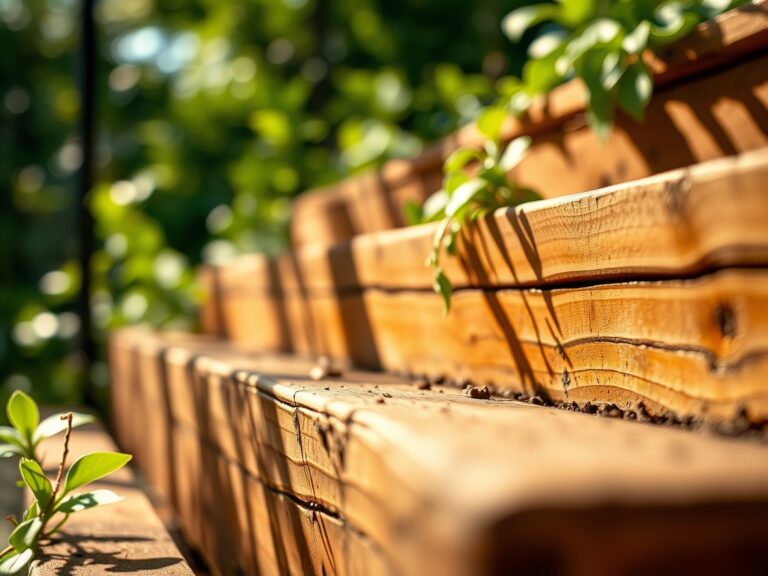
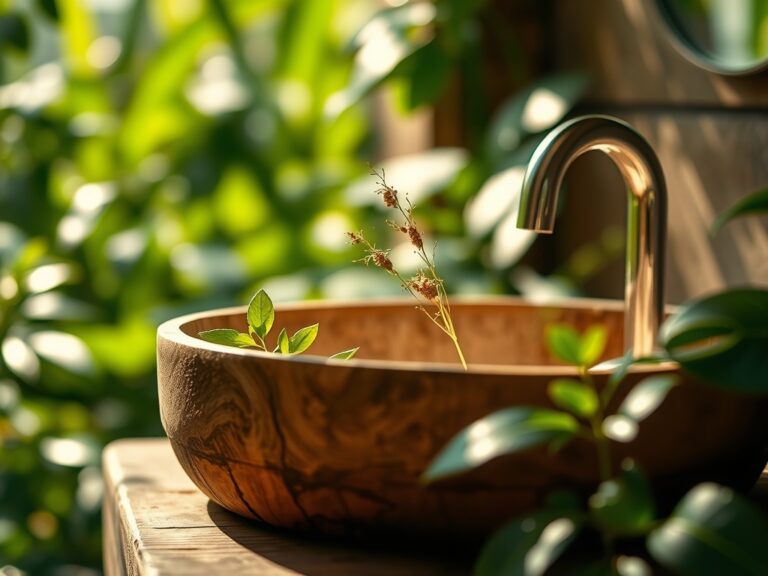
- Containers: Utilize non-porous ceramic or plastic pots with at least three drainage holes. Avoid unglazed terracotta; it wicks moisture away too quickly in the heat of a steam cycle.
- Water Quality: Use filtered water to prevent the buildup of salts and fluoride, which cause tip necrosis in sensitive species like Chlorophytum comosum.
Timing:
While indoor environments are climate-controlled, plants still respond to the external photoperiod. Most steam shower plants are native to tropical regions within Hardiness Zones 10 through 12. During the winter months (November to March), the biological clock slows down as light intensity decreases. This is the vegetative rest phase.
The transition from the vegetative stage to the reproductive stage is triggered by light duration. In a bathroom with limited windows, you must supplement with full-spectrum LED grow lights for 12 to 14 hours a day to prevent etiolation. Avoid transplanting during the peak of summer or the depths of winter to minimize transplant shock. The ideal window for establishing new plants is early spring, when the increase in natural light coincides with the plant's internal signal to initiate new cellular division.
Phases:

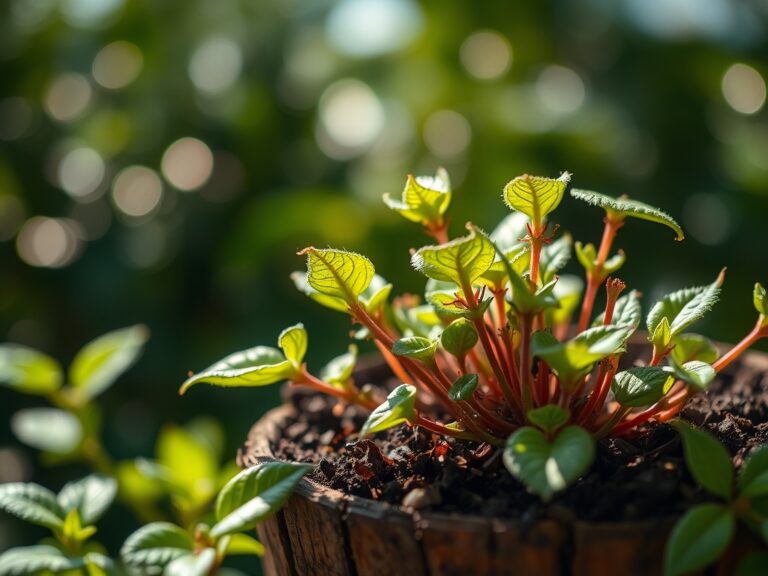
Sowing and Propagation
Most shower-ready plants are propagated via stem cuttings or division rather than seeds. For species like Epipremnum aureum, take a cutting with at least two nodes and submerge the lower node in water or moist sphagnum moss. Maintain a constant temperature of 72 to 78 degrees Fahrenheit to encourage root initiation.
Pro-Tip: Use a rooting hormone containing Indole-3-butyric acid to stimulate auxin suppression in the apical bud, which redirects energy toward root development. This ensures the plant establishes a strong vascular system before facing the heat of the shower.
Transplanting
When roots reach two inches in length, move the plant into the friable loam mixture. Ensure the root ball is placed at the same depth as its previous container to avoid stem rot. Firm the soil gently to remove large air pockets without compacting the medium.
Pro-Tip: Introduce mycorrhizal fungi to the root zone during transplanting. This symbiotic relationship increases the surface area of the roots, allowing the plant to absorb phosphorus more efficiently in the humid, low-light environment.
Establishing
The first 30 days are critical for acclimation. Place the plant in a bright area near the shower but not directly in the path of hot water. Monitor the turgor pressure of the leaves daily. If wilting occurs despite moist soil, the plant is struggling with the transition in humidity levels.
Pro-Tip: Utilize phototropism to your advantage by rotating the pot 90 degrees every week. This prevents the plant from leaning toward the light source and ensures an even distribution of chlorophyll across the entire canopy.
The Clinic:
Physiological disorders in high-humidity environments are often related to poor gas exchange or nutrient imbalances.
- Symptom: Yellowing of lower leaves (Chlorosis).
- Solution: This indicates a Nitrogen deficiency. Apply a liquid fertilizer with a high N-value to restore chlorophyll production.
- Symptom: Brown, crispy leaf edges.
- Solution: Despite the steam, this often indicates salt buildup in the soil or low local humidity between showers. Flush the substrate with two liters of distilled water to leach out excess minerals.
- Symptom: Soft, blackened stems at the soil line.
- Solution: This is Pythium root rot caused by anaerobic soil. Reduce watering frequency and increase perlite content in the substrate to improve aeration.
Fix-It for Magnesium Deficiency: If you notice interveinal chlorosis (yellowing between green veins), apply a solution of one tablespoon of Epsom salts per gallon of water. Magnesium is the central atom in the chlorophyll molecule; without it, photosynthesis halts.
Maintenance:
Precision maintenance prevents senescence and keeps the plant in a perpetual state of growth. Use a soil moisture meter to ensure the root zone never drops below 30 percent moisture content. Generally, these plants require 1.5 inches of water per week, delivered directly to the soil at the drip line rather than over the foliage.
Clean the leaves once a month with a damp cloth to remove dust and soap residue. This ensures the stomata remain unobstructed for gas exchange. Use bypass pruners to remove any yellowing or dead foliage at the base. If you need to divide a root-bound plant, a hori-hori knife is the professional tool of choice for slicing through dense rhizomes without crushing the delicate vascular tissue.
The Yield:
For those growing aromatic steam plants like Eucalyptus or Mentha, the yield is the essential oils released by the heat. Harvest stems in the morning when the concentration of volatile oils is at its peak. Use sharp shears to make a clean cut above a node to encourage lateral branching.
Post-harvest, bundle the stems and hang them away from direct water spray. The steam will naturally diffuse the oils into the air. For floral species, deadhead spent blooms immediately to redirect energy from seed production back into vegetative growth. This maintains the plant's aesthetic density and longevity.
FAQ:
Which plants are best for a steam shower?
Species like Asplenium nidus (Bird's Nest Fern), Spathiphyllum (Peace Lily), and Calathea thrive. These plants evolved in tropical understories with high humidity and indirect light, making them physiologically adapted to bathroom conditions with low light and high moisture.
How much light do shower plants need?
Most require medium to bright indirect light, measuring between 100 and 500 foot-candles. If your bathroom lacks windows, you must install a full-spectrum LED bulb and keep it active for at least 12 hours daily to support photosynthesis.
How often should I water them?
Frequency depends on evaporation rates, but typically once every 7 to 10 days. Use a moisture meter; water only when the top two inches of soil feel dry. The steam provides surface moisture, but the rhizosphere requires deep saturation.
Can soap suds kill my plants?
Yes, surfactants in soaps can break down the waxy cuticle on leaves, leading to dehydration and tissue damage. Position plants away from direct splash zones. If soap contacts the leaves, rinse them immediately with clean, room-temperature water to prevent chemical burns.