10 Best Low Light Bathroom Plants
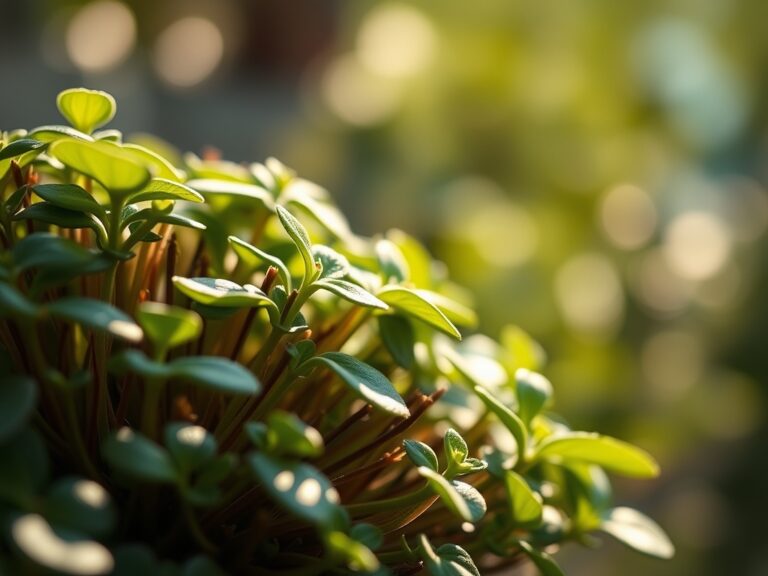
The smell of damp peat moss and the tactile resistance of a leaf with high turgor pressure define the professional indoor environment. In the high humidity of a bathroom, light is the primary limiting factor for metabolic success. Selecting the best low light bathroom plants requires an understanding of photosynthetic efficiency under low photon flux. Most bathrooms provide less than 50 to 100 foot-candles of light; therefore, the chosen species must possess high chlorophyll density to survive.
Effective horticulture in these microclimates depends on managing the rhizosphere within a confined, humid space. You are not merely decorating a room; you are managing a biological system where transpiration rates are slowed by ambient moisture. This reduction in water loss means the risk of anaerobic soil conditions and root rot increases significantly. Success relies on selecting plants that can thrive in Hardiness Zones 9 through 11 equivalents indoors, where temperatures remain between 65 and 80 degrees Fahrenheit. By matching the specific cation exchange capacity of your substrate to the plant's nutritional needs, you ensure long term physiological stability.
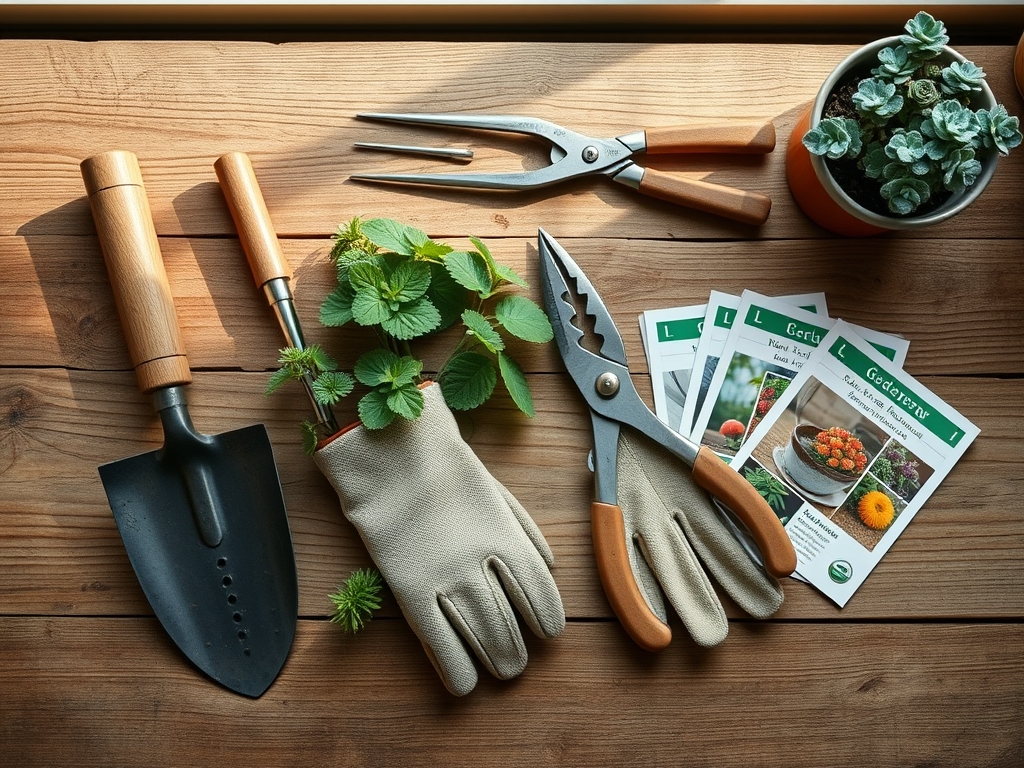
Materials:
The foundation of any bathroom plant system is the substrate. For the best low light bathroom plants, you must utilize a friable loam or a peat-based mix with a soil pH between 5.5 and 6.5. This acidity range ensures that micronutrients like iron and manganese remain bioavailable.
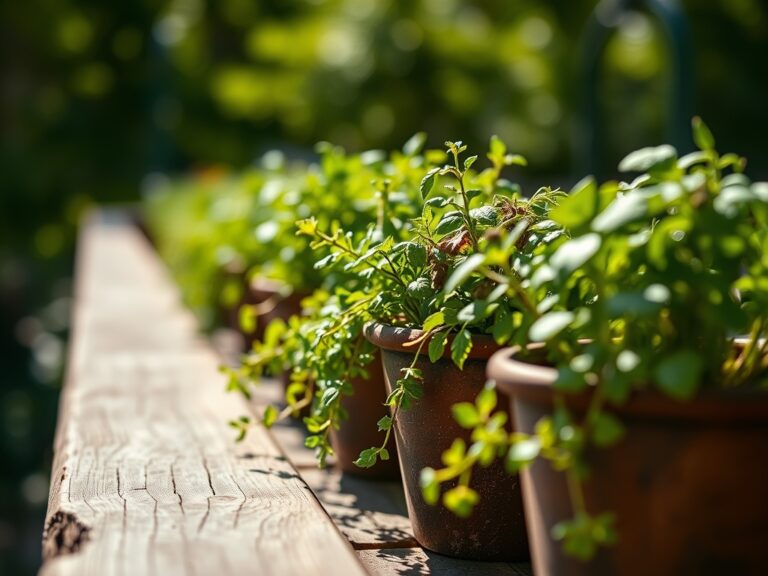
- Substrate Composition: Use a mix of 60 percent peat moss or coconut coir, 20 percent perlite for aeration, and 20 percent pine bark. This creates a high Cation Exchange Capacity (CEC), allowing the soil to hold onto essential nutrients.
- NPK Ratios: During the active growing season, apply a water-soluble fertilizer with a 3-1-2 NPK ratio. High nitrogen (N) supports the vegetative growth required in low light, while lower phosphorus (P) prevents salt buildup in humid conditions.
- Drainage: Ensure all vessels have a minimum of three 0.5-inch drainage holes. Without these, the lack of evaporation in a bathroom will lead to waterlogging.
Timing:
While indoor environments are climate-controlled, plants still respond to the external photoperiod. Most tropical indoor plants originate from equatorial regions in USDA Hardiness Zones 10 and 11. Their biological clock is calibrated to consistent day lengths.
The transition from the vegetative stage to senescence or dormancy usually occurs when light levels drop below 10 hours per day in winter. During this period, metabolic rates slow. You must reduce fertilization by 75 percent between the months of November and March. Avoid transplanting during the winter window; the lack of active root growth prevents the plant from recovering from the mechanical stress of a move. Wait for the spring equinox when increasing light triggers the production of auxins, the hormones responsible for cell elongation and new root development.
Phases:
Sowing and Propagation
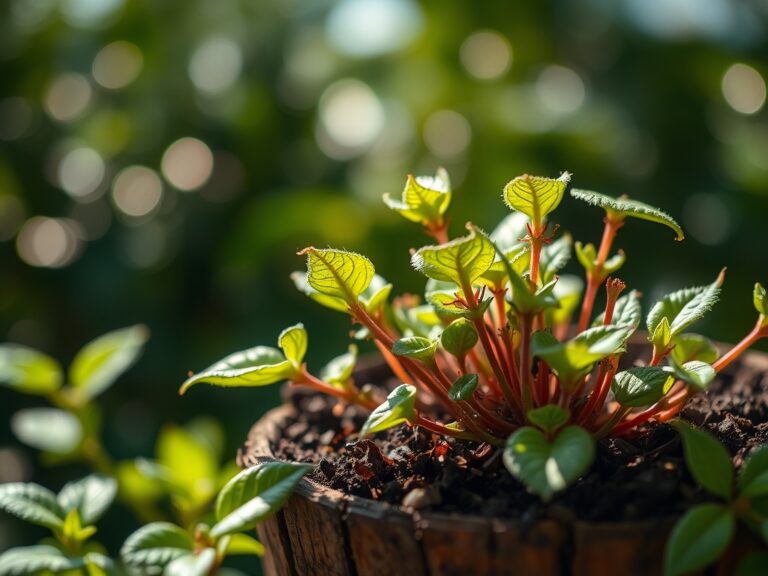
Most bathroom-hardy species, such as Sansevieria or Zamioculcas zamiifolia, are best started from cuttings or rhizome divisions rather than seeds. For Epipremnum aureum (Pothos), take a 4-inch cutting with at least two nodes. Submerge the nodes in water or a moist perlite medium.
Pro-Tip: Use a rooting hormone to stimulate the pericycle cells. This biological trigger accelerates the formation of adventitious roots by concentrating auxins at the wound site, bypassing the plant's natural slow-growth response in low light.
Transplanting
When the root mass occupies 80 percent of the current container, move the plant to a pot only 2 inches larger in diameter. Use a hori-hori knife to gently loosen any circling roots. Circling roots can lead to "girdling," which chokes the vascular system of the plant.
Pro-Tip: Ensure the root ball is level with the soil surface to prevent stem rot. Deep planting creates an anaerobic pocket around the crown, which facilitates the growth of Phytophthora fungi that thrive in humid bathroom air.
Establishing
Once moved, the plant enters a period of high stress. Maintain a consistent temperature of 72 degrees Fahrenheit. Avoid moving the plant frequently; every change in light orientation forces the plant to undergo phototropism, where it must expend energy to reorient its leaves toward the light source.
Pro-Tip: Introduce mycorrhizal fungi to the new soil. This symbiotic relationship extends the root system's reach, allowing the plant to absorb phosphorus more efficiently, which is critical when the plant cannot produce high levels of energy through photosynthesis.
The Clinic:
Symptom: Interveinal Chlorosis
Description: Leaves turn yellow while the veins remain green.
Solution: This indicates a Magnesium or Iron deficiency. Check the soil pH. If the pH is above 7.0, the plant cannot uptake these minerals. Apply a chelated iron supplement and lower the pH using elemental sulfur.
Symptom: Leaf Tip Necrosis
Description: The tips of the leaves turn brown and crispy.
Solution: This is often caused by fluoride or chlorine toxicity from tap water or low humidity. Since bathrooms are humid, this is likely a salt buildup in the soil. Flush the substrate with three volumes of distilled water to one volume of soil.
Symptom: Epinasty (Downward Curling)
Description: Leaves curl downward and stems appear twisted.
Solution: This is a physiological response to ethylene gas or over-saturation. Ensure the bathroom has adequate ventilation. If the soil is muddy, the roots are suffocating from a lack of oxygen.
Fix-It: Nitrogen Chlorosis
If the entire leaf turns a pale lime green, the plant is scavenging nitrogen from older growth to support new leaves. Apply a 20-20-20 balanced fertilizer diluted to half strength to restore nitrogen levels without burning the delicate root hairs.
Maintenance:
Precision maintenance is required to prevent fungal outbreaks in damp rooms. Use a soil moisture meter daily. Do not water until the meter reads "3" or the top 2 inches of soil are dry to the touch. In a typical bathroom, this equates to roughly 0.75 to 1.5 inches of water every 10 to 14 days.
Use bypass pruners to remove any yellowing foliage at the base. This prevents the spread of botrytis, a common grey mold in high-humidity areas. Always sanitize your tools with 70 percent isopropyl alcohol between plants to prevent the transfer of pathogens. If the plant becomes "leggy," use the pruners to cut back to a node; this suppresses apical dominance and encourages lateral branching, creating a fuller appearance.
The Yield:
While most low light bathroom plants are ornamental, their "yield" is the production of oxygen and the filtration of volatile organic compounds (VOCs). To maximize this biological service, wipe the leaves with a damp microfiber cloth every 30 days. Dust accumulation blocks the stomata, the microscopic pores used for gas exchange, and reduces the amount of light the chlorophyll can capture. If you are growing a flowering species like Spathiphyllum, harvest the spent blooms (spathes) as soon as they turn green to redirect energy back into root development and leaf production.
FAQ:
Which plant is most resilient to zero windows?
The Zamioculcas zamiifolia (ZZ Plant) is the most resilient. It utilizes crassulacean acid metabolism (CAM) and stores water in thick rhizomes, allowing it to survive for months in near-total darkness and low-frequency watering schedules.
How do I stop mold on the soil?
Surface mold indicates poor airflow. Increase ventilation using a bathroom fan and sprinkle a thin layer of cinnamon or activated charcoal on the soil surface. These act as natural fungicides without altering the soil pH significantly.
Why are my plant leaves turning yellow?
Yellowing, or chlorosis, is usually a sign of overwatering in bathrooms. High humidity slows transpiration, meaning the soil stays wet longer. Ensure the top two inches of substrate are dry before adding more water to prevent root hypoxia.
Can I use tap water for my plants?
Tap water often contains chlorine and fluoride, which cause leaf tip burn. For sensitive species like Dracaena, use filtered or distilled water. Alternatively, let tap water sit out for 24 hours to allow chlorine to dissipate before use.