10 Simple Steps to Lay Wood Chip Paths
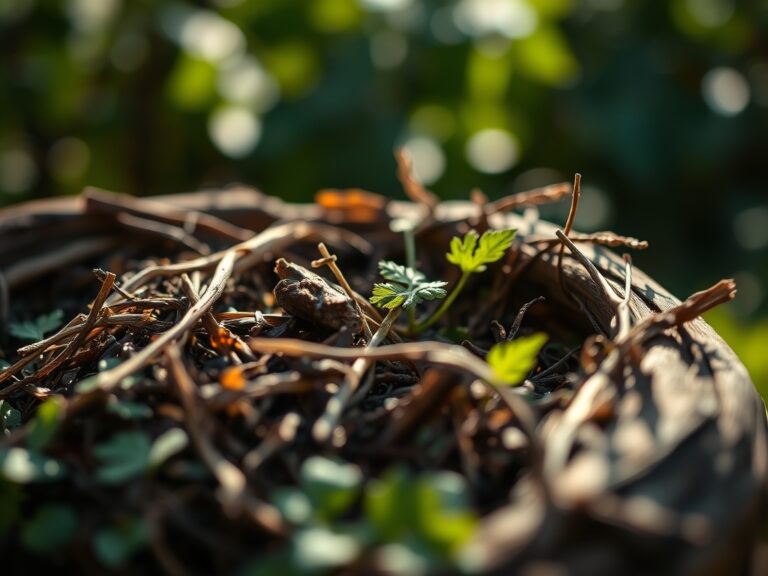
The scent of damp, anaerobic soil often signals a compaction problem that restricts root respiration and halts the movement of oxygen through the rhizosphere. Establishing a stable walkway is the primary solution for preserving soil structure in high-traffic areas. By following specific steps to lay wood chip paths, you prevent the compression of pore spaces, which ensures that turgor pressure remains high in nearby plantings. This technical approach transforms a muddy transition zone into a functional drainage system that supports the surrounding ecosystem.
Materials:
Selecting the correct substrate is a matter of chemistry. For the base layer, you require a **friable loam** or a well-draining mineral soil with a **Cation Exchange Capacity (CEC) between 15 and 25 meq/100g**. This allows for the retention of essential cations like calcium and magnesium while preventing salt buildup.
The wood chips themselves should be sourced from arborist waste rather than treated lumber. Fresh chips have a high Carbon-to-Nitrogen (C:N) ratio, often exceeding 400:1. Because of this, you must monitor the soil pH, which should ideally sit between 6.2 and 6.8. If the chips are derived from coniferous species, they may slightly acidify the surface layer during decomposition. To counteract potential nitrogen immobilization, have a supply of organic fertilizer with an NPK ratio of 10-0-0 (Blood Meal) or 5-4-3 (Poultry Manure) ready to apply at the path margins where plant roots may compete for nutrients.
Timing:
The biological clock for path installation is dictated by soil moisture and temperature. In Hardiness Zones 4 through 7, the ideal window is late autumn after the first killing frost or early spring before the soil reaches a consistent 50 degrees Fahrenheit. During these windows, most perennial plants have entered senescence or are still in dormancy, reducing the risk of damaging active root systems.
Installing paths during the transition from vegetative to reproductive stages in the garden calendar is risky. If you excavate during the peak of the photoperiod in mid-summer, you risk causing moisture stress in adjacent flora. Aim for a period when the soil is moist but not saturated; if you can form a ball of soil that crumbles under slight pressure, the tilth is perfect for excavation.
Phases:

Sowing the Foundation
The first step is marking the path and removing the existing vegetation. Use a hori-hori knife to cut through sod and taproots. Excavate the area to a depth of 4 inches. This depth ensures that the wood chips provide enough mass to suppress weed seeds that require specific light wavelengths to trigger germination.
Pro-Tip: Ensure the base of your trench is slightly crowned (higher in the center). This utilizes gravity to move excess water toward the edges, preventing the wood chips from sitting in a saturated state which leads to fungal pathogens like Phytophthora.
Transplanting the Edging
Once the trench is dug, install a physical barrier. Heavy-duty landscape fabric or a 2-inch layer of corrugated cardboard serves as a temporary biodegradable barrier. This layer prevents "soil mixing," where the wood chips sink into the mineral soil and accelerate nitrogen drawdown.
Pro-Tip: Use cardboard to encourage mycorrhizal symbiosis. As the cellulose breaks down, it provides a carbon source for beneficial fungi that extend the root reach of nearby plants, improving nutrient uptake through the fungal hyphae.
Establishing the Surface
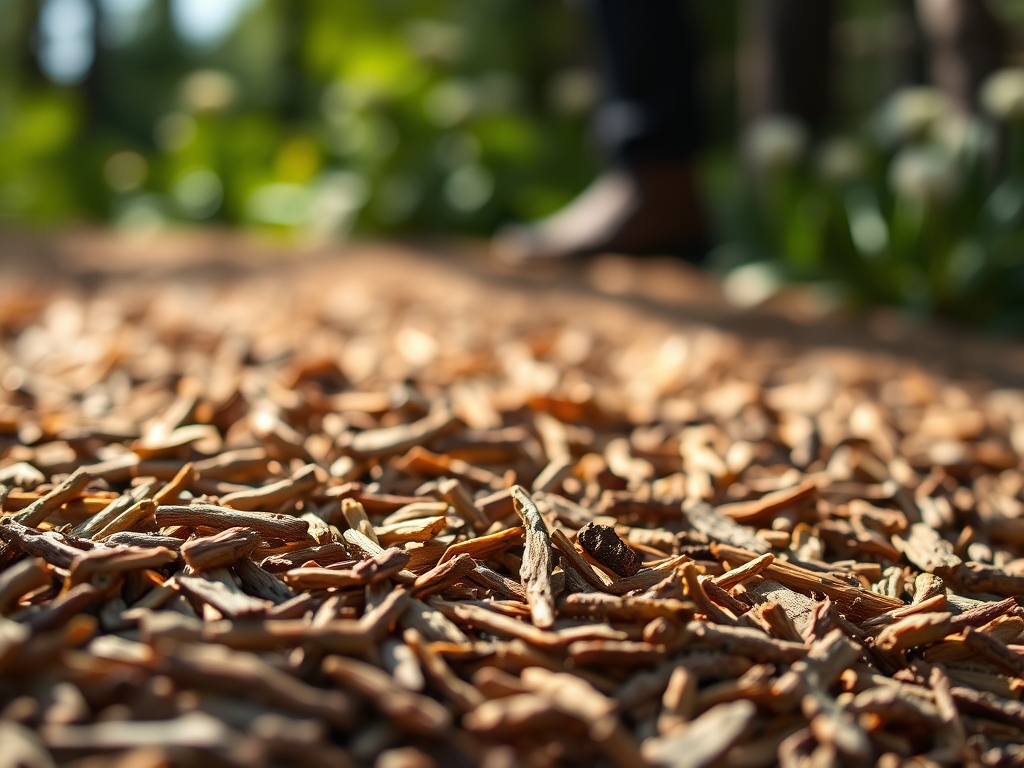
Pour the wood chips in layers. Start with a 2-inch lift, tamp it down using a hand tamper or your boots, and then add the final 2 inches. The total depth must be 4 inches to provide adequate cushioning and weed suppression.
Pro-Tip: Tamping the chips reduces air pockets. This limits the "chimney effect" where moisture is wicked away from the soil surface too quickly, ensuring the underlying rhizosphere remains hydrated even during dry spells.
The Clinic:
Physiological disorders in the garden often manifest near new paths due to the high carbon load.
-
Symptom: Yellowing of older leaves on plants bordering the path (Chlorosis).
Solution: This is likely Nitrogen Immobilization. The microbes breaking down the wood chips are "stealing" nitrogen from the soil.
Fix-It: Apply a high-nitrogen liquid drench (like fish emulsion) at a rate of 1 gallon per 10 linear feet of path edge. -
Symptom: Slime mold (Physarum polycephalum) appearing on the wood chips.
Solution: This is a biological response to high humidity and decomposing organic matter. It is not harmful to plants.
Fix-It: Use a rake to disturb the chips and increase airflow; this disrupts the fruiting body. -
Symptom: Adjacent plants showing signs of wilt despite moist soil.
Solution: Soil compaction during path construction may have damaged root hairs.
Fix-It: Use a broadfork to gently aerate the soil 12 inches away from the path edge to restore oxygen flow.
Maintenance:
A wood chip path is a living mulch system that requires calibration. Check the depth annually; as the bottom layer decomposes into humus, you will lose approximately 1 inch of depth per year. Replenish the chips to maintain the 4-inch standard.
Watering requirements for the surrounding garden may change. Use a soil moisture meter to check the tension at a depth of 6 inches. Most perennials require 1.5 inches of water per week, delivered at the drip line. Use bypass pruners to trim any overhanging foliage that prevents sunlight from reaching the path surface; this keeps the chips dry and prevents them from becoming slippery. If you notice "artillery fungus," which shoots black spores onto nearby structures, it is a sign the chips are too wet. Increase the sunlight exposure or thin the chip layer slightly.
The Yield:
While a path does not produce a crop, it facilitates the harvest of others. By providing a stable, non-compacting surface, you can access your garden immediately after rain without damaging the soil structure. For edible crops nearby, ensure the wood chips do not touch the stems of the plants. Maintain a 3-inch gap between the wood chips and the base of any woody or herbaceous plants to prevent stem rot. This practice ensures that the "yield" of your garden remains high by protecting the vascular system of your primary plantings.
FAQ:
What is the best type of wood chip for paths?
Arborist wood chips containing a mix of bark, sapwood, and leaves are best. They provide a diverse range of carbon sources that support a healthy soil food web while offering a stable walking surface that resists rapid decomposition.
Will wood chips kill my nearby plants?
No, provided you do not mix them into the soil. Surface-applied wood chips only affect nitrogen levels at the very interface of the soil and mulch. Keep the chips 3 inches away from plant stems to avoid crown rot.
How deep should I dig for a wood chip path?
Excavate to a depth of 4 inches. This allows for a significant volume of chips to suppress weeds and provide a stable cushion without requiring excessive labor or deep disturbance of the existing soil horizons and root systems.
How often do I need to replace the wood chips?
Expect to add a fresh 1-inch top-dressing every 12 to 18 months. Because wood chips are organic, they naturally decay into rich compost. Regular replenishment maintains the necessary depth for weed suppression and moisture retention.