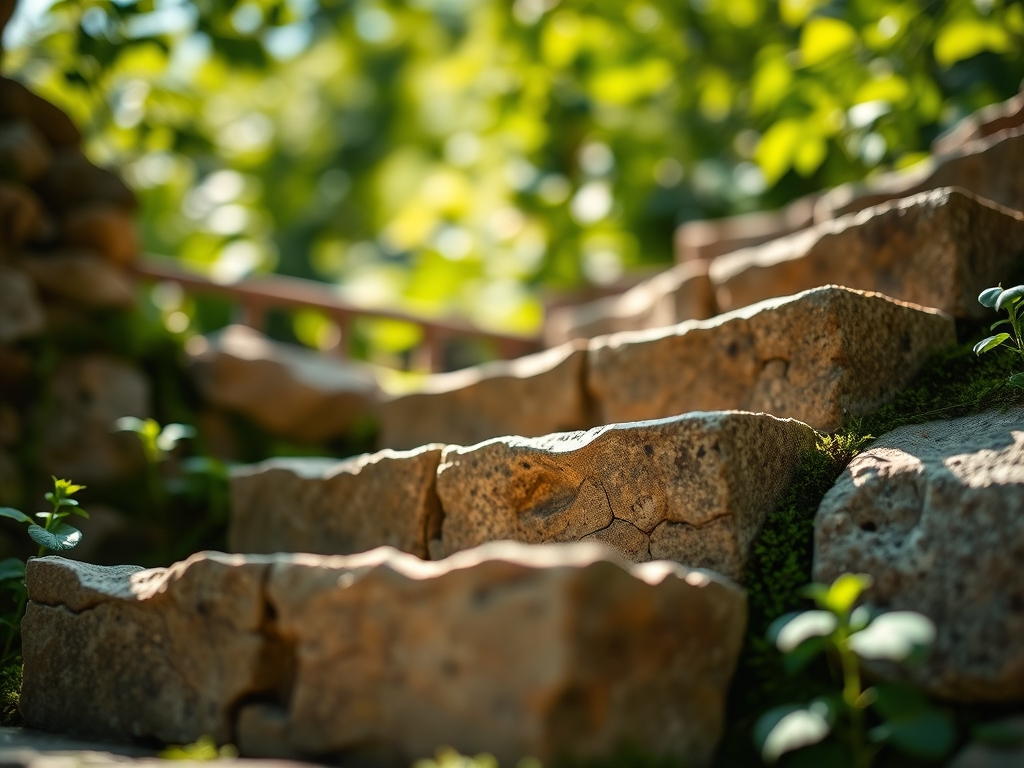
6 Solid Ways How to Build a Stone Staircase
Damp earth releases a sharp, geosmin-heavy scent as the spade cuts through the root zone. High turgor pressure in the surrounding turfgrass indicates a hydrated landscape ready for structural modification. Learning how to build a stone staircase requires more than manual labor; it demands an understanding of soil physics and gravitational load. You are not merely stacking rock. You are integrating a rigid mineral spine into a living, shifting biological system. Proper installation prevents soil compaction and ensures that the rhizosphere of adjacent plantings remains oxygenated. Every stone must be set with the precision of a graft. A failure in the base layer leads to catastrophic shifting during freeze-thaw cycles. This guide provides the technical framework to execute a permanent, structurally sound ascent through your managed landscape.
Materials:
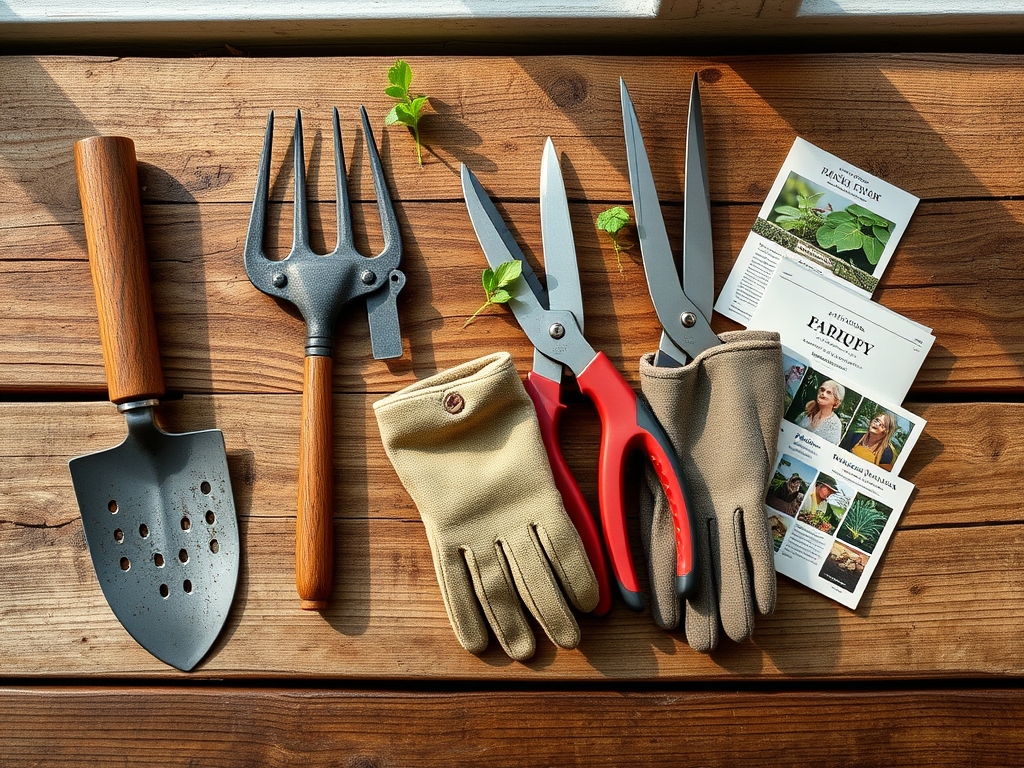
The success of the staircase depends on the substrate stability and the chemical composition of the surrounding earth. The ideal soil for flanking vegetation is a **friable loam** with a **pH between 6.0 and 7.0**. This range optimizes nutrient availability by maintaining a high **Cation Exchange Capacity (CEC)**. For the structural base, you require **crushed limestone (3/4-inch minus)** and **washed concrete sand**.
If you are planting around the stones, ensure the NPK ratio of the supplemental fertilizer is tailored to the species. A 10-10-10 balanced fertilizer is standard for general establishment; however, woody perennials benefit from a 5-10-15 ratio to prioritize root development over succulent vegetative growth. The physical texture of the backfill must be granular enough to allow for rapid drainage. Saturated soils increase hydrostatic pressure against the stone risers. This pressure can exceed the shear strength of the soil, causing the staircase to heave or collapse.
Timing:
Construction must align with local meteorological data and Hardiness Zones. In Zones 4 through 7, the ideal window opens after the final spring frost and closes six weeks before the first autumnal freeze. This timing ensures that any disturbed root systems have sufficient time to recover before entering senescence.
The "Biological Clock" of the landscape dictates that heavy excavation should occur when plants are in a state of low metabolic activity or early vegetative growth. Avoid construction during peak reproductive stages when plants allocate maximum energy to flowering or fruiting. Soil moisture levels must be monitored using a soil moisture meter. Excavating waterlogged soil destroys its structure; it collapses the pore spaces necessary for gas exchange in the rhizosphere. Wait until the soil crumbles easily in the hand before breaking ground.
Phases:

Sowing the Foundation
Begin by excavating a trench 6 to 8 inches deep for the base landing. This trench must be wider than the stones to allow for lateral stability. Fill the cavity with 4 inches of compacted crushed stone. Use a plate compactor to ensure the base is monolithic. This layer acts as a capillary break, preventing moisture from wicking upward into the stone.
Pro-Tip: Proper drainage prevents the accumulation of anaerobic bacteria. A well-drained base ensures that the mycorrhizal symbiosis in the surrounding soil remains intact; fungi require oxygen to facilitate nutrient uptake for nearby plants.
Transplanting the Stones
Place the first riser stone at the lowest point of the slope. It must be level side-to-side but should have a 1/8-inch pitch toward the front to shed water. Set the second stone so it overlaps the back of the first by at least 2 inches. This "deadman" placement uses the weight of the upper stone to lock the lower stone in place.
Pro-Tip: When backfilling, avoid burying the root flares of adjacent trees. Covering the flare disrupts gas exchange at the trunk base; this often leads to secondary fungal infections and vascular decline.
Establishing the Grade
Fill the voids behind each riser with clean gravel before adding the finish soil. Pack the soil in 2-inch lifts to prevent settling. If you are integrating "steppable" plants like Thymus serpyllum, ensure the soil pockets have a high organic matter content to support rapid colonization.
Pro-Tip: Use a hori-hori knife to tuck plant plugs into the crevices. This minimizes root disturbance and prevents auxin suppression; the plant can immediately focus on lateral root expansion rather than repairing damaged primary tissues.
The Clinic:
Physiological disorders in the landscape often manifest after the soil is disturbed during construction.
- Symptom: Interveinal chlorosis (yellowing leaves with green veins).
- Solution: This indicates Iron or Manganese deficiency, often caused by a pH spike from concrete runoff. Apply chelated iron to lower the localized pH.
- Symptom: Marginal leaf burn on new growth.
- Solution: This suggests high salinity or fertilizer burn. Flush the area with 2 inches of water to leach excess salts from the root zone.
- Symptom: Wilting despite moist soil.
- Solution: This is likely root asphyxiation due to soil compaction. Use a broadfork or aerator to restore oxygen flow to the rhizosphere.
Fix-It for Nitrogen Chlorosis: If the plants flanking your new staircase turn a uniform pale green, apply a high-nitrogen supplement (20-0-0) at a rate of 0.5 pounds per 1,000 square feet. This restores chlorophyll production and increases turgor pressure.
Maintenance:
A stone staircase is a permanent feature, but the biological environment around it requires constant calibration. Monitor the stone alignment annually after the spring thaw. Use a soil moisture meter to ensure the drainage layers are functioning. If water pools on the treads, the pitch has shifted and must be corrected to prevent ice dams.
Vegetation management is critical. Use bypass pruners to remove any woody growth that threatens to wedge between stones. Roots can exert immense pressure as they undergo secondary thickening; this can displace even 500-pound slabs. Provide 1.5 inches of water per week at the drip line of any large shrubs or trees near the stairs. This localized irrigation prevents the soil from shrinking away from the stone foundation during drought cycles.
The Yield:
If your staircase integrates an edible rock garden, timing the harvest is essential for peak phytonutrient density. Harvest herbs like rosemary or thyme in the early morning when essential oil concentration is highest and the plant is at full turgor. Use sharp snips to avoid tearing the vascular tissue. For floral yields, cut stems at a 45-degree angle and submerge them in 100-degree Fahrenheit water immediately. This prevents air embolisms from blocking the xylem; it ensures the blooms maintain "day-one" freshness for an extended period.
FAQ:
What is the best stone for a staircase?
Use high-density igneous or metamorphic rocks like granite or bluestone. These materials resist water absorption and have high compressive strength. Avoid soft sedimentary rocks like shale; they delaminate quickly during freeze-thaw cycles in Hardiness Zones 3-6.
How do I prevent the stairs from sinking?
Excavate below the frost line or install a 6-inch compacted aggregate base. Use a plate compactor to reach 95% Proctor density. This creates a stable platform that distributes the load across the subgrade, preventing localized subsidence.
Can I build stairs directly on soil?
No. Soil lacks the shear strength to support heavy stone. Over time, moisture and gravity will cause the stones to slide or tilt. A granular sub-base is required to provide drainage and structural integrity for the staircase.
How do I stop weeds from growing between stones?
Use polymeric sand or a high-density "steppable" groundcover. Polymeric sand hardens to create a barrier against seed germination. Alternatively, planting dense species like Sagina subulata creates a biological barrier that outcompetes opportunistic weed species for light and nutrients.