7 Basic Steps to Waterproof Planter Interiors
The scent of damp earth and the sharp, metallic tang of wet terracotta are the first indicators of a failing vessel. When water migrates through porous container walls, it disrupts the internal hydrostatic pressure and leaches essential mineral salts. This process, known as efflorescence, leaves unsightly white crusts on the exterior while dehydrating the rhizosphere. Maintaining high turgor pressure in plant cells requires a controlled environment where moisture remains localized to the root zone. Mastering the steps to waterproof planter interiors ensures that the hydraulic integrity of your container remains intact. By sealing the interior, you prevent the evaporation of moisture through the sides of the pot, which stabilizes the temperature of the growing medium and protects the delicate root hairs from rapid desiccation. This technical intervention allows for a more efficient cation exchange capacity (CEC) by preventing the erratic flushing of nutrients through the container walls. A properly sealed interior creates a predictable moisture gradient, allowing the plant to regulate its stomatal conductance without the stress of fluctuating water availability.
Materials:
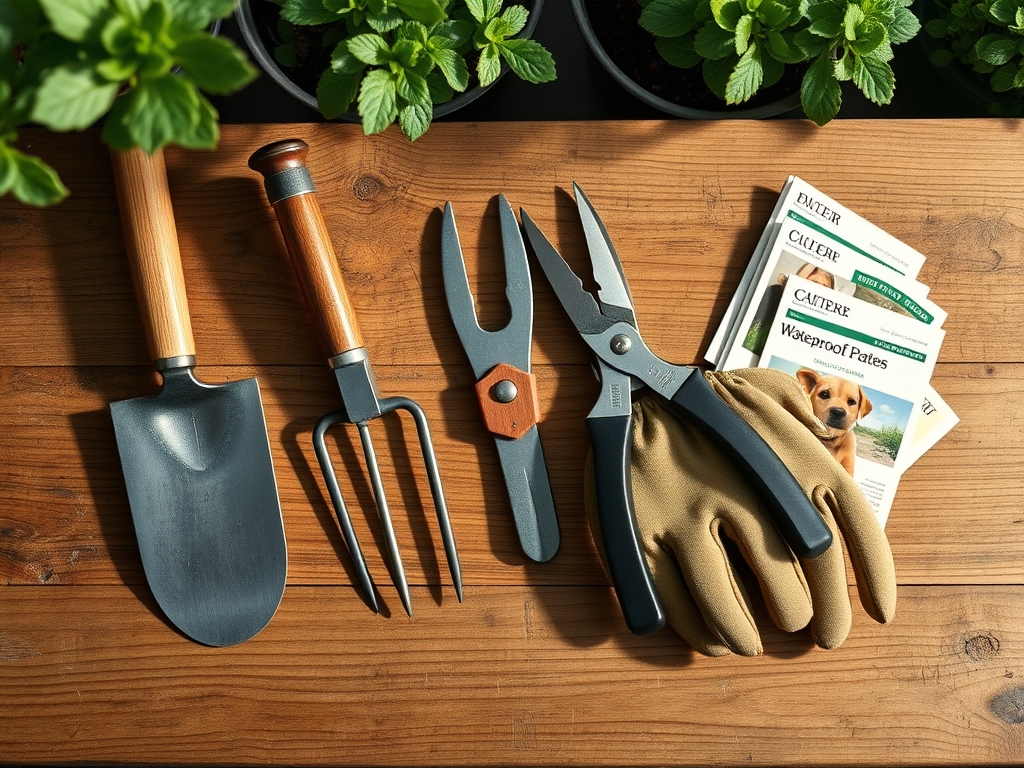
Selecting the right materials requires an understanding of the chemical interaction between the sealant and the substrate. For the internal medium, aim for a **friable loam** with a **pH of 6.2 to 6.8**. This range ensures optimal bioavailability of macronutrients. The ideal NPK ratio for general establishment is a **10-10-10 balanced fertilizer**, but for flowering species, transition to a **5-10-10 ratio** to prioritize phosphorus for root and bud development. Use a high-quality liquid rubber sealant or a bitumen-based coating that is non-toxic once cured. You will also need **80-grit sandpaper** for surface abrasion and a stiff-bristled brush for debris removal. The goal is to create a mechanical bond between the sealant and the container wall that can withstand the constant expansion and contraction of the soil mass.
Timing:
The execution of these steps must align with your local Hardiness Zone requirements. In Zones 5 through 7, waterproofing should be completed at least three weeks before the last frost date to allow for full chemical curing in temperatures above 50 degrees Fahrenheit. The "Biological Clock" of the plant dictates that these containers be ready before the transition from the vegetative stage to the reproductive stage. If you seal a container while a plant is actively growing, you risk root shock during the transplant process. Schedule your waterproofing during the dormant season or early spring when the photoperiod is still under 12 hours. This ensures the vessel is cured and off-gassed before the high-demand growth phase begins in late spring.
Phases:

Sowing and Surface Preparation
Clean the interior of the planter with a 10 percent bleach solution to eliminate pathogens. Once dry, use the sandpaper to scuff the surface. This increases the surface area for the sealant to grip. Ensure the drainage hole is plugged with a removable stopper during the coating process. Apply the first layer of sealant in a thin, even coat, moving from the bottom up to the rim.
Pro-Tip: Proper surface abrasion facilitates a stronger bond by increasing the physical surface area. This prevents delamination caused by hydrostatic pressure, which occurs when water trapped between the sealant and the pot wall exerts outward force.
Transplanting into the Sealed Environment
Once the sealant has cured for 48 to 72 hours, add a one-inch layer of coarse gravel or perlite to the bottom to facilitate drainage. Introduce your friable loam mix. When moving the plant, ensure the root ball is moist but not saturated. Position the plant so the crown is level with the soil surface to avoid stem rot.
Pro-Tip: Maintaining the correct planting depth prevents auxin suppression in the stem. If the stem is buried too deep, the plant may redirect energy from vertical growth to adventitious root production, delaying maturity.
Establishing the Root System
Water the container until the moisture reaches the bottom, then stop. Use a soil moisture meter to monitor the internal environment. Because the walls are now non-porous, the evaporation rate will be significantly lower than in an unsealed terracotta pot. Monitor for the first 14 days to ensure the plant adjusts to the new hydraulic regime.
Pro-Tip: Consistent moisture levels encourage mycorrhizal symbiosis. These beneficial fungi expand the root system's reach, but they require a stable environment without the extreme wet-dry cycles common in unsealed containers.
The Clinic:
Physiological disorders often manifest when the container environment is poorly managed.
- Symptom: Interveinal chlorosis (yellowing between leaf veins).
- Solution: This indicates a Nitrogen deficiency or a pH imbalance. Test the soil pH; if it is above 7.0, nitrogen uptake is inhibited. Apply a chelated iron supplement or a high-nitrogen liquid feed.
- Symptom: Edema (small bumps or blisters on the undersides of leaves).
- Solution: This is caused by the plant taking up more water than it can transpire. Since the sealed pot retains more moisture, reduce watering frequency and increase airflow.
- Symptom: Marginal leaf burn.
- Solution: This often results from salt buildup. Because the sealed interior prevents salts from leaching through the walls, you must flush the soil with clean water once every month to remove excess fertilizer salts.
Fix-It: For general Nitrogen chlorosis, apply a 20-0-0 urea-based fertilizer at half strength to quickly restore chlorophyll production and leaf vigor.
Maintenance:
Precision is the hallmark of a professional horticulturist. Provide exactly 1.5 inches of water per week at the drip line, rather than at the base of the stem, to encourage outward root expansion. Use a hori-hori knife to check for soil compaction every three months; if the blade does not slide in easily, the soil needs aeration. Use bypass pruners to remove any necrotic tissue or yellowing leaves to prevent the spread of fungal spores. Check the integrity of the seal annually by looking for moisture spots on the exterior of the pot. If spots appear, the seal has been compromised by root pressure or mechanical damage and requires a patch.
The Yield:
For those growing edibles or cut flowers, harvest timing is critical. Harvest during the early morning hours when turgor pressure is at its peak. This ensures the cells are fully hydrated, extending the shelf life of the produce. Use sharp, sterilized snips to make clean cuts at a 45-degree angle. For flowers, immediately plunge the stems into 100-degree Fahrenheit water to break any air locks in the xylem. For herbs, keep the roots cool and the foliage dry to maintain "day-one" freshness and aromatic oil concentration.
FAQ:
How long does the waterproofing sealant take to cure?
Most professional-grade liquid rubber or bitumen sealants require 48 to 72 hours to cure fully. Ensure the temperature remains above 50 degrees Fahrenheit during this window to allow for proper chemical cross-linking of the polymer chains.
Can I waterproof a pot that already has a plant in it?
No. The plant must be removed and the interior cleaned and dried completely. Attempting to seal a damp or dirty surface will result in immediate bond failure and potential chemical toxicity to the rhizosphere.
Does waterproofing affect the drainage of the container?
Waterproofing prevents lateral moisture loss through the walls but does not change the function of the bottom drainage hole. You must ensure the drainage hole remains unobstructed to prevent anaerobic conditions and subsequent root rot.
What is the best sealant for edible crops?
Use a food-grade, VOC-free liquid rubber sealant. Check the manufacturer data sheet to ensure the product is labeled as safe for potable water or food contact to prevent chemical leaching into the soil and plant tissues.