5 Easy Ways How to Build a Wooden Planter
The scent of decomposing organic matter and the distinct metallic tang of wet cedar signal the start of a productive growing season. Successful horticulture begins with structural integrity; when the internal turgor pressure of a seedling is high, it requires a stable environment to prevent root desiccation. Learning how to build a wooden planter allows a grower to control the rhizosphere environment with precision. By isolating the growing medium from compacted native soils, you manage the drainage rates and thermal mass required for optimal root respiration.
Materials:

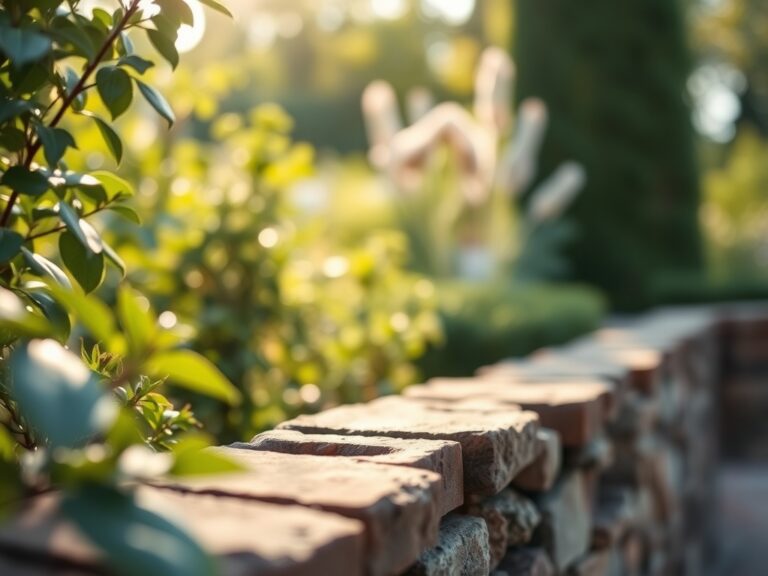
Construction requires rot resistant lumber such as Western Red Cedar or Black Locust. Avoid pressure treated woods containing chromated copper arsenate for edible crops. For the substrate, target a **pH range of 6.2 to 6.8** to ensure maximum nutrient bioavailability. The ideal medium is a friable loam consisting of **40 percent compost, 40 percent peat or coco coir, and 20 percent perlite**.
Incorporate a slow release fertilizer with an NPK ratio of 5-10-5 for root establishment. High phosphorus levels are critical during the initial phases to stimulate ATP production and cellular division in the meristematic tissues. The Cation Exchange Capacity (CEC) of this mix should remain high, typically between 15 and 25 meq/100g, to ensure the substrate can hold onto essential cations like Calcium (Ca2+) and Magnesium (Mg2+) without leaching during heavy irrigation cycles.
Timing:
Construction should conclude at least 21 days before the last predicted frost in your specific Hardiness Zone. In Zone 7, this typically occurs in mid April; in Zone 5, this window shifts to late May. Understanding the biological clock of your specimens is paramount. Most angiosperms transition from the vegetative stage to the reproductive stage based on the photoperiod. Building your planter early allows the soil microbiology to stabilize. This "curing" period allows beneficial bacteria like Nitrosomonas to begin the nitrification process, converting ammonium into nitrates before the first transplant enters the soil.
Phases:
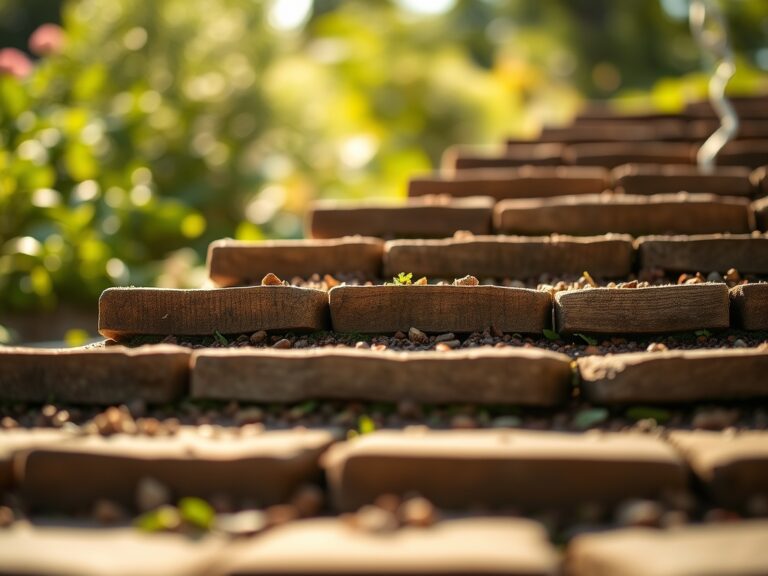
Sowing and Construction
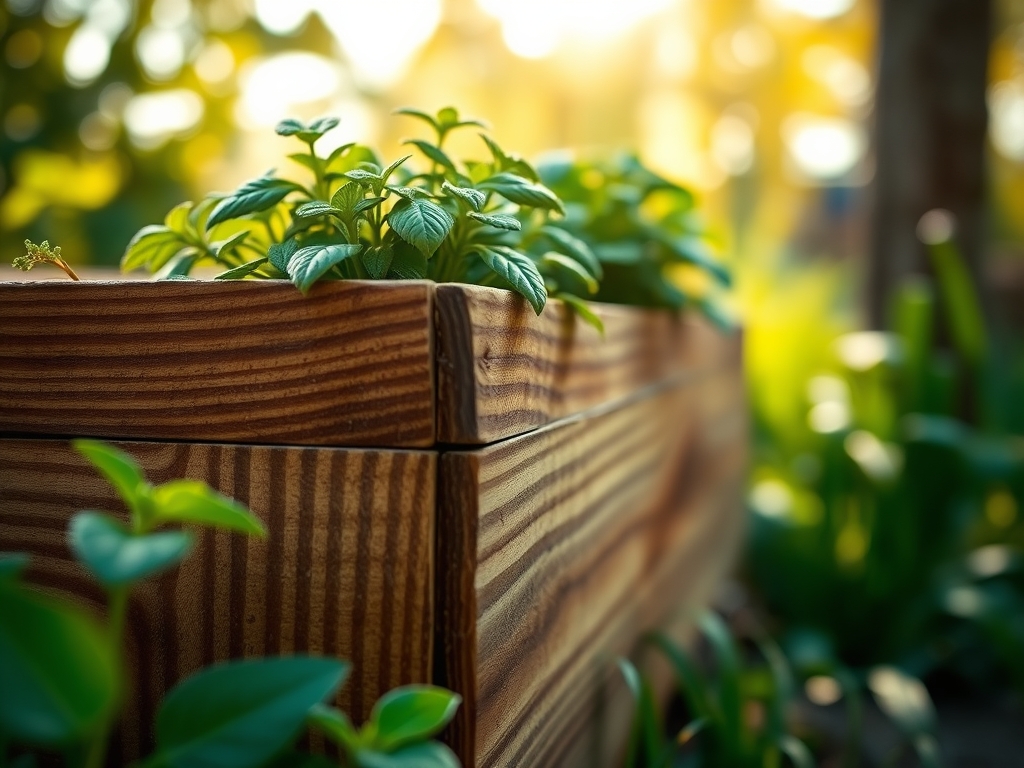
Cut four side panels to your desired length using a miter saw. For a standard herb box, 24 inches by 8 inches is sufficient. Secure the corners using 3 inch stainless steel screws to prevent corrosion from soil acidity. Drill 0.5 inch drainage holes every six inches along the bottom board.
Pro-Tip: Line the interior with geotextile fabric. This prevents fine soil particles from escaping while allowing excess gravitational water to exit. This maintains the "air porosity" of the soil, preventing anaerobic conditions that lead to root rot.
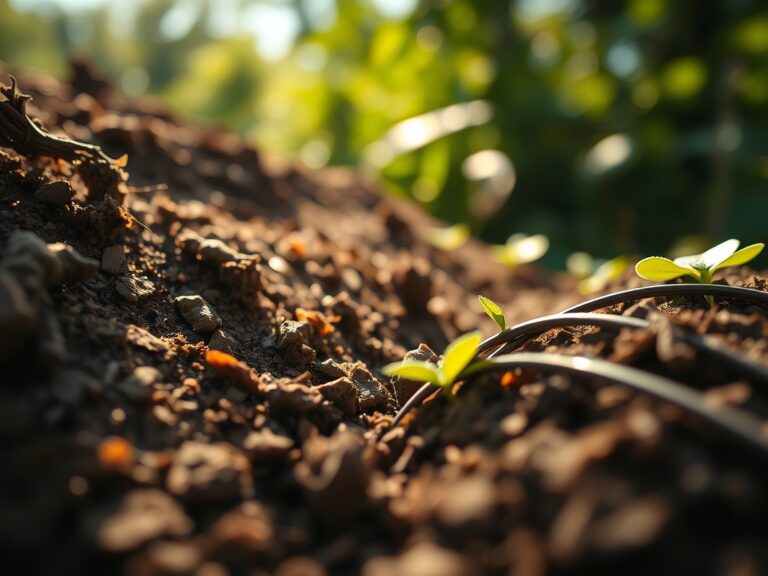
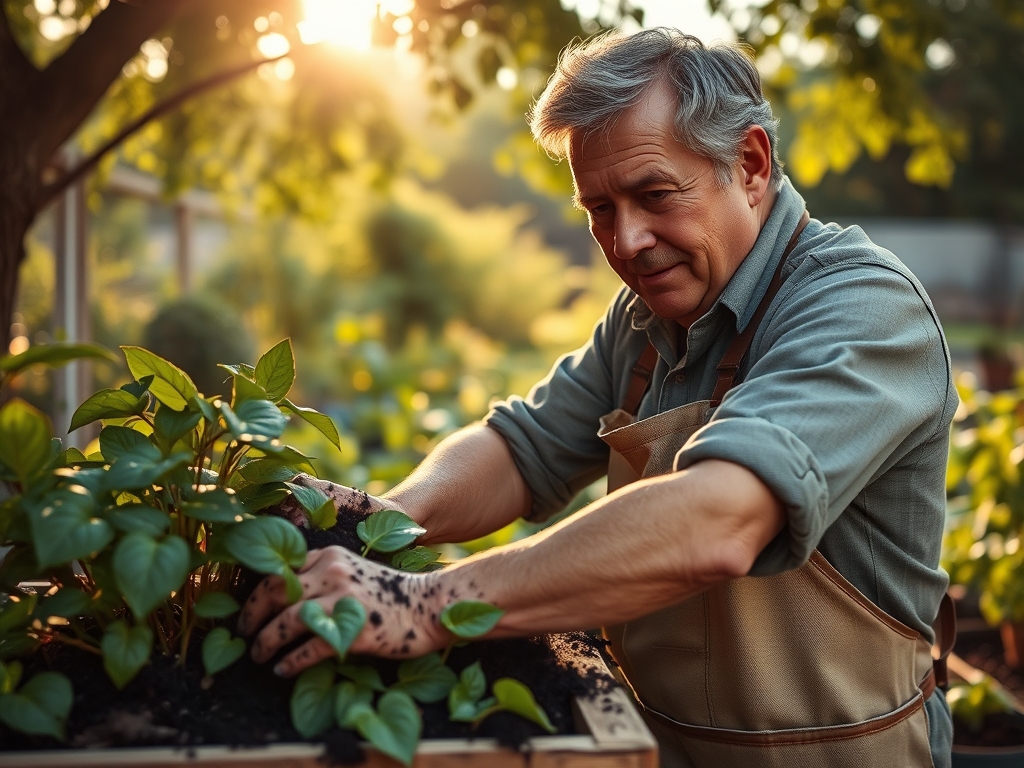
Transplanting
When moving seedlings into the planter, ensure the root ball is moist. Dig a hole twice the width of the root mass. Position the plant so the crown sits exactly at the soil surface. Backfill with your friable loam and firm gently to remove large air pockets.
Pro-Tip: Apply a seaweed based liquid extract immediately after transplanting. This reduces transplant shock by providing cytokinins. These hormones stimulate lateral bud growth and counteract the high levels of abscisic acid produced during environmental stress.
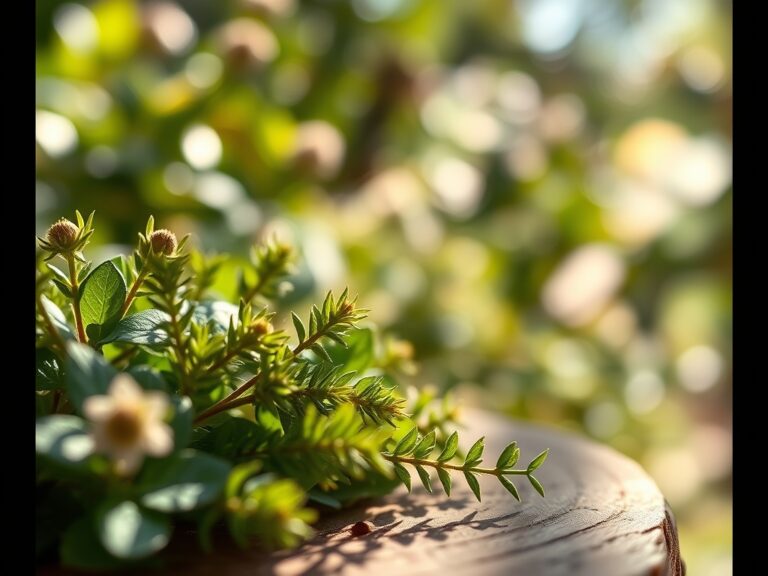
Establishing
During the first 14 days, the plant focuses on root expansion. Maintain a consistent moisture level. Use a soil moisture meter to ensure the substrate remains between 60 and 80 percent field capacity. Avoid heavy fertilization during this window to prevent salt burn on delicate new root hairs.
Pro-Tip: Practice "pinching" or apical bud removal on young plants. This suppresses auxin dominance at the tip. By removing the primary growth point, you redirect hormonal energy to axillary buds, resulting in a bushier, more structurally sound plant.
The Clinic:
Physiological disorders often mimic infectious diseases. Accurate diagnosis is essential for remediation.
- Symptom: Interveinal chlorosis on young leaves.
Solution: This indicates Iron (Fe) deficiency, often caused by a pH above 7.0. Lower the pH using elemental sulfur or chelated iron drench.
2. Symptom: Blossom end rot on fruit.
Solution: This is a Calcium transport issue. It is rarely a lack of Calcium in the soil but rather inconsistent irrigation. Maintain a steady 1.5 inches of water per week to ensure continuous calcium uptake through transpiration.
3. Symptom: Purpling of older foliage.
Solution: Phosphorus deficiency. This occurs frequently in cold soils below 55 degrees Fahrenheit. Warm the planter by placing it in a southern exposure or using a black plastic mulch.
Fix-It for Nitrogen Chlorosis: If the entire plant turns pale green, apply a high nitrogen organic liquid (NPK 10-0-0). Nitrogen is mobile within the plant; the organism will sacrifice old growth to support new leaves, leading to a bottom up yellowing.
Maintenance:
Precision is the hallmark of a master horticulturist. Use a hori-hori knife to remove weeds by the root, ensuring you do not disturb the established crop's rhizosphere. Irrigation must be targeted. Apply 1.5 inches of water per week at the drip line rather than the foliage to prevent fungal pathogens like powdery mildew. Use bypass pruners for clean cuts on woody stems; ragged tears invite bacterial entry. Every 30 days, top dress the planter with 0.5 inches of aged vermicompost to replenish micronutrients and maintain the microbial population.
The Yield:
Harvesting is the final stage of the horticultural cycle. For leafy greens, harvest in the early morning when turgor pressure is at its peak. This ensures the cells are fully hydrated, providing a crisp texture. Use a sharp blade to cut above the basal meristem to allow for "cut and come again" regrowth. For fruiting crops, wait for the "abscission layer" to form at the base of the fruit stem. Once harvested, immediately move the produce to a cool, shaded area to slow the rate of senescence and preserve volatile oils and sugars.
FAQ:
What is the best wood for a planter?
Western Red Cedar and Redwood are superior choices due to their natural tannins. These compounds resist fungal decay and insect infestation. They last 10 to 15 years in direct contact with moist soil without requiring chemical treatments.
How deep should my wooden planter be?
Most vegetables and flowers require a minimum depth of 8 to 12 inches. This volume provides enough space for a robust root system and ensures the soil retains enough moisture to prevent rapid wilting during high heat.
Does a wooden planter need a liner?
While not strictly required, a geotextile or plastic liner (with drainage holes) protects the wood from constant moisture. This extension of the wood's lifespan prevents the leaching of organic acids that can eventually weaken the structure.
How do I prevent the wood from rotting?
Ensure the planter is elevated off the ground using feet or bricks to allow airflow underneath. Use stainless steel or galvanized fasteners and apply a food safe, non toxic wood sealer to the exterior surfaces every two years.
Can I reuse the soil every year?
You must refresh the soil annually. Remove the top 4 inches and replace it with fresh compost. Every three years, replace the entire volume to prevent the buildup of soil borne pathogens and to reset the Cation Exchange Capacity.