6 Vital Steps to Bury Armored Cables
Damp earth carries the scent of geosmin as the spade cuts through the O-horizon. The soil feels heavy; its moisture content is high enough to maintain the turgor of a healthy leaf but low enough to prevent compaction. When installing electrical infrastructure in a garden, the integrity of the rhizosphere is paramount. You must follow specific steps to bury armored cables to ensure the safety of the root systems and the longevity of the electrical run. Proper depth and backfilling prevent physical disruption to the soil structure.
Effective installation requires a deep understanding of the substrate. Most garden soils operate optimally at a pH between 6.0 and 7.0; this range ensures that essential nutrients remain bioavailable. In a high-clay environment, the cation exchange capacity (CEC) is elevated, meaning the soil holds onto minerals like potassium and calcium more tightly than sandy loams. However, high CEC soils are prone to waterlogging. When you execute the steps to bury armored cables, you are essentially performing a surgical strike on the soil profile. You must minimize the duration the trench remains open to prevent the desiccation of exposed mycorrhizal fungi. These fungi form symbiotic relationships with plant roots, extending their reach for phosphorus and water.
Materials:
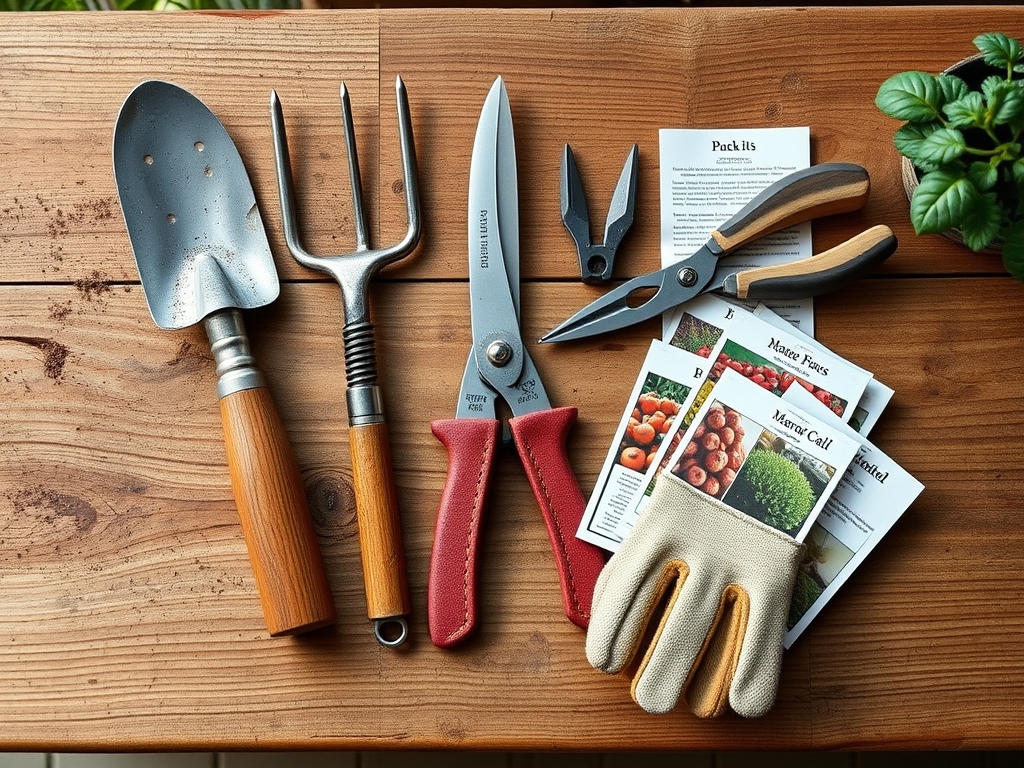
The ideal substrate for backfilling after laying cable is a friable loam. This soil type consists of roughly 40% sand, 40% silt, and 20% clay. For areas where heavy feeding plants will be reinstated, the NPK ratio should be balanced at 10-10-10 to support immediate root recovery. If the soil is overly acidic (below 5.5 pH), incorporate pelletized lime at a rate of 5 pounds per 100 square feet. Conversely, for alkaline soils (above 7.5 pH), apply elemental sulfur to lower the pH and prevent iron chlorosis. You will also need Type UF (Underground Feeder) or direct-burial armored cable (Type AC or MC with a moisture-resistant jacket), a trenching tool, and 12-gauge warning tape.
Timing:
Installation should occur during the dormant season or early spring before the "Biological Clock" triggers the transition from vegetative to reproductive stages. In Hardiness Zones 5 through 7, this window typically falls between the last hard frost and the first bud swell. Performing the steps to bury armored cables during the active growth phase can lead to severe transplant shock. If you must dig during the summer, ensure the soil temperature is below 75 degrees Fahrenheit to prevent root cauterization. Monitor the photoperiod; as days lengthen, plants prioritize auxin production for upward growth, making them less resilient to root disturbance than during the root-focused growth of autumn.
Phases:

Sowing the Path
Clear the surface of all organic debris and mulch. Use a sharp spade to cut a clean vertical line through the turf. This prevents the tearing of lateral roots. The trench must be at least 18 inches deep for direct-burial cable to satisfy safety codes and protect the cable from aeration tools.
Pro-Tip: Maintain a straight path to minimize the disruption of the rhizosphere. Biological Why: Plants utilize gravitropism to orient their roots; sudden changes in soil density or obstacles can cause root circling, which leads to girdling and eventual senescence.
Transplanting and Placement
Lay the armored cable at the bottom of the trench. Ensure it lies flat without kinks. Cover the cable with 2 to 3 inches of clean sand. This sand layer acts as a thermal buffer and protects the cable from sharp stones that could pierce the armor during soil expansion and contraction.
Pro-Tip: Place a yellow warning tape 6 inches above the cable. Biological Why: This provides a physical indicator for future excavations, preventing accidental damage to both the electrical system and the surrounding fungal networks that facilitate nutrient uptake.
Establishing the Grade
Backfill the trench with the original soil, layering it in 4-inch increments. Tamp down each layer to remove large air pockets without over-compacting. Over-compaction reduces the pore space, limiting the oxygen available for cellular respiration in the roots.
Pro-Tip: Water the trench thoroughly after backfilling. Biological Why: Water acts as a lubricant, helping soil particles settle around the roots to restore capillary action. This ensures that the plant can continue to draw moisture through transpiration.
The Clinic:
Physiological disorders often arise after soil disturbance. Monitor the plants near the trench for these symptoms.
- Symptom: Interveinal chlorosis (yellowing between leaf veins).
- Solution: This indicates a lack of iron or manganese, often caused by a pH spike during trenching. Apply a chelated iron foliar spray.
- Symptom: Marginal leaf burn (browning of leaf edges).
- Solution: This suggests localized drought stress from severed roots. Increase irrigation frequency but reduce volume to keep the remaining root zone moist.
- Symptom: Wilting despite moist soil.
- Solution: This is likely root rot from over-compaction in the trench. Use a garden fork to gently aerate the soil adjacent to the cable run.
Fix-It for Nitrogen Chlorosis: If the entire leaf turns pale green, the soil has a Nitrogen deficiency. Apply a high-nitrogen fertilizer (NPK 21-0-0) at a rate of 1 pound per 1,000 square feet to stimulate chlorophyll production.
Maintenance:
Post-installation care is critical for the first 12 months. Use a soil moisture meter to ensure the trench area maintains a consistent moisture level. Plants require 1.5 inches of water per week at the drip line, delivered in two deep soakings rather than daily mists. Use a hori-hori knife to remove any deep-rooted weeds that attempt to colonize the disturbed soil; these weeds compete for nutrients and water. If any woody perennials were pruned to provide access for the cable, use bypass pruners to make clean, 45-degree cuts just above a lateral bud to encourage new growth. Avoid using heavy machinery over the buried cable to prevent soil subsidence.
The Yield:
If the cable was buried near fruiting crops like blueberries or tomatoes, monitor the harvest window closely. Blueberries should be harvested when the fruit is fully blue and the pedicel (the stem) has turned from green to red. This indicates peak sugar accumulation. For tomatoes, harvest at the "breaker stage" when the first blush of color appears; this allows for ripening indoors and prevents the fruit from splitting due to uneven irrigation in the disturbed soil. Handle all produce with care to maintain the cuticle, which serves as a natural barrier against pathogens.
FAQ:
How deep must I bury armored cable?
National electrical codes typically require a minimum depth of 18 inches for direct-burial cables. In high-traffic garden areas, 24 inches is preferred to avoid damage from deep-tilling equipment or heavy aeration tools.
Can I bury armored cable under a garden bed?
Yes, but you must ensure the cable is rated for direct burial (Type UF or specifically jacketed MC). Avoid placing it directly beneath deep-rooted shrubs or trees to prevent root constriction and potential cable damage over time.
What backfill is best for armored cables?
Use a 3-inch base layer of sand to protect the cable from sharp rocks. Fill the remainder with native soil, ensuring it is free of large stones and debris that could cause mechanical stress during freeze-thaw cycles.
How do I prevent soil compaction during installation?
Work only when the soil is at field capacity, neither bone-dry nor saturated. Use plywood boards to distribute your weight while digging, and avoid using heavy mechanical compactors over the finished trench to preserve soil porosity.