6 Expert Steps to Chisel a Stone Seat
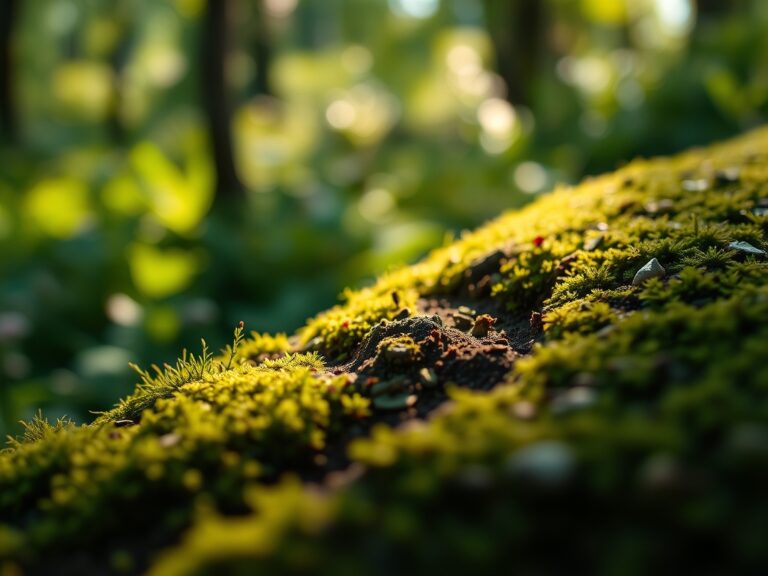
The smell of damp earth and the iron tang of wet sedimentary rock define the start of a permanent garden installation. To master the steps to chisel a stone seat, a gardener must approach the task with the same precision used to prune a delicate specimen. Success depends on understanding the geological density of the medium and how it interacts with the surrounding rhizosphere. A properly executed stone seat provides more than a resting point; it acts as a thermal mass that regulates local soil temperatures for nearby root systems.
Materials:
The foundation of a stone seat requires a friable loam substrate with a high Cation Exchange Capacity (CEC) to ensure the surrounding vegetation thrives despite the structural weight. Before placing the stone, the soil pH should be measured; most ornamental garden beds require a range of 6.0 to 7.0 pH. If the soil is too acidic, apply pelletized lime at a rate of 5 pounds per 100 square feet to stabilize the area.
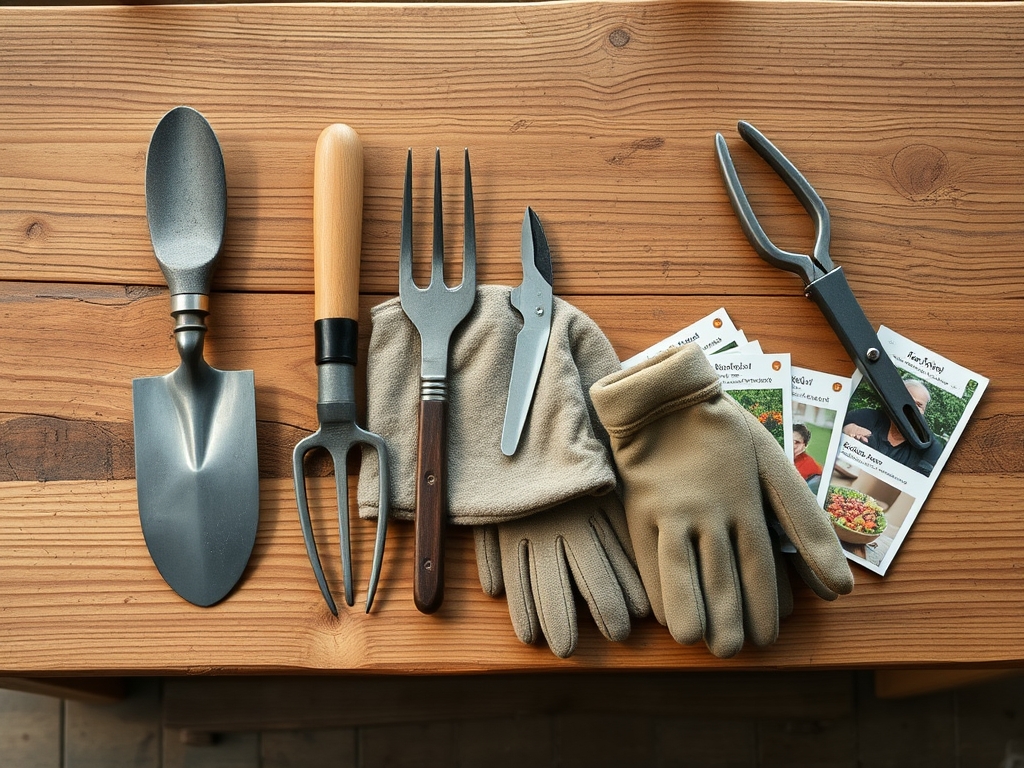
For the stone itself, select a block of limestone or sandstone with a density of at least 150 pounds per cubic foot. You will need a 3-pound sledgehammer, a carbide-tipped point chisel, and a flat-head tracer chisel. To maintain the health of the surrounding plants, ensure your NPK ratio for the site is balanced at 10-10-10 to compensate for the compaction caused by the stone's mass. High nitrogen levels assist in the rapid recovery of crushed turf or groundcover.
Timing:
Hardiness Zones 4 through 8 provide the ideal window for stone masonry during the dormant season. Chisel work should occur when the ground is firm but not frozen. The "Biological Clock" of the garden dictates that structural installations be completed before the transition from the vegetative stage to the reproductive stage in early spring.
In Zone 6, the optimal window is between the first hard frost and the spring thaw. Performing the steps to chisel a stone seat during this period prevents the disruption of active mycorrhizal networks and avoids the peak transpiration period of nearby perennials. Aim for a day when the ambient temperature is between 35 and 50 degrees Fahrenheit to prevent tool steel from becoming brittle while ensuring the worker remains thermally regulated.
Phases:

Sowing the Foundation
Excavate a pit 8 inches deeper than the stone's base. Fill the first 6 inches with crushed 3/4-inch angular gravel. This ensures rapid drainage and prevents "heaving" during freeze-thaw cycles.
Pro-Tip: Proper drainage prevents anaerobic conditions in the soil. Without oxygen, root cells cannot perform cellular respiration, leading to a total collapse of the rhizosphere's microbial health.
Transplanting the Stone
Level the stone using a 4-foot spirit level. The stone must have a slight 1-degree pitch toward the front to prevent water from pooling on the seating surface. Pooling water leads to algae growth and premature weathering through ice expansion.
Pro-Tip: Use a hori-hori knife to clean the edges of the excavation. A clean cut prevents the tearing of lateral roots, which would otherwise trigger auxin suppression and stunt the growth of surrounding plants.
Establishing the Form
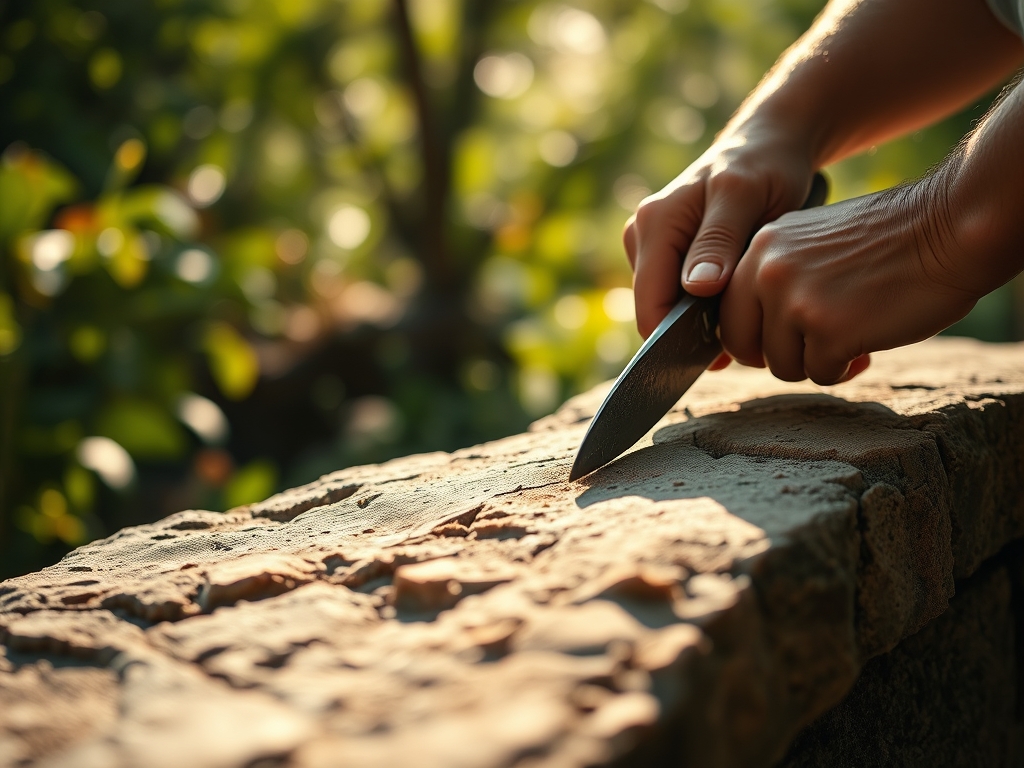
Begin the steps to chisel a stone seat by using the tracer chisel to score a line across the top. Strike the chisel at a 90-degree angle to create a fracture line. Switch to the point chisel for bulk removal, striking at a 45-degree angle to flake away excess material.
Pro-Tip: Removing bulk material reduces the physical load on the soil. This prevents excessive compaction, which maintains the soil's macropores, allowing for the efficient movement of water and oxygen to the root zone.
The Clinic:
Physiological disorders in the garden often mirror the stress of heavy construction. Monitor nearby plants for these specific symptoms:
- Nitrogen Chlorosis: If leaves turn pale yellow while veins remain green, the soil compaction has likely restricted nitrogen uptake. Solution: Aerate the soil with a garden fork and apply a liquid 20-0-0 fertilizer to provide an immediate boost.
- Anthracnose: Fungal spots may appear if the stone seat blocks airflow. Solution: Thin the canopy of nearby shrubs using bypass pruners to increase circulation.
- Epinasty: Downward curling of leaves indicates root stress from the stone's weight. Solution: Apply a seaweed-based kelp meal to stimulate root hormones and mitigate the pressure.
- Iron Deficiency: High pH from limestone runoff can lock out iron. Solution: Apply chelated iron at a rate of 1 ounce per gallon of water.
Maintenance:
Once the seat is chiseled, maintenance shifts to the surrounding flora. Provide exactly 1.5 inches of water per week at the drip line of the stone to prevent the soil from pulling away from the base. Use a soil moisture meter to verify that the moisture has penetrated to a depth of 6 inches.
Every spring, use a hori-hori knife to remove any invasive weeds attempting to colonize the crevices of the stone. If moss is desired, maintain a pH of 5.0 to 5.5 on the stone surface by applying a thin layer of acidic organic matter. For cleaning, avoid harsh chemicals; use a stiff brush and plain water to preserve the stone's natural patina and the health of the surrounding microfauna.
The Yield:
The yield of a stone seat is measured in its longevity and the health of the micro-ecosystem it creates. A properly chiseled seat acts as a heat sink, absorbing solar radiation during the day and releasing it at night. This can extend the growing season for nearby plants by 7 to 14 days in the autumn.
To ensure the stone remains a functional part of the garden, check for structural cracks after the first winter. If "spalling" occurs, use a flat-head chisel to smooth the surface, preventing further moisture penetration. The goal is a surface that is smooth to the touch but retains enough texture to be slip-resistant during periods of high humidity.
FAQ:
What is the best stone for a garden seat?
Limestone and sandstone are preferred for their workability and durability. These stones have a high mineral density that resists weathering while providing a stable thermal mass for the surrounding garden bed.
How deep should the gravel base be?
A minimum of 6 inches of compacted gravel is required. This prevents the stone from shifting due to frost heave and ensures that the soil porosity remains intact for nearby root systems.
Can I chisel stone in the summer?
It is possible, but high temperatures increase the risk of stone brittle-fracture. Additionally, the high transpiration rates of plants in summer make them more susceptible to damage from the dust and soil compaction.
How do I prevent the seat from sinking?
Ensure the base is wider than the stone itself by at least 4 inches on all sides. This distributes the weight across a larger surface area, maintaining the bulk density of the soil at a safe level.