9 Solid Ways How to Build a Stone Bench
Damp earth underfoot and the metallic scent of wet slate signal the start of a permanent structural addition to the garden. When you learn how to build a stone bench, you are not merely moving rocks; you are anchoring the landscape and creating a microclimate for the surrounding rhizosphere. A properly constructed stone bench regulates soil temperature and provides a thermal mass that radiates heat during the cool evening hours. This stability is essential for maintaining the turgor pressure of nearby perennials.
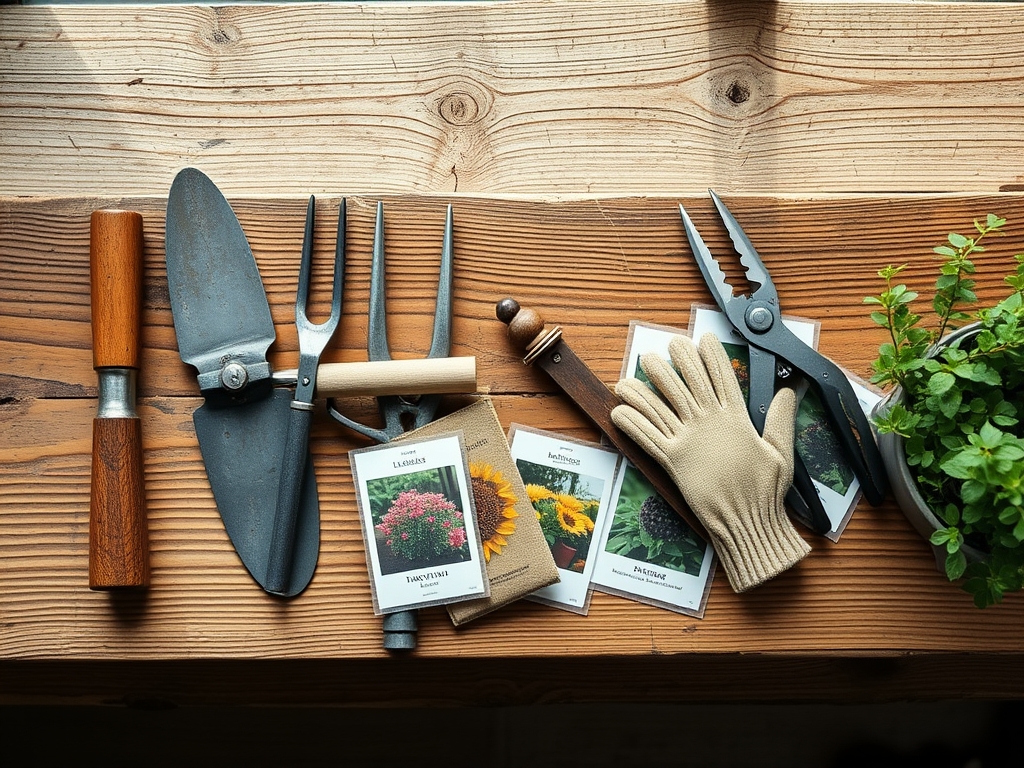
Materials:
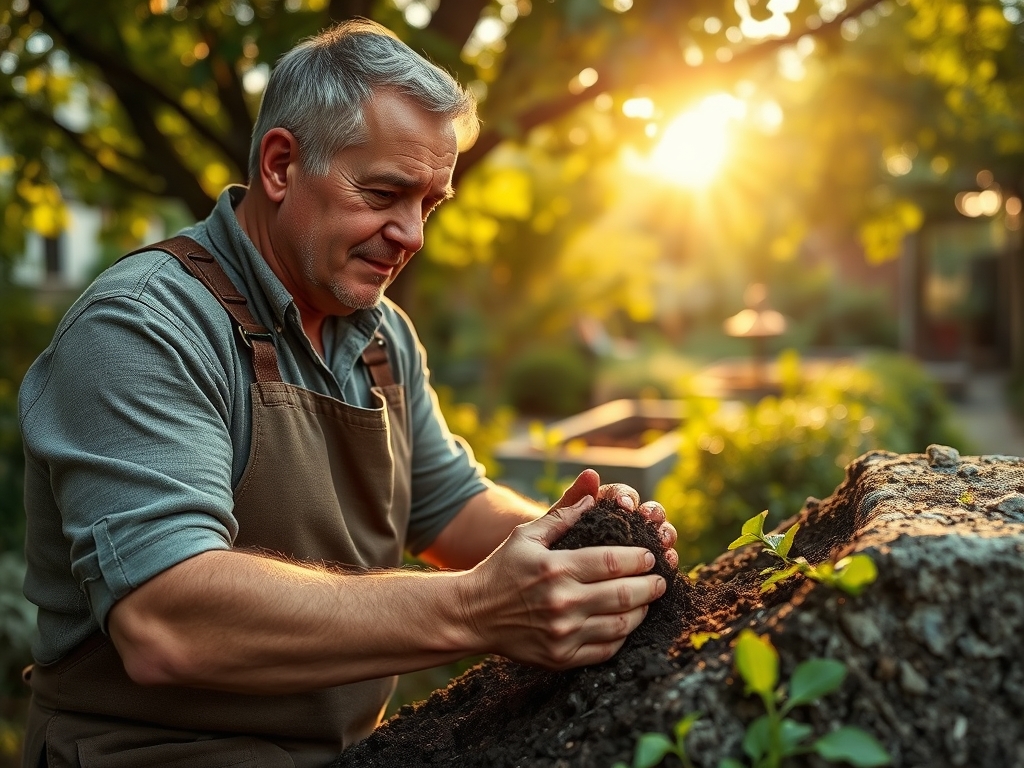
The foundation of a stone bench begins with the substrate. You must prepare a site with **friable loam** that has been amended to reach a **pH of 6.0 to 7.0**. High Cation Exchange Capacity (CEC) in the surrounding soil ensures that the heavy weight of the stone does not lead to nutrient leaching in the immediate vicinity.
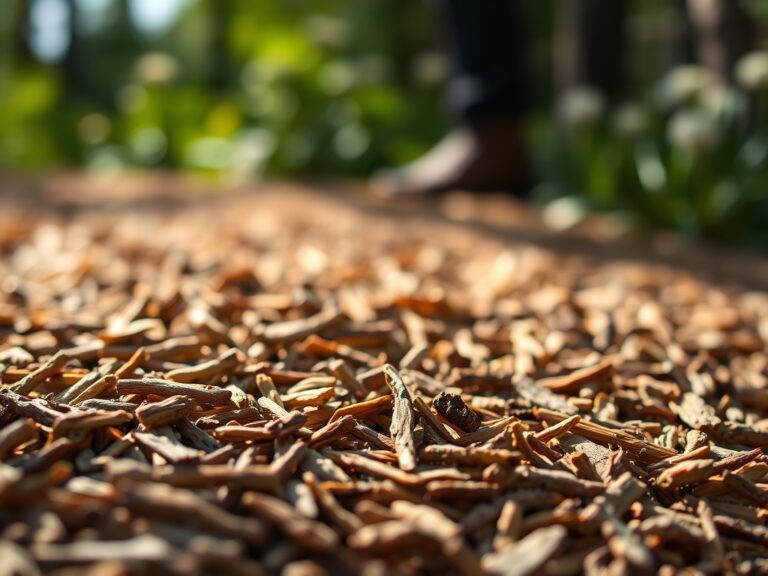
For the surrounding vegetation, apply a balanced 10-10-10 NPK ratio fertilizer to support root development before construction begins. You will need roughly 300 to 500 pounds of flat-surfaced fieldstone or flagstone for the seat and two heavy piers. Use a soil moisture meter to ensure the ground is not saturated before excavation; compacted, wet clay will lead to structural shifting and poor drainage for your plants.
Timing:
Construction should occur during the dormant season or early spring, specifically between Hardiness Zones 4 and 8. In these zones, the frost-date window usually closes by late April. Building during the "Biological Clock" transition from vegetative to reproductive stages allows you to install the bench without disrupting the peak flowering cycle of adjacent flora.
Wait for a period where the soil temperature is consistently above 45 degrees Fahrenheit. This ensures the ground has settled from the winter heave. If you build during the senescence phase in autumn, you risk damaging the root systems of perennials that are storing carbohydrates for winter survival.
Phases:
Sowing the Foundation
Excavate a trench 8 inches deep and 4 inches wider than your stone piers. Fill this with 4 inches of crushed 3/4-inch gravel to allow for drainage. This prevents water from pooling at the base, which would otherwise cause root rot in nearby specimens.
Pro-Tip: Mycorrhizal symbiosis is critical here. Dust the surrounding soil with mycorrhizal fungi to ensure that the disrupted roots can quickly re-establish nutrient pathways after the heavy stone is placed.
Transplanting and Leveling
Set your base stones into the gravel. Use a level to ensure the piers are perfectly horizontal. If you are integrating the bench into a garden bed, ensure the stones do not sit directly against the stems of woody shrubs to avoid bark necrosis.
Pro-Tip: Auxin suppression occurs when a plant is physically crowded. Leave at least 12 inches of clearance between the stone and the crown of any plant to allow for natural growth hormones to regulate vertical expansion without obstruction.
Establishing the Structure
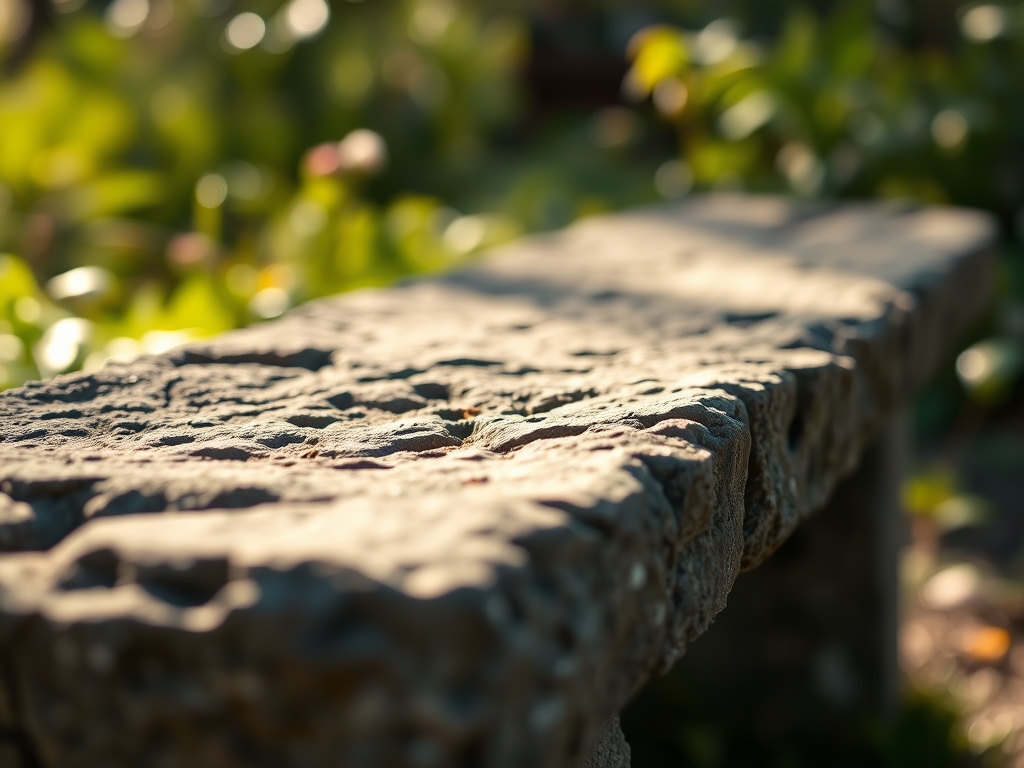
Place the large capstone across the two piers. Ensure a minimum of 3 inches of overhang on each side. This creates a "drip line" where rainwater will shed away from the bench base and directly into the root zones of surrounding plants.
Pro-Tip: Phototropism will cause nearby plants to lean away from the bench to seek light. Monitor the growth angles of your plants; you may need to prune selectively to maintain a balanced canopy.
The Clinic:
Physiological disorders in the garden can occur when a heavy structure alters the local environment.
Symptom: Yellowing of lower leaves on plants adjacent to the bench.
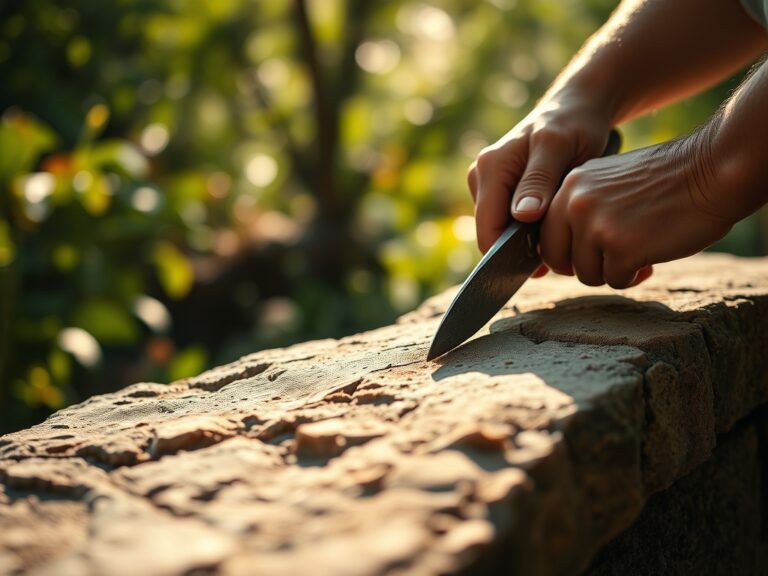
Solution: This is likely Nitrogen chlorosis. The construction process may have compacted the soil, reducing oxygen availability. Use a hori-hori knife to gently aerate the soil around the bench.
Symptom: Wilting despite moist soil.
Solution: Check for root asphyxiation. If the stone bench has blocked natural drainage paths, water may be trapped. Install a French drain or increase the gravel depth under the bench.
Symptom: Stunted growth on one side of a nearby shrub.
Solution: This is a light deficiency. The bench may be casting a shadow that limits photosynthesis. Thin the upper canopy of the shrub with bypass pruners to allow more light penetration.
Fix-It for Nutrient Deficiencies:
If you notice purple-tinted leaves (Phosphorus deficiency) or scorched leaf margins (Potassium deficiency), the soil pH may have shifted due to the minerals leaching from the stone. Apply a liquid 5-10-10 NPK solution to provide immediate bioavailability.
Maintenance:
A stone bench requires minimal structural upkeep, but the surrounding ecosystem needs precision. Maintain 1.5 inches of water per week at the drip line of the bench to compensate for the rain-shadow effect created by the capstone. Use a soil moisture meter twice weekly to check the levels at a depth of 4 inches.
Keep a hori-hori knife on hand to remove any weeds that attempt to grow in the crevices between stones. If moss begins to grow on the north-facing side, monitor it for moisture retention; excessive moss can hold water against the stone and lead to freeze-thaw cracking in colder climates. Use bypass pruners to keep groundcover from encroaching onto the seating surface, which can create a slip hazard or trap organic debris that leads to stone staining.
The Yield:
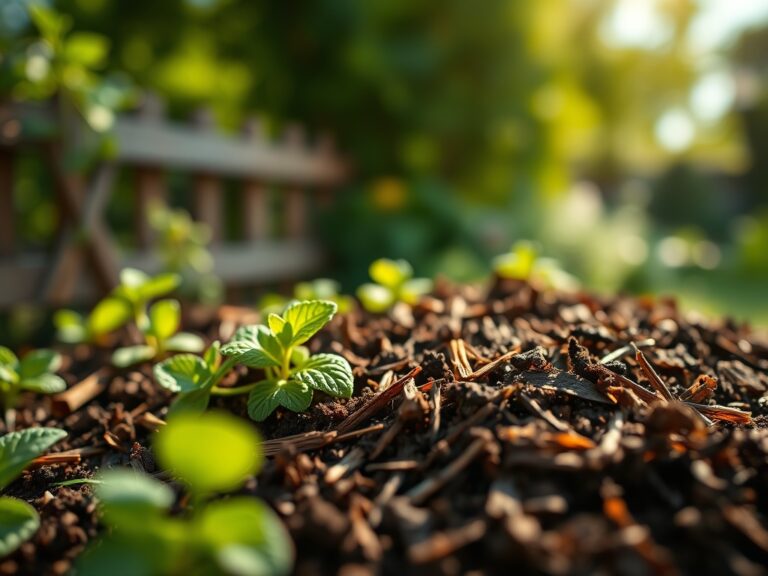
While a stone bench does not produce a harvest in the traditional sense, it acts as a catalyst for the "yield" of the surrounding garden. By providing a stable microclimate, the bench allows for the successful cultivation of delicate herbs like Thymus vulgaris or Lavandula.
Harvest these herbs in the early morning when essential oil concentrations are at their peak. Use sharp shears to cut just above a leaf node. To maintain "day-one" freshness, immediately place the cuttings in a cool, shaded area. The stone bench itself serves as an excellent staging area for sorting your harvest before it enters the kitchen or drying room.
FAQ:
What is the best stone for a garden bench?
Select high-density sedimentary or igneous rocks like granite, slate, or thick flagstone. These materials resist weathering and have high thermal mass. Ensure the capstone is at least 2 inches thick to prevent structural failure under weight.
How deep should the foundation be?
Excavate at least 8 to 12 inches. Fill the first 4 to 6 inches with compacted gravel. This depth prevents the bench from shifting during frost heaves and ensures proper drainage for the surrounding plant root systems.
Can I build a bench over tree roots?
Avoid placing heavy stone directly over major structural roots. This causes soil compaction and limits oxygen exchange. Stay outside the tree's drip line to prevent root necrosis and long-term decline of the specimen's health.
How do I prevent the bench from sinking?
Use a sub-base of crushed stone rather than sand. Sand can wash away during heavy rain. Compact the gravel in 2-inch layers to create a stable, non-shifting platform that distributes the weight of the stone evenly across the soil.
Does stone type affect soil pH?
Limestone will slowly leach calcium carbonate, raising the soil pH over time. If you have acid-loving plants like azaleas, use granite or slate instead. Monitor the pH every two years to ensure the levels remain within the 6.0 to 7.0 range.