10 Clever Steps to Install a Hidden Gate
Crushed basalt underfoot and the smell of damp, decomposing leaf mold signal a healthy garden ecosystem. When planning the steps to install a hidden gate, you must treat the structure as a living extension of the landscape rather than a static barrier. A successful installation requires maintaining the turgor pressure of surrounding hedges while ensuring the structural integrity of the frame. You are not just building a door; you are managing a threshold within a biological corridor.
Materials:

The foundation of any hidden gate begins in the rhizosphere. If you are anchoring posts near living screens, the soil must be a **friable loam** with a **pH between 6.0 and 7.0**. This acidity range ensures maximum nutrient availability for the screening plants. High **Cation Exchange Capacity (CEC)** is required for the surrounding soil to hold onto essential ions.
Before digging, amend the area with a balanced 10-10-10 NPK ratio fertilizer to support root recovery post-excavation. Use pressure-treated timber or galvanized steel for the frame to prevent rot in high-moisture environments. The substrate must be compacted to a 95 percent Proctor density to prevent settling, which would misalign the latch. Ensure the hardware is powder-coated to resist oxidation from the humid microclimate generated by dense foliage.
Timing:
Timing the installation is critical to minimize plant stress. In Hardiness Zones 5 through 8, the ideal window is late autumn or early spring when plants are in a state of senescence or just breaking dormancy. This avoids the high transpiration rates of mid-summer.
The biological clock of your screening plants dictates the schedule. For evergreen screens like Taxus or Thuja, install the gate when the plant is in its vegetative stage. Avoid installation during the reproductive stage (flowering or seed production) as the plant redirects carbohydrates away from root repair. Monitor the photoperiod; shorter days in autumn signal the plant to move auxins to the roots, facilitating faster healing of any root pruning required for post-hole digging.
Phases:

Sowing the Foundation
Excavate post holes to a depth of at least 36 inches or below the local frost line to prevent heave. Use a soil moisture meter to ensure the ground is not saturated during digging, as compaction of wet clay destroys soil structure. Line the bottom of the hole with 4 inches of crushed stone for drainage.
Pro-Tip: Apply a mycorrhizal inoculant to the disturbed soil. This fungal symbiosis extends the root system's reach, allowing the screening plants to recover water and phosphorus more efficiently after their root zones have been disrupted.
Transplanting and Integration
Mount the gate frame and begin the process of "weaving" the biological screen. If using new plants to hide the gate, space them at 18-inch intervals to allow for lateral expansion. Use a hori-hori knife to score the root balls of container-bound plants, promoting outward growth into the native soil.
Pro-Tip: Use soft jute twine for training branches across the gate face. This prevents "girdling," where the vascular cambium is constricted, ensuring that turgor pressure remains constant throughout the limb.
Establishing the Canopy
Once the gate is hung, prune the surrounding hedge to encourage "bushiness." Focus on removing the terminal buds to suppress apical dominance. This forces the plant to redirect auxins to lateral buds, creating a denser screen that obscures the gate hardware.
Pro-Tip: Monitor for phototropism. If one side of the gate receives significantly more light, the growth will be uneven. Use reflective mulch or strategic thinning to ensure even light distribution across the entire hidden entrance.
The Clinic:
Physiological disorders can reveal a hidden gate by causing "holes" in the living screen. Watch for these symptoms:
- Nitrogen Chlorosis: Leaves turn pale yellow, starting with older growth. Fix-It: Apply a high-nitrogen liquid feed (20-10-10) to boost chlorophyll production.
- Iron Deficiency: Interveinal yellowing on new leaves, common in high pH soils. Fix-It: Apply chelated iron and lower the soil pH using elemental sulfur.
- Leaf Scorch: Brown, necrotic edges on leaves caused by wind or salt. Fix-It: Increase irrigation to 1.5 inches per week and install a temporary windbreak.
- Root Rot: Wilting despite wet soil. Fix-It: Improve drainage by adding perlite or coarse sand to the backfill.
Maintenance:
Maintain the hidden gate with the same precision as a prize specimen. Use bypass pruners for clean cuts that heal quickly; ragged tears invite pathogens. Apply 2 inches of organic mulch around the base of the gate to regulate soil temperature and moisture.
Irrigation should be targeted. Provide 1.5 inches of water per week at the drip line using a soaker hose to ensure deep root penetration. Lubricate hinges with a non-toxic, silicone-based spray every six months to prevent "creaking" that would betray the gate's location. Check the alignment monthly; a 1/4 inch shift in the post can cause the latch to bind.
The Yield:
While a gate does not produce a crop, the "yield" is the seamless integration of the structure. A successful installation is invisible from 10 feet away. The "harvest" occurs when the screening plants reach full opacity, usually 24 months after installation. At this stage, the gate should operate with zero resistance, and the foliage should show no signs of mechanical damage or nutrient stress.
FAQ:
What is the best soil for gate posts?
Use a well-draining substrate with a 95 percent compaction rate. If planting nearby, ensure a friable loam with a pH of 6.5 to support root health and structural stability simultaneously.
How do I hide the gate hinges?
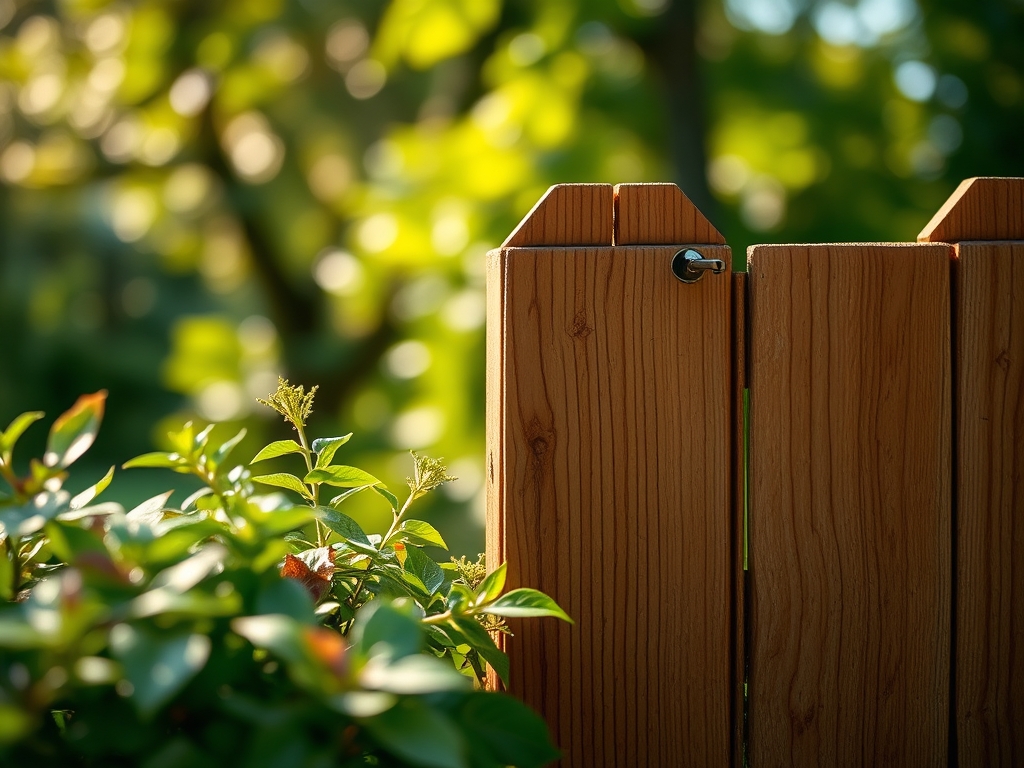
Select heavy-duty, recessed "Soss" style hinges. Paint them to match the darkest shadows within the foliage. Ensure the plant canopy is dense enough to block 100 percent of direct light from hitting the metal.
How often should I prune the gate screen?
Prune lightly every 4 to 6 weeks during the growing season. Use bypass pruners to remove only the terminal tips. This suppresses apical dominance and encourages the lateral density required for total concealment.
Why is my hidden gate sagging?
Sagging is usually caused by soil settling or insufficient post depth. Ensure posts are 36 inches deep. If the gate is heavy, use a diagonal "cross-brace" to transfer the load back to the top hinge.