7 Simple Steps to Install Deck Joist Tape
The scent of damp cedar and the musk of anaerobic decay are warnings of structural failure. When moisture sits on a horizontal wooden surface, it initiates a cellular breakdown that compromises the integrity of the entire frame. To prevent this, you must master the steps to install deck joist tape before the decking boards are fastened. This process creates a waterproof membrane, shielding the wood from the inevitable rot caused by standing water and debris accumulation.
Materials:
While the substrate for your deck is structural lumber, the surrounding landscape requires a **friable loam** with a **pH between 6.2 and 6.8** to ensure a healthy rhizosphere. For heavy construction areas, the soil often suffers from compaction, reducing the Cation Exchange Capacity (CEC). To remediate this, incorporate organic matter with an **NPK ratio of 4-4-4** to stabilize the soil structure. Ensure the substrate below the deck allows for a **percolation rate of at least 1 inch per hour** to prevent moisture from wicking upward into the joists.
Timing:
Installation should occur during a period of metabolic dormancy for the surrounding flora, typically in Hardiness Zones 4 through 7 between late autumn and early spring. The "Biological Clock" of your garden dictates that heavy construction should avoid the peak vegetative stage when plants have high turgor pressure and are most susceptible to mechanical damage. Aim for a temperature window between 50 and 80 degrees Fahrenheit; adhesive membranes require these specific thermal conditions to achieve a permanent bond with the wood fibers.
Phases:

Sowing the Foundation
Begin by cleaning the top surface of every joist and rim board. Use a stiff brush to remove all sawdust, pollen, and fungal spores. The surface must be bone dry; even a 15 percent moisture content in the wood can impede the butyl adhesive. Measure the length of the joist and cut your tape with a sharp utility knife, allowing for a 1 inch overlap at the ends.
Pro-Tip: Proper cleaning prevents the "barrier effect" where microscopic particles create a shear plane. This mirrors how mycorrhizal symbiosis requires direct contact between fungal hyphae and root cells to facilitate nutrient exchange; without direct contact, the system fails.
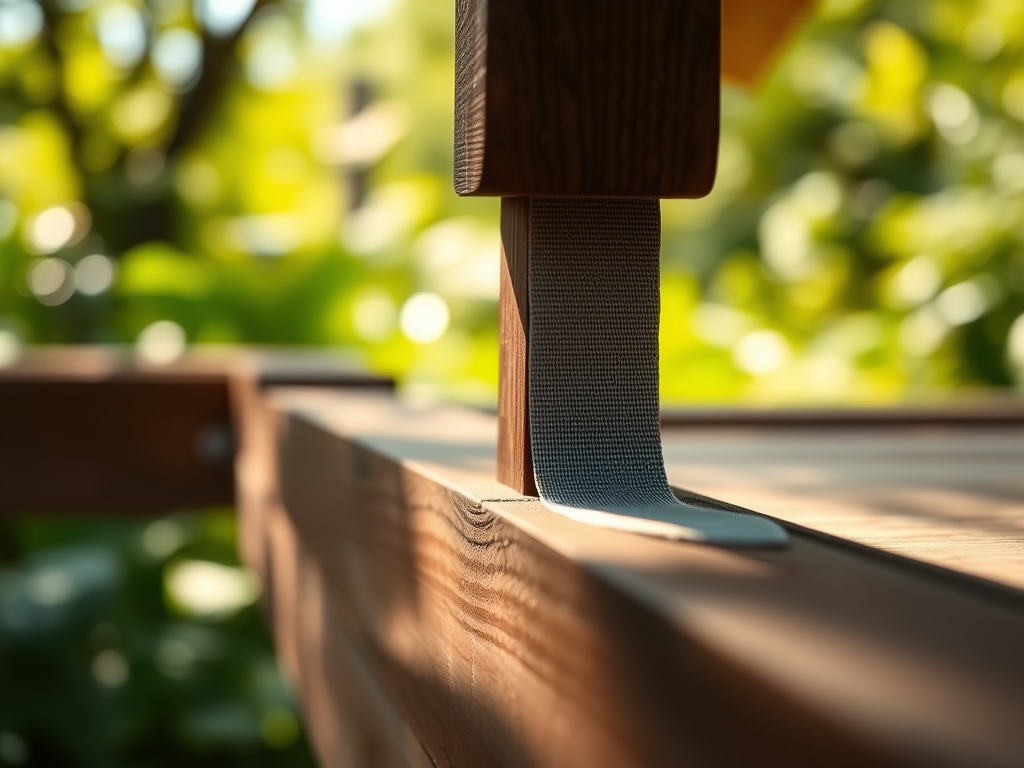
Transplanting the Membrane
Center the tape over the joist. Peel the backing in 3 foot increments to maintain control and prevent the tape from folding onto itself. Apply firm downward pressure along the entire length. Use a J-roller to ensure 100 percent contact with the wood. If you encounter a knot or a slight crown in the wood, apply extra pressure to force the adhesive into the grain.
Pro-Tip: Eliminating air pockets prevents the accumulation of stagnant water vapor. In plant biology, this is similar to avoiding air pockets during transplanting to prevent root desiccation, ensuring the root system maintains constant contact with the soil solution.
Establishing the Seal
Wrap the tape over the edges of the joist by at least 0.5 inches. This "cap" method ensures that water shedding off the deck boards does not migrate sideways into the wood grain. When driving screws through the tape, the butyl rubber will self-seal around the fastener, creating a gasket that prevents moisture from entering the screw hole.
Pro-Tip: The self-sealing property of butyl tape mimics auxin suppression in plants. When a plant is wounded, it redirects hormones to seal the site and prevent pathogen entry; the tape acts as a synthetic immune system for the lumber.
The Clinic:
Symptom: Adhesive Failure
Solution: This usually occurs due to "flash dew" or high humidity. If the tape does not stick, use a heat gun to gently warm the wood surface to 95 degrees Fahrenheit to lower surface tension and improve the bond.
Symptom: Bubbling Under the Membrane
Solution: Use a needle to puncture the bubble and a roller to expel the air. This prevents localized "greenhouse effects" where trapped heat and moisture accelerate wood rot.
Symptom: Nitrogen Chlorosis in Adjacent Plants
Fix-It: If your perimeter plants show yellowing leaves with green veins, the construction runoff may have altered the soil pH. Apply a chelated iron supplement and a high-nitrogen (10-0-0) fertilizer to restore chlorophyll production and turgor pressure.
Maintenance:
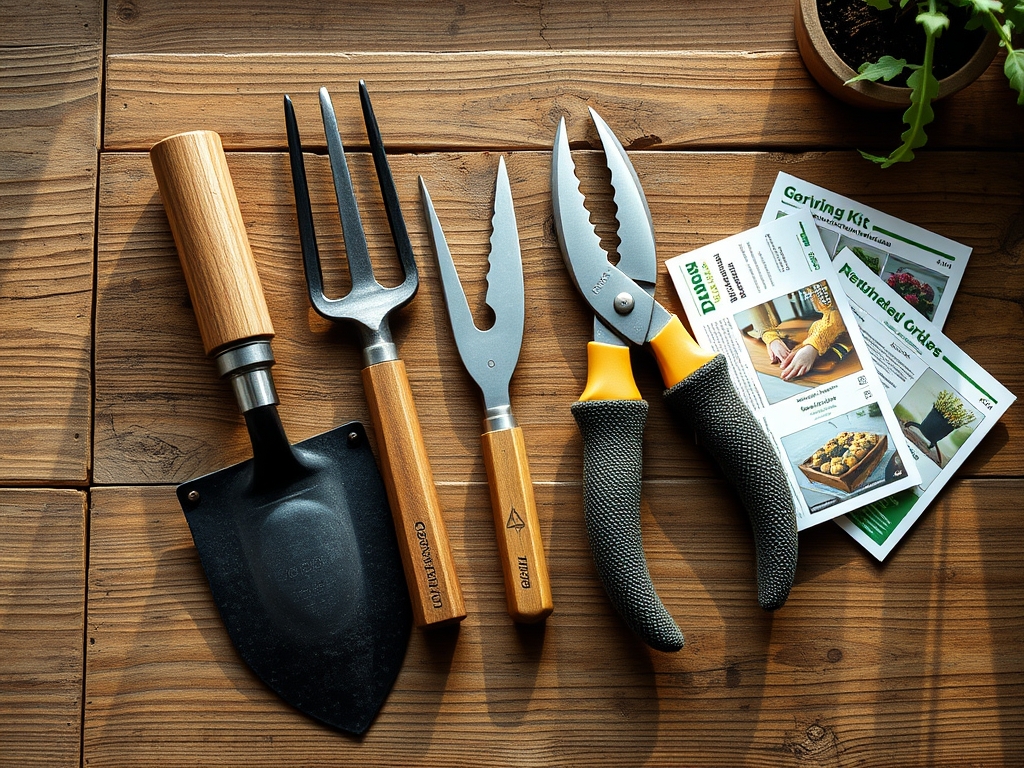
Post-installation, monitor the site for drainage efficiency. Ensure the landscape receives 1.5 inches of water per week at the drip line to maintain soil health after the disturbance of construction. Use a soil moisture meter to verify that the area under the deck remains dry while the surrounding root zones stay hydrated. For precision pruning of encroaching vines, use bypass pruners to make clean cuts that promote rapid callousing. A hori-hori knife is essential for removing deep-rooted weeds that may emerge near the deck footings.
The Yield:
While a deck does not produce a caloric yield, the longevity of the structure is your harvest. A properly taped joist system can extend the life of a frame by 15 to 20 years. If you are planting a "deck garden," harvest herbs like basil or thyme by cutting just above a node during the morning hours when turgor pressure is at its peak. This ensures "day-one" freshness by keeping the vascular tissues hydrated.
FAQ:
Can I install joist tape on wet wood?
No. Butyl and bitumen adhesives require a dry substrate to form a molecular bond. Wood moisture content must be below 18 percent; otherwise, the tape will delaminate as the wood undergoes cellular respiration and releases vapor.
Does the color of the tape matter?
Black tape is standard as it disappears in the gaps between deck boards. This prevents UV degradation of the adhesive. High UV exposure can lead to polymer senescence, causing the tape to become brittle and lose its waterproof properties.
How much tape should I buy?
Calculate the total linear footage of all joists, rim joists, and ledger boards. Add a 10 percent waste factor for overlaps and errors. Ensuring you have sufficient material prevents "cold joints" in the protective membrane.
Will joist tape prevent all rot?
It specifically prevents "top-down" rot caused by trapped moisture between boards. It does not protect against "ground-up" moisture. You must ensure 12 inches of clearance between the joists and the soil to allow for adequate gas exchange.