9 Best Wire Strippers for Landscaping
The smell of damp earth after a heavy rain indicates the presence of geosmin; it is the scent of a healthy rhizosphere actively processing organic matter. In the field, success is measured by turgor pressure in the leaf and the structural integrity of the root system. When installing low-voltage lighting or automated irrigation sensors, the best wire strippers for landscaping become as essential as a sharpened spade. Precision in electrical connections prevents voltage drops that can lead to premature bulb failure or sensor malfunction in high-humidity environments. A clean strip ensures maximum surface contact between copper strands and connectors; this reduces resistance and prevents localized heat buildup. In the acidic, abrasive environment of a garden bed, a jagged cut in the insulation allows moisture to wick into the wire through capillary action. This leads to oxidation and eventual circuit failure. Professional-grade strippers must handle 12-gauge and 14-gauge direct-burial wire while resisting the corrosive effects of soil minerals and fertilizers.
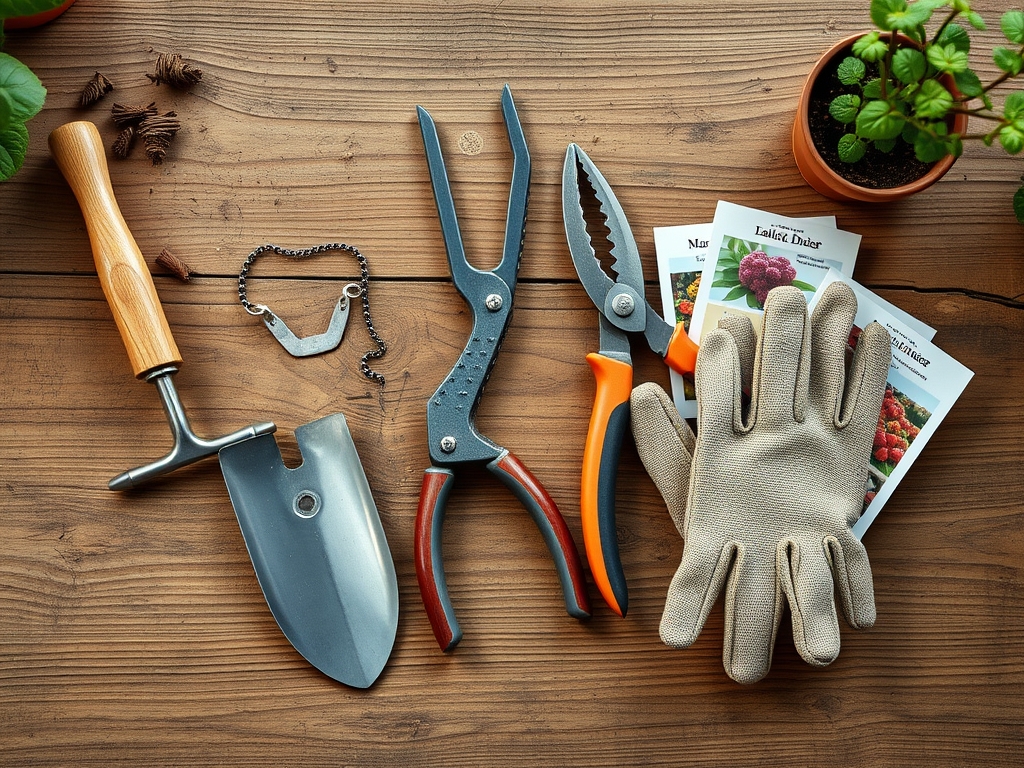
Materials:
Before deploying electrical components, the substrate must be analyzed for its physical and chemical properties. A **friable loam** with a **Cation Exchange Capacity (CEC) between 15 and 25 meq/100g** provides the ideal balance of drainage and nutrient retention. The soil pH should be maintained between **6.2 and 6.8** to ensure the bioavailability of macronutrients. For established woody perennials, use a fertilizer with an **NPK ratio of 10-10-10** to provide balanced support for both foliar growth and root development. If the soil is sandy and prone to leaching, a slow-release **14-14-14 polymer-coated urea** is more efficient. High-clay soils require the addition of gypsum to displace sodium ions and improve aeration. This structural improvement is vital for the installation of underground wiring; compacted soils can crush conduit or shear insulation during seasonal freeze-thaw cycles. Ensure the soil moisture is at **40% to 60% of field capacity** before digging to prevent the destruction of soil aggregates.
Timing:
Successful landscaping projects are dictated by the USDA Hardiness Zones and the local frost-date window. In Zones 5 through 7, the primary planting and wiring window opens after the last spring frost when soil temperatures consistently reach 55 degrees Fahrenheit. This temperature threshold triggers the "Biological Clock," where plants transition from dormancy to the vegetative stage. During this period, the increase in day length, or photoperiod, stimulates the production of chlorophyll and the expansion of the vascular system. Avoid heavy installation work during the peak of summer when high evapotranspiration rates put plants under severe stress. Similarly, late-season installations must be completed at least six weeks before the first hard frost to allow root systems to recover from disturbance. Understanding the transition from the vegetative stage to senescence in the autumn is critical; as plants pull carbohydrates into their root systems for winter storage, any damage to the rhizosphere can be catastrophic.
Phases:

### Sowing
Direct-sow seeds at a depth **three times their diameter** to ensure consistent moisture contact. For large-scale restoration, use a seed drill to achieve a density of **20 to 30 seeds per square foot**.
**Pro-Tip:** Proper sowing depth prevents **photo-inhibition**, where light exposure prevents the germination of certain species. Maintaining darkness ensures the seedling utilizes its endosperm energy efficiently to reach the surface.
Transplanting
When moving container-grown stock into the field, the planting hole must be twice as wide as the root ball but no deeper. This encourages lateral root expansion into the surrounding native soil.
Pro-Tip: Scoring the root ball breaks the "circling" pattern and stimulates auxin suppression at the tips. This hormonal shift encourages the development of new lateral roots into the rhizosphere, increasing the plant's ability to uptake water.
Establishing
During the first 12 to 18 months, plants require consistent hydration to maintain turgor. Apply a 3-inch layer of organic mulch to suppress weeds and regulate soil temperature.
Pro-Tip: Establishing a mycorrhizal symbiosis during this phase is vital. These beneficial fungi extend the reach of the root system by up to 100 times, significantly increasing the uptake of phosphorus and micronutrients.
The Clinic:
Physiological disorders often mimic pathogen attacks but are usually rooted in environmental or nutritional imbalances.
- Symptom: Interveinal Chlorosis. The leaf veins remain green while the tissue between them turns yellow.
- Solution: This is typically an Iron (Fe) deficiency caused by high soil pH. Lower the pH to 6.5 using elemental sulfur or apply chelated iron.
- Symptom: Blossom End Rot. A dark, sunken spot appears on the base of the fruit.
- Solution: This indicates a Calcium (Ca) deficiency, often caused by erratic watering. Ensure 1.5 inches of water per week to maintain the transpiration stream that carries calcium to the fruit.
- Symptom: Leaf Margin Necrosis. The edges of older leaves turn brown and brittle.
- Solution: This suggests Potassium (K) deficiency or salt toxicity. Flush the soil with clean water and apply a 0-0-50 sulfate of potash fertilizer.
- Fix-It for Nitrogen Chlorosis: If the entire plant is pale green with stunted growth, apply a quick-release ammonium nitrate at a rate of 1 pound of actual nitrogen per 1,000 square feet.
Maintenance:
Precision maintenance requires the right tools and a data-driven approach. Monitor soil conditions using a soil moisture meter twice weekly; the goal is to keep the soil between 20 and 30 centibars of tension. Apply exactly 1.5 inches of water per week at the drip line using drip irrigation to minimize foliar diseases. When pruning, use bypass pruners for clean cuts on living tissue to ensure rapid callusing. For weeding around delicate root systems or installing small-gauge wire, use a hori-hori knife to minimize soil disturbance. Regularly sharpen all cutting tools to prevent tearing the plant's vascular tissue, which can lead to infection by opportunistic pathogens. Every three years, perform a professional soil test to recalibrate your fertilization program based on actual nutrient depletion.
The Yield:
For flowering or edible landscapes, harvest timing is determined by the peak concentration of sugars or essential oils. Harvest leafy greens and herbs in the early morning when turgor pressure is at its maximum. This prevents wilting and preserves the cellular structure. Use a sharp blade to make a clean incision, leaving at least one-third of the plant's foliage to ensure continued photosynthesis. Post-harvest, immediately submerge the produce in 40-degree Fahrenheit water to remove field heat and slow the rate of respiration. This "hydro-cooling" process maintains "day-one" freshness by arresting the metabolic processes that lead to senescence.
FAQ:
Which wire strippers are best for outdoor use?
The best wire strippers for landscaping feature stainless steel construction and ergonomic grips. They must include precision-ground stripping holes for 10 to 20 AWG wire to ensure clean cuts through heavy-duty, UV-rated insulation without damaging the copper core.
How do I prevent wire corrosion in wet soil?
Use UL-listed waterproof connectors filled with silicone sealant. When stripping wire, ensure the insulation is removed cleanly without nicking the metal. This prevents moisture from entering the wire jacket via capillary action, which causes long-term oxidation and resistance.
What is the ideal soil pH for landscaping?
Most landscape plants thrive in a pH range of 6.0 to 7.0. This range ensures that essential nutrients like nitrogen, phosphorus, and potassium are chemically available for root uptake. Use elemental sulfur to lower pH or lime to raise it.
How deep should I bury landscape wiring?
Direct-burial low-voltage wire should be installed at a minimum depth of 6 inches. This protects the line from aeration tools, hori-hori knives, and frost heave. For high-voltage lines, local building codes typically require a depth of 18 to 24 inches.