
8 Smart Ways How to Design a Low-Voltage System
The smell of damp, anaerobic earth indicates a lack of oxygen in the rhizosphere; a healthy garden requires both structural integrity and functional infrastructure. When the sun sets, the turgor pressure of your foliage remains high, but the visual impact of the landscape vanishes without proper illumination. Learning how to design a low-voltage system ensures that your botanical specimens are visible while maintaining safety in high-moisture environments. Professional installation requires a firm grasp of electrical load and horticultural spatial awareness.
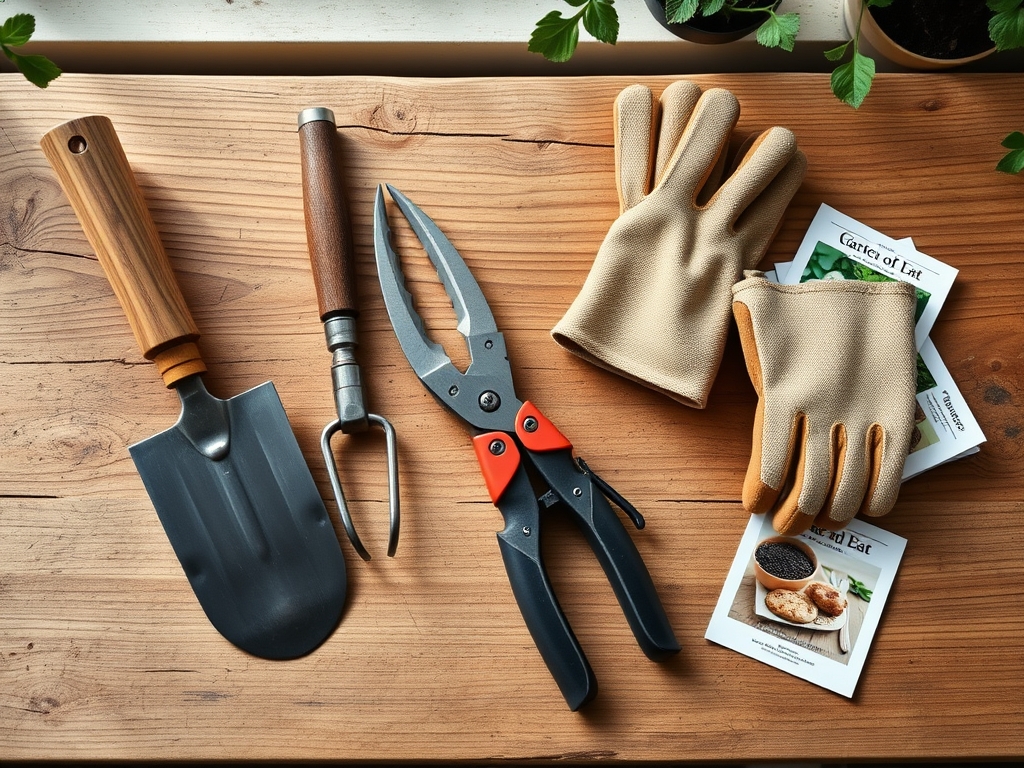
Materials:
The success of your lighting system depends on the substrate where components are buried. A **friable loam** with a **pH between 6.0 and 7.0** is ideal for trenching, as it allows for easy wire placement without risking damage from heavy clay expansion or sharp, rocky debris. Soil with a high **Cation Exchange Capacity (CEC)** of **15 to 25 meq/100g** indicates high organic matter, which can hold more moisture. This moisture increases soil conductivity; therefore, all connections must be watertight to prevent corrosion. Use a **12/2 or 14/2 multi-strand direct-burial cable** and a **300-watt stainless steel transformer** to convert 120V household current to a safe 12V output. Ensure your fertilizer regimen, specifically an **NPK ratio of 5-10-5**, does not lead to excessive salt buildup near the fixtures, as high salinity can degrade metal housings over time.
Timing:
Installation should occur during the dormant season or early spring before the "Biological Clock" triggers the transition from vegetative to reproductive stages. In Hardiness Zones 5 through 7, perform trenching after the final frost but before the spring flush of growth to minimize root trauma. Avoid working the soil when it is saturated; compacting wet soil destroys the macropores necessary for gas exchange. If you install during the peak photoperiod of summer, the heat stress can cause rapid senescence in disturbed plants. Aim for a window where soil temperatures are consistently above 50 degrees Fahrenheit (10 degrees Celsius) to ensure the root systems of surrounding flora can recover from the mechanical stress of installation.
Phases:

Sowing the Layout
Map your light placement based on the mature spread of your cultivars. Place fixtures at least 24 inches away from the base of young woody perennials to account for future secondary growth in the trunk. Use a soil moisture meter to identify areas of high saturation where you must use specialized pressure-sealed connectors.
Pro-Tip: Avoid placing high-intensity lights directly beneath the canopy of photoperiod-sensitive species. Excessive night light can disrupt the production of phytochrome, a pigment that regulates flowering and dormancy, potentially preventing the plant from entering its necessary rest phase.
Transplanting and Trenching
Dig trenches 6 inches deep to protect the cable from aeration tools and frost heave. When crossing root zones, use a hand tool rather than a mechanical trencher to preserve the fine feeder roots located in the top 8 inches of the soil profile.
Pro-Tip: If you must cut a lateral root, make a clean strike. This stimulates auxin suppression at the wound site and encourages the development of adventitious roots, which helps the plant recover its ability to uptake water and nutrients.
Establishing the Connection
Connect your fixtures using the "hub" method to ensure equal voltage distribution. Check each socket with a voltmeter to confirm a reading between 10.8 and 11.5 volts. Voltage drop occurs when the cable run is too long, leading to dimming and premature bulb failure.
Pro-Tip: Maintain a consistent mycorrhizal symbiosis by backfilling trenches with the original native soil. Introducing sterilized potting mix into a narrow trench creates a "bathtub effect" where water collects, potentially leading to root rot or electrical short circuits.
The Clinic:
Physiological disorders in the landscape often mimic electrical issues or vice versa. Monitor these specific symptoms:
- Symptom: Interveinal chlorosis (yellowing between leaf veins).
Solution: This is often Iron deficiency, common in soils with a pH above 7.5. Apply chelated iron to the root zone. - Symptom: Marginal leaf scorch on upward-facing foliage.
Solution: Heat stress from a halogen bulb placed too close to the leaf. Switch to LED fixtures which emit significantly less infrared radiation. - Symptom: Stunted growth and dark green/purple tint on lower leaves.
Solution: Phosphorus deficiency. Ensure your NPK ratio includes a higher middle number (e.g., 10-20-10) during the establishment phase to support ATP production and root expansion. - Fix-It for Nitrogen Chlorosis: If entire leaves turn pale green, the plant lacks Nitrogen for chlorophyll synthesis. Apply a fast-acting high-Nitrogen fertilizer (20-0-0) at a rate of 0.5 lbs per 1,000 square feet.
Maintenance:
A professional landscape requires surgical precision in maintenance. Provide 1.5 inches of water per week at the drip line, measuring with a dedicated rain gauge or soil moisture meter. Use a hori-hori knife to remove invasive weeds that might wrap around light fixtures and cause overheating. Inspect your bypass pruners for sharpness before thinning out branches that obscure the light path; clean cuts prevent the entry of pathogens. Check the transformer every six months for debris or insect nesting, which can cause thermal failure. If a fixture is knocked out of alignment, recalibrate it during the evening to ensure the beam hits the intended architectural or botanical focal point.
The Yield:
While lighting does not produce a caloric yield, the "yield" of a well-designed system is the extended utility of the garden. For those illuminating edible crops like herbs or nightshades, ensure the light does not attract nocturnal pests that could damage the harvest. When harvesting by lamplight, use the hori-hori knife to take clean cuttings. Handle the produce with minimal friction to preserve the cuticle, the waxy outer layer that maintains "day-one" freshness by preventing desiccation. Place harvested greens immediately into a cold-water bath to maintain turgor pressure and slow down the metabolic rate.
FAQ:
How deep should I bury low-voltage cables?
Bury cables at a minimum depth of 6 inches. This protects the line from standard garden maintenance like edging, aerating, or weeding with a hori-hori knife. Deeper burial is required if the area is subject to heavy mechanical tilling.
Can I mix LED and halogen bulbs on one system?
It is not recommended due to different voltage requirements and heat outputs. LEDs operate efficiently at lower wattages, while halogens draw more power. Mixing them often leads to uneven light intensity and increased stress on the transformer.
How do I prevent voltage drop in long runs?
Use a thicker gauge wire, such as 12-gauge, and utilize a "hub" wiring pattern. Keep the total wattage on a single circuit to 80 percent of the transformer capacity to ensure consistent performance across all fixtures.
Will garden lights affect plant growth cycles?
Yes, if the light is too bright or the wrong spectrum. High-intensity discharge can disrupt the photoperiod, causing plants to "forget" to go dormant. Use low-lumen LEDs and timers to ensure plants receive a natural period of darkness.