10 Solid Steps to Install a Statue Plinth
Damp earth releases a sharp, metallic scent of geosmin as the spade cuts through the root zone. A healthy garden relies on turgor pressure within the plant cells; however, the structural integrity of the landscape depends on the stability of its focal points. Mastering the steps to install a statue plinth requires an understanding of soil compaction and drainage to prevent the settling that leads to structural failure. You must treat the installation site with the same precision as a seedbed, ensuring the substrate can support significant weight without compressing the delicate rhizosphere of surrounding flora.
Success begins with a site analysis that accounts for both aesthetics and geological stability. A plinth is not merely a decorative block. It is a foundation that must resist the lateral forces of wind and the vertical pressure of gravity. When you calculate the load-bearing capacity of your soil, you are protecting the vascular health of nearby specimen plants. Heavy machinery or improper foot traffic during installation can collapse macropores in the soil, leading to anaerobic conditions and root rot. This guide provides the technical framework necessary to integrate heavy stone or concrete elements into a living ecosystem without compromising the biological vitality of the garden.
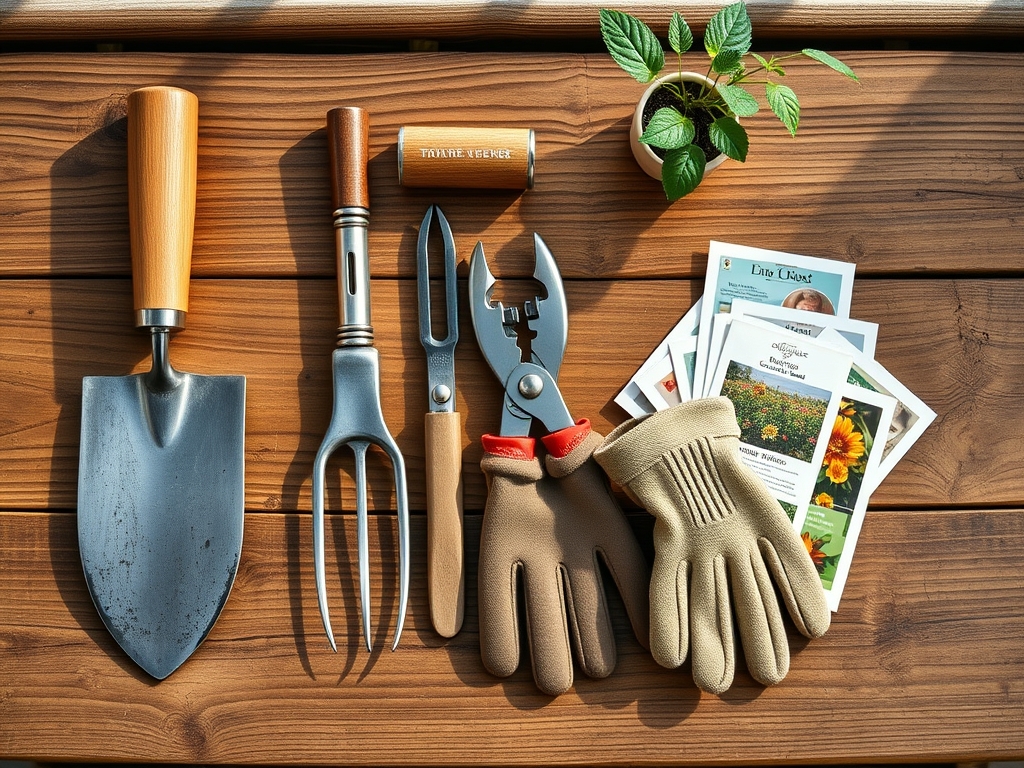
Materials:
The ideal substrate for the area surrounding your plinth is a **friable loam** with a **Soil Cation Exchange Capacity (CEC) between 15 and 25 cmol/kg**. High CEC indicates the soil can hold essential nutrients against leaching. Before installation, test the soil pH. Aim for a **pH of 6.5**, which is the physiological sweet spot for nutrient availability.
For the structural base, you require crushed limestone (3/4-inch minus) and sharp sand. Avoid rounded pea gravel; it lacks the angular edges needed for mechanical interlocking. If you are planting around the base, incorporate a balanced 10-10-10 NPK ratio fertilizer into the top 6 inches of the surrounding soil. This ensures that nitrogen for vegetative growth, phosphorus for root development, and potassium for cellular regulation are immediately available to displaced plants. Ensure the organic matter content remains at 5 percent to maintain soil structure while supporting the weight of the masonry.
Timing:
Installation should occur when the soil is at field capacity, meaning it is moist but not saturated. In Hardiness Zones 4 through 7, the ideal window is late spring after the final frost date has passed and the soil temperature reaches a consistent 55 degrees Fahrenheit. This timing aligns with the "Biological Clock" of most temperate perennials, moving them from dormancy into the early vegetative stage.
Avoid installation during the peak of summer or the depths of winter. High heat increases the transpiration rate, causing plants moved during the process to suffer from desiccation. Conversely, frozen ground prevents proper compaction of the base materials. By installing during the transition from the vegetative to the reproductive stage of the garden, you allow the surrounding root systems to recover before the energy-intensive process of flowering or senescence begins in autumn.
Phases:

Sowing the Foundation
Excavate a hole twice the width of the plinth and at least 8 inches deep. This depth ensures you bypass the loose O-horizon of the soil profile. Remove all organic debris, such as decaying roots or leaf litter, which can create voids as they decompose. Level the subsoil using a hand tamper until the surface is firm.
Pro-Tip: Proper compaction prevents the formation of air pockets that lead to uneven settling. Biologically, this protects nearby plants from "root shearing," where shifting soil layers physically tear the fine root hairs responsible for water uptake.
Transplanting the Plinth
Fill the excavation with 6 inches of compacted aggregate, followed by a 2-inch leveling layer of sharp sand. Place the plinth onto the sand. Use a spirit level to check the horizontal plane across both axes. The plinth must sit 1 inch above the surrounding grade to prevent water from pooling at the base of the statue.
Pro-Tip: Maintaining an elevated grade encourages surface runoff away from the masonry. This prevents localized soil saturation, which would otherwise trigger anaerobic respiration in the soil microbes, leading to a buildup of toxic ethanol in the rhizosphere.
Establishing the Perimeter
Backfill the remaining space around the plinth with the reserved friable loam. Press the soil firmly with your hands to remove large air gaps but avoid heavy tamping. Replant any displaced specimens, ensuring the root flares are level with the new soil surface. Apply a 2-inch layer of organic mulch to regulate soil temperature and moisture.
Pro-Tip: Applying mulch suppresses auxin-driven weed germination by blocking light. It also fosters mycorrhizal symbiosis, where beneficial fungi extend the reach of plant roots to scavenge for phosphorus, aiding in the rapid recovery of the disturbed site.
The Clinic:
Monitoring the site post-installation is critical for identifying physiological disorders caused by soil disturbance.
Symptom: Interveinal chlorosis (yellowing leaves with green veins) in nearby plants.
Solution: This indicates Nitrogen or Iron deficiency often caused by high pH or soil compaction.
Fix-It: Apply a chelated iron drench or a high-nitrogen liquid fertilizer (20-0-0) to restore chlorophyll production.
Symptom: Marginal leaf burn or wilting despite moist soil.
Solution: This is likely Root Suffocation from over-compaction during the plinth installation.
Fix-It: Use a garden fork to gently aerate the soil around the drip line, increasing oxygen diffusion to the roots.
Symptom: Stunted growth and purplish leaf undersides.
Solution: Phosphorus deficiency caused by cold soil or root damage.
Fix-It: Apply a "starter" fertilizer with a high middle number (5-15-5) to stimulate ATP production and root elongation.
Maintenance:
A newly installed plinth and its surrounding vegetation require precise hydration. Use a soil moisture meter to ensure the ground remains at a consistent 25 to 30 percent moisture content. Provide 1.5 inches of water per week at the drip line of surrounding plants, preferably in the early morning to minimize fungal pathogens.
Keep a hori-hori knife sharpened for removing invasive taproots that may attempt to undermine the plinth. Use bypass pruners to manage any overhanging canopy that might drop sap or debris onto the stone, as organic acids can etch the surface over time. Annually check the level of the plinth; if it shifts more than 5 degrees, you must lift the unit and re-level the sand substrate to prevent structural collapse.
The Yield:
While a plinth does not produce a crop, the "yield" is the longevity of the installation and the health of the surrounding flora. A correctly installed plinth remains stable for decades. If you have planted ornamental flowers around the base, harvest them when the first two florets open on a spike. This ensures "day-one" freshness and maximum vase life. Cut the stems at a 45-degree angle using a sterilized blade to maintain vascular flow and prevent the entry of air bubbles into the xylem.
FAQ:
How deep should the hole be for a statue plinth?
Excavate at least 8 to 12 inches. This depth allows for a 6-inch compacted aggregate base and a 2-inch sand leveling bed, ensuring the plinth sits securely below the frost line in most temperate climates.
What is the best base material for a heavy plinth?
Use 3/4-inch minus crushed limestone. The angular particles lock together under pressure, providing a stable, non-shifting foundation that maintains its integrity even during periods of heavy rain or soil expansion.
Can I install a plinth directly on grass?
No. Turfgrass and the underlying organic layer will decompose, causing the plinth to tilt. You must remove the sod and reach the mineral subsoil to ensure a stable, long-term installation that resists settling.
How do I prevent the plinth from sinking over time?
Ensure the base material is mechanically compacted in 2-inch lifts. Proper drainage is also essential; if water saturates the soil beneath the plinth, the load-bearing capacity of the soil drops, leading to structural failure.