9 Pro Tips How to Freeze Corn Kernels
Freezing sweet corn at peak ripeness captures the fleeting sweetness of summer for months. The challenge lies in halting enzymatic degradation without sacrificing texture or sugar content. Learning how to freeze corn kernels correctly depends on blanching temperature, cooling velocity, and packaging method. Each step influences starch conversion and moisture retention within the endosperm.
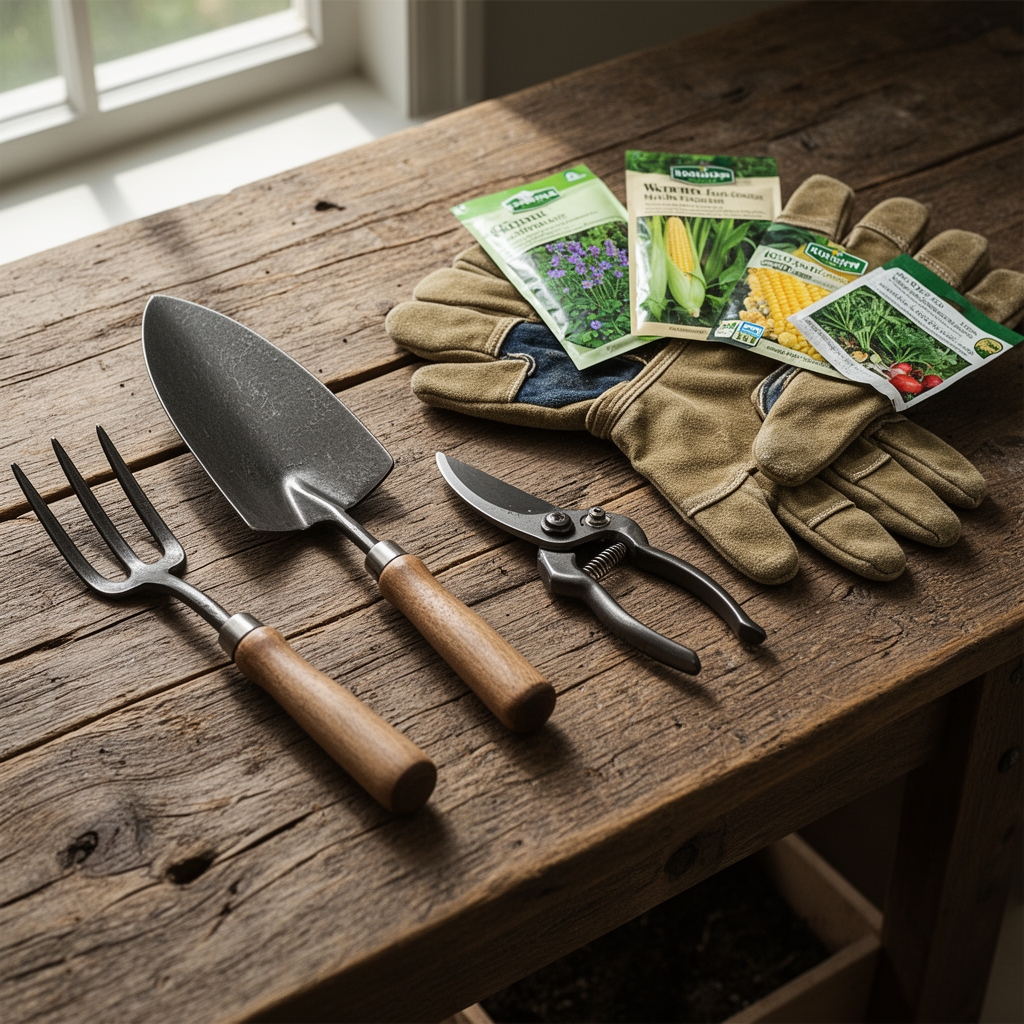
Materials
Successful corn preservation begins before harvest. Select cultivars bred for sugar retention, such as Zea mays var. saccharata 'Kandy Korn' or 'Peaches and Cream'. These varieties maintain higher sucrose levels post-harvest compared to field corn.
Essential Equipment:
- 8-quart blanching pot with perforated insert
- Ice bath vessel (minimum 6-quart capacity)
- Digital thermometer (32-212°F range)
- Sharp paring knife or corn stripper
- Vacuum sealer or freezer-safe zipper bags (mil thickness 4.0 or higher)
- Scale accurate to 0.1 ounce
Soil Context for Growers:
Corn grown in soil with pH 6.0-6.8 and amended with 5-10-10 NPK fertilizer at 120 pounds per acre produces kernels with optimal sugar-to-starch ratios. Cation exchange capacity above 12 meq/100g ensures adequate calcium uptake, which strengthens cell walls and improves freeze tolerance. Side-dress with blood meal (12-0-0) at V6 growth stage to boost protein content in the endosperm.
Timing
Harvest timing governs final quality. Corn destined for freezing must be picked within 24 hours of reaching full maturity. The "milk stage" occurs when kernels puncture easily and release milky fluid. This phase lasts 48-72 hours in zones 5-8, shorter in hotter climates.
Regional Guidelines:
- Zones 3-4: Harvest late July to early August
- Zones 5-7: Mid-July to late August
- Zones 8-10: June to September (multiple plantings possible)
Freeze within 2 hours of picking. Sugars convert to starch at 1-3 percent per hour at ambient temperature. Auxin distribution shifts post-harvest, triggering respiration that depletes sweetness.
Phases

Phase 1: Preparation
Remove husks and silk completely. Silk residue harbors Fusarium spores that survive freezing. Rinse ears under cold running water at 55-60°F. Inspect for corn earworm (Helicoverpa zea) damage at the tip; trim affected areas 0.5 inches beyond visible injury.
Pro Tip: Submerge ears in water with 1 tablespoon salt per gallon for 3 minutes. This osmotic treatment firms pericarp tissue and expels hidden larvae.
Phase 2: Blanching
Bring 1 gallon of water per 4 ears to a rolling boil (212°F at sea level; adjust for altitude). Submerge ears completely for exact timing based on diameter:
- Small ears (1.25 inches): 7 minutes
- Medium ears (1.5 inches): 9 minutes
- Large ears (1.75+ inches): 11 minutes
Blanching denatures polyphenol oxidase and peroxidase enzymes responsible for flavor degradation. Under-blanching by 1 minute allows enzyme activity to resume during storage. Over-blanching by 2 minutes creates mushy texture through pectin breakdown.
Pro Tip: Add 1 teaspoon ascorbic acid (vitamin C) per gallon of blanching water. This antioxidant preserves carotenoid pigments and reduces oxidative stress at the cellular level.
Phase 3: Shock Cooling
Transfer blanched ears immediately to an ice bath (32-34°F) with a 2:1 ice-to-water ratio. Cool for the same duration as blanching time. Core temperature must reach 40°F within 10 minutes to prevent carryover cooking. Use the thermometer to verify; probe the thickest part of the cob.
Pro Tip: Replace ice bath water after every 8 ears. Starch leachate raises water temperature and reduces cooling efficiency by 18-22 percent.
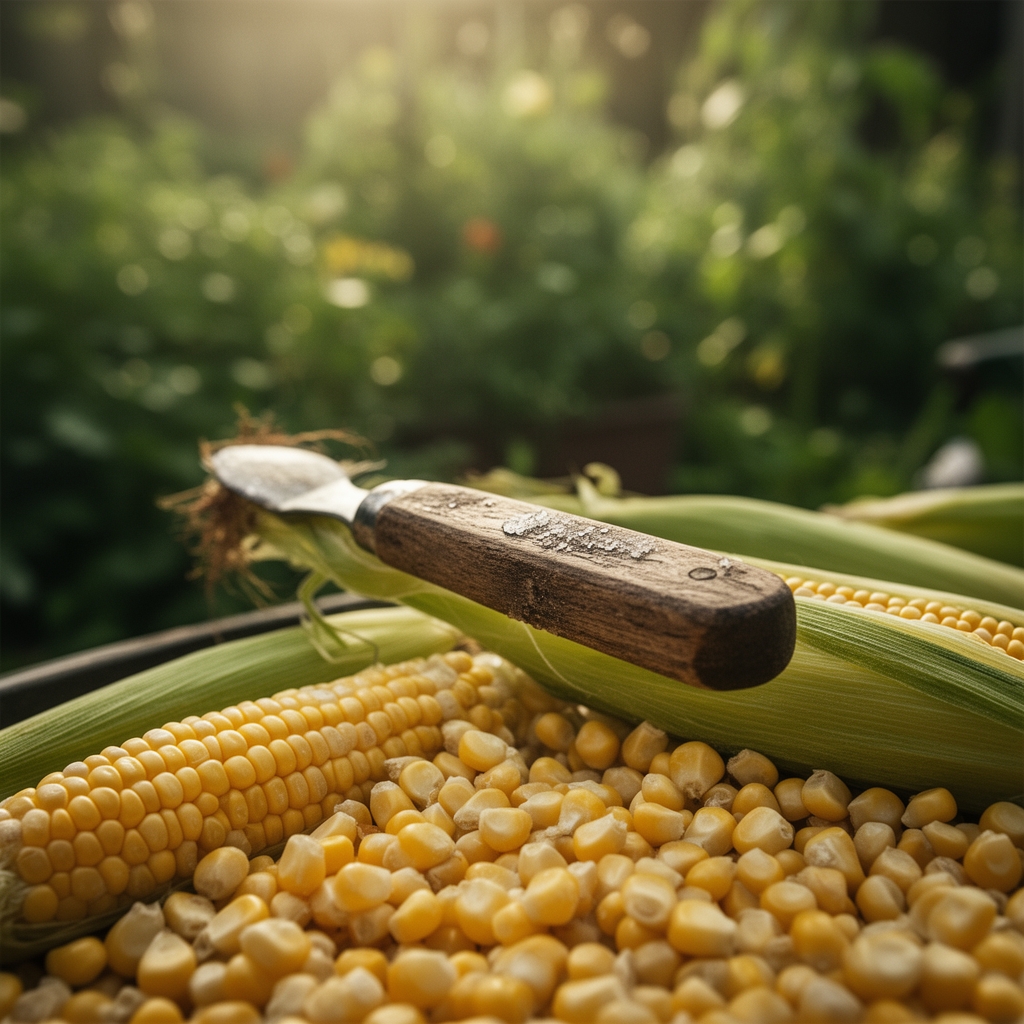
Phase 4: Kernel Removal
Drain ears thoroughly on clean towels for 5 minutes. Stand each ear upright in a bundt pan or wide bowl. Using a sharp knife angled at 65 degrees, slice downward along the cob in smooth strokes. This angle captures 95 percent of kernel volume while avoiding fibrous cob material. Scrape cob with the back of the knife to extract remaining pulp and "milk."
Pro Tip: Work in batches of 6 ears. Kernels release starch quickly; immediate packaging prevents clumping through hydrocolloid formation.
Phase 5: Packaging and Freezing
Portion kernels into 2-cup servings. Press out air pockets if using zipper bags; leave 0.5-inch headspace for expansion. Vacuum-sealed packages reduce freezer burn by 90 percent compared to standard bags. Label with variety, harvest date, and blanching time.
Flash-freeze on a sheet pan for 60 minutes before bagging to prevent kernels from fusing. Store at 0°F or below. Mycorrhizal associations formed during growth have no impact on storage, but mineral-dense kernels retain structure better through calcium cross-linking in cell walls.
Troubleshooting
Symptom: Kernels turn brown after 3 months
Solution: Insufficient blanching time. Enzyme activity resumed. Re-blanch for 2 additional minutes before refreezing if caught early.
Symptom: Tough, chewy texture
Solution: Over-matured corn (dough stage). Harvest earlier when silk is light brown, not black.
Symptom: Ice crystal formation inside bags
Solution: Inadequate cooling before packaging. Residual heat creates condensation. Always verify 40°F core temperature.
Symptom: Off-flavors after 6 months
Solution: Freezer temperature fluctuation. Maintain constant 0°F. Each thaw cycle above 10°F degrades lipids in the germ.
Symptom: Kernels separate into pieces
Solution: Freeze damage from slow freezing. Use quick-freeze function or place packages near freezer walls for first 24 hours.
Maintenance
Rotate frozen corn every 90 days to prevent cold spots. Chest freezers maintain more consistent temperatures than upright models. Consume within 12 months for peak flavor; 18 months maximum for safety. Thaw only needed portions; refreezing reduces quality by 40 percent.
Monitor freezer temperature weekly. Use dedicated freezer thermometers rather than built-in displays, which average ±5°F accuracy.
FAQ
How long does frozen corn last?
Properly blanched and vacuum-sealed corn maintains quality for 12-14 months at 0°F. Standard zipper bags yield 8-10 months before noticeable degradation.
Can you freeze corn without blanching?
Unblanched corn deteriorates within 6-8 weeks. Active enzymes break down sugars and create off-flavors resembling cardboard or grass.
Should kernels be washed after cutting?
No. Washing after cutting leaches water-soluble vitamins (B-complex, folate) by 15-20 percent. Rinse only whole ears before blanching.
Why does my corn taste starchy?
Corn converted sugars to starch before processing. Harvest within the 48-hour milk stage window. Test by puncturing a kernel; fluid should be cloudy-white, not thick.
Can you freeze corn on the cob?
Yes. Follow identical blanching times but increase storage space by 300 percent. Quality matches cut kernels for 10 months.