9 Pro Tips How to Test Seed Viability
The papery crackle of last season's seed packets hides a critical question: will these embryos wake when you commit them to soil, or are they already spent? Learning how to test seed viability before planting season prevents wasted garden space, lost time, and the disappointment of bare rows. Professional growers routinely screen their stock using simple germination assays that reveal which lots retain enough metabolic vigor to break dormancy. Home gardeners can adopt these same protocols with household items and a week of patience.
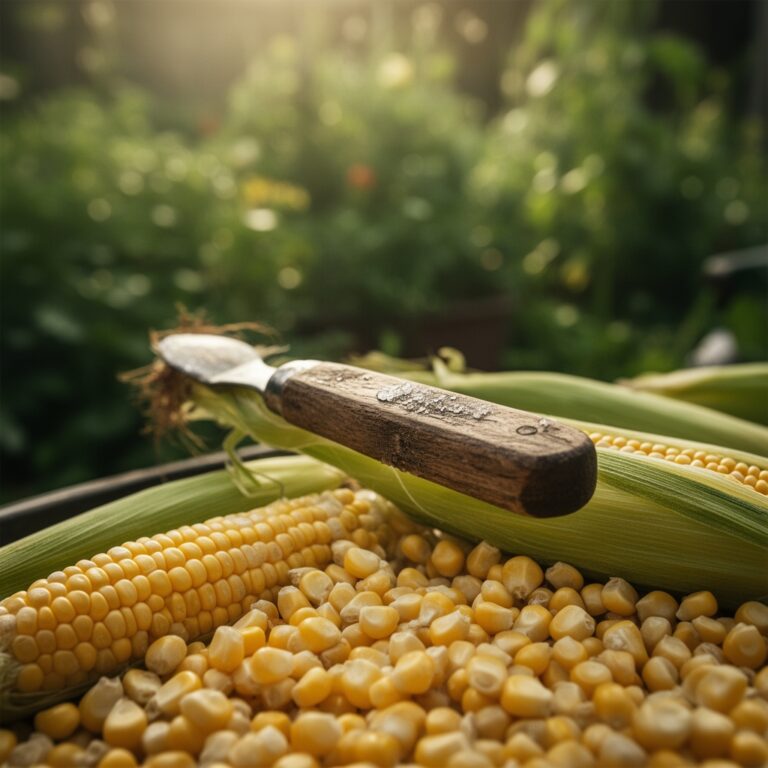
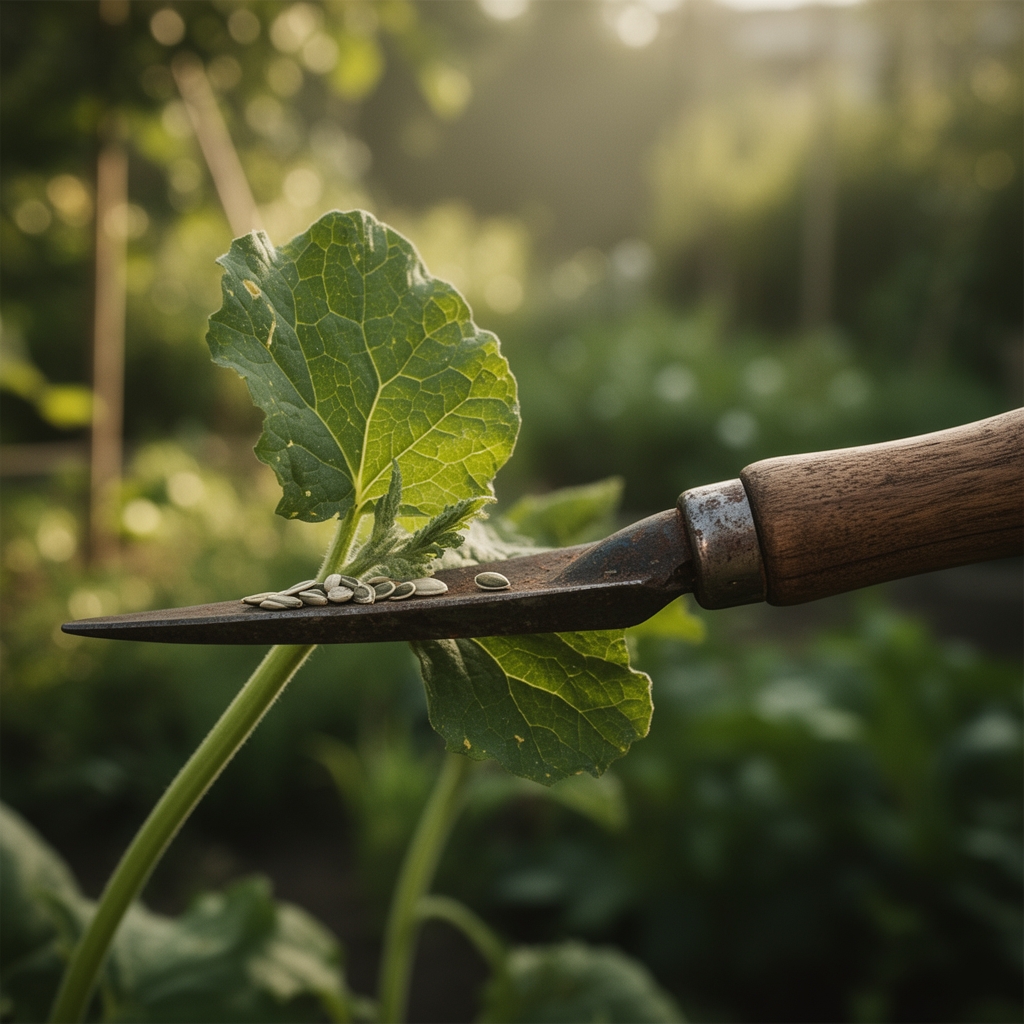
Materials
A successful viability test requires minimal equipment but benefits from attention to water chemistry and microbial balance. Use distilled water or rainwater with a pH between 6.0 and 7.0 to avoid chlorine interference with imbibition. Paper towels, coffee filters, or germination blotters provide a sterile medium that retains moisture without harboring fungal spores. Clear plastic bags or shallow containers with lids create the humid microenvironment seeds need for radicle emergence.
For larger-scale testing, consider a seed-starting mix with a 4-4-4 organic nutrient profile. This balanced NPK ratio supports early embryonic root development without forcing vegetative growth. Avoid high-nitrogen blends during viability tests; excess ammonium can mask poor germination by stimulating fungal growth that mimics healthy radicles. A dilute kelp solution at 1 tablespoon per gallon provides trace minerals and natural auxins that support cell elongation during germination without skewing results.
Keep a dedicated spray bottle for misting tests every 12 hours. A jeweler's loupe or magnifying glass allows close inspection of radicle tips, which should appear white and turgid rather than brown or flaccid.
Timing
Conduct viability tests 4 to 6 weeks before your region's last expected frost date. This window gives you time to source replacement seed if stored lots fail. Gardeners in USDA Hardiness Zone 5 should begin testing by mid-March; Zone 7 gardeners can wait until late March or early April. Cold-season crops like spinach and peas tolerate soil temperatures down to 40°F, so test these first if you plan successive sowings.
Seed longevity varies by species and storage conditions. Alliums hold viability for only 1 to 2 years under ideal conditions, while brassicas remain strong for 4 years. Cucurbits and solanaceous crops fall between these extremes. Test any seed older than 2 years, and always screen commercial packets held over from previous seasons if they were stored in non-climate-controlled sheds or garages.
Temperature stability matters. Run germination trials at 65 to 75°F for warm-season crops and 55 to 65°F for cool-season varieties. Fluctuations beyond 10 degrees stress embryos and produce false negatives.
Phases

Sowing Phase
Select 10 seeds from each lot. Arrange them on a moistened paper towel with at least half an inch between individuals to prevent radicle tangling. Fold the towel in thirds, enclosing the seeds in the middle layer. Slip the towel into a labeled plastic bag, leaving a small opening for gas exchange. Store the bag in a warm location away from direct sunlight.
Pro-Tip: Inoculate the towel with a pinch of mycorrhizal fungi spores before folding. Glomus species colonize emerging radicles and can boost germination rates by 10 to 15 percent in borderline-viable lots by improving phosphorus uptake during the critical first 48 hours.
Transplanting Phase
Check seeds daily after the third day. Germination is complete when the radicle extends to at least twice the seed's diameter and the hypocotyl begins to show pale green coloration. Count emerged seedlings and calculate viability as a percentage. Lots showing 80 percent or higher germination are commercially viable. Between 60 and 80 percent, compensate by sowing 25 percent more seed per row. Below 60 percent, replace the lot.
Pro-Tip: Use a razor blade held at a 45-degree angle to slice open 2 to 3 non-germinated seeds. Healthy embryos should be cream-colored and firm. Gray, hollow, or mushy embryos indicate fungal invasion or desiccation damage, confirming the batch is spent.
Establishing Phase
If you conduct tests directly in soil, use a 2-inch-deep furrow in a sterile seed-starting mix. Space test seeds 1 inch apart and cover with a quarter-inch layer of vermiculite to maintain moisture without compacting. Maintain soil temperature with a heat mat set to 70°F and monitor cation exchange capacity by checking that the mix remains damp but not waterlogged.
Pro-Tip: Add a dusting of finely milled biochar to the furrow before sowing. Biochar absorbs auxin and cytokinin molecules, then releases them slowly as radicles elongate, stabilizing hormone distribution during the stress-prone germination phase.
Troubleshooting
Symptom: Seeds swell but fail to crack the seed coat after 7 days.
Solution: Hard-coated species like lupine or morning glory require scarification. Nick the seed coat with a file or soak in 180°F water for 30 seconds before retesting.
Symptom: Radicles emerge but turn brown within 24 hours.
Solution: Damping-off fungi from contaminated towels or excessive moisture. Sterilize materials with a 10 percent bleach solution and reduce misting frequency to once per day.
Symptom: Germination occurs but cotyledons remain yellow.
Solution: Insufficient light or nutrient deficiency. Move containers to indirect sunlight and apply a quarter-strength fish emulsion (5-1-1 NPK).
Symptom: Uneven germination with some seeds sprouting in 3 days and others taking 10.
Solution: Genetic heterogeneity in open-pollinated varieties or age stratification within the batch. Sort seeds by size and test cohorts separately.
Maintenance
Check test setups twice daily. Mist with 3 to 4 sprays to maintain humidity without creating standing water. If condensation films the plastic bag interior, open the seal for 10 minutes to allow air circulation and prevent anaerobic conditions. Maintain ambient temperatures within the target range; a 5-degree drop at night mimics natural diurnal cycles and can improve germination in some species by triggering gibberellin production.
For soil-based tests, water from below by setting containers in a tray with half an inch of water for 15 minutes every other day. This technique encourages radicles to grow downward in search of moisture, producing more accurate viability readings than overhead watering that can wash seeds from their positions.
FAQ
How long do viability tests take?
Most species germinate within 5 to 10 days under optimal conditions. Slow germinators like parsley or carrot may require 14 to 21 days.
Can I speed up testing?
Soaking seeds in a 3 percent hydrogen peroxide solution for 10 minutes before testing can reduce germination time by 24 to 48 hours by softening seed coats and introducing oxygen to the embryo.
What viability percentage is acceptable?
Commercial standards require 85 percent for hybrid vegetables and 75 percent for open-pollinated varieties. Home gardeners can work with 60 percent if they adjust seeding density.
Do all seeds need testing?
Fresh certified seed from reputable suppliers rarely needs testing. Focus on saved seed, gifted packets, or commercial stock older than 2 years.
Can failed seeds be composted?
Yes. Non-viable seeds contribute organic matter and trace minerals. Avoid composting treated seed coated with fungicides.